Introduction
Ultraviolet rays, also known as UV for short are rays emitted by sun. Due to the depletion of the ozone layer, these rays tend to get to extreme levels that could lead to sunburns etc for those under it, that’s why daily and hourly forecast of the UV index is always available to help people keep track and stay safe. For monitoring purposes, why not own a personal UV meter?
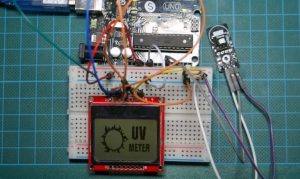
Today, we will build a UV meter using the Arduino and the ultraviolet sensor (UVM30A) with a Nokia 5110 LCD display as the display for the meter. The Nokia 5110 is used to display the UV index which is an international standard unit for the intensity of ultraviolet rays from the sun being experienced in a particular place and at a particular time.
The Purpose of measuring the UV index in a particular place and at a particular time is to prevent people from the dangers caused by high UV index rays as it could lead to things like sunburn etc. It is also measured to guide people, so they can take adequate protective measures, like the use of sunscreens, sunglasses, hats etc on a day out. A UV Protection chart which tries to match the UV index with the adequate protective devices is shown below.
It can be seen from the chart that when UV level is extremely high it is advised to stay indoors, the reason for this is, the UV index indoors is mostly zero. This means that when testing the device we are about to build, you should take it outside as shown in the image below, as the value won’t change if you test indoors.
Read more: Arduino UV Meter using the UV30A Ultraviolet Sensor

