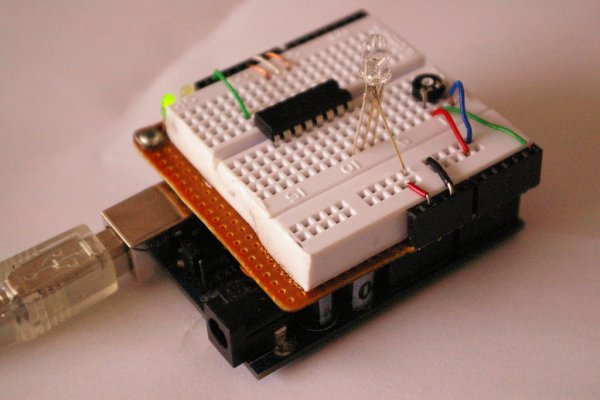
Breadboards are very handy, but sometimes I just want to connect one IC or some LEDs and resistors to the controller.
My simple solution was to canibalize a cheap Breadboard to get two expandable PrototypingShields with some additional features.
What I used:
Breadboard (~3$)
2 Pieces of Veroboard (<1$)
28 PinHeader (<1$)
28 femaleConnectors (<1$)
2 Leds
1Switch
some Resistors…
and some epoxy to get it smooth and fixed
Tools:
Soldering iron
Dremel
pliers
a knife
Step 1: Soldering the Shield
Sadly the ArduinoBoard doesn’t align with the standard 0.1″ spacing, so it’s a little tricky to get the Shield smoothly into the Arduino connectors.
Firstly I cutted the right number of pinheaders.
After putting them into the Arduino connectors, I saw the difference to my 0.1″ spaced veroboard.
I bent the headers a little bit as you can see in the second picture.
Now the pins are ready to solder.
As you can see in Pic4 I cutted the veroboard with one hole space to the border, to solder the female connectors later.
Step 2: Cut the Breadboard
Next step was to cut the breadboard.
Very stinky, but effective with a Dremel on 10.000rpm 🙂
I removed one row of the power connectors for the right size.
It fits just perfect!
I also made a little cut on the veroboard to disconnect the pins.
For more detail: Arduino Prototyping Shield on the cheap

