First Hello instructables.
This is my first contact with :
- Instructables
- Arduino
- Programmable LED’s
So please don’t trow rocks at me for noobish mistakes.
Keeping that in mind I’m waiting to read your comments with grate interest and I’m open to any suggestion
Features :
- big digits ( each digit is approximately the size of a A4 paper).
- slim in order to fit in a photo frame (a big one).
- auto dim the light depending on the light in the room.
- dedicated DST button.
Step 1: Prerequisites
Things I used for this project :
Electronics :
- Arduino nano V3.0 (sadly since I can’t afford an original arduino I used a chinese clone, for showing my support I donated 2.9 $ to arduino) – 2.9$ on ebay
- Digital Light Intensity Sensor Module Photo Resistor for Arduino – 0.99$ on ebay
- DS3231 AT24C32 IIC Module Precision Real Time Clock Quare Memory for Arduino – 0.99$ on ebay
- DC-DC Buck Converter Step Down Module LM2596 Power Output 1.23V-30V – 0.90$ on ebay
- 4m WS2811 led strip 30 leds/m – 12 $ on aliexpress (1 WS2811 IC control 3 LED Chip)
Total cost of electronics : 17.78 $ (without arduino donation)
Miscellaneous :
- Heat Shrink Tubing – 7.99$ ebay (assortment, it total 33m)
- 20 pcs 5 x 7 cm prototype pcb – 3$ ebay
- 3 pcs Micro Switch – 1$ locally bought
- Solder – 1$ locally bought
- Flux – 1$ locally bought
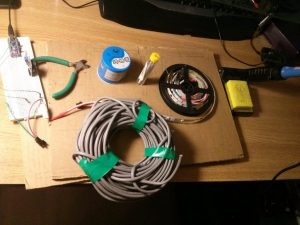
- UTP cable (individual wires used for various connections)
- LCD font (http://www.dafont.com/lcd-lcd-mono.font) – free
- Cardboard – free loacal supermarket
- Polystyrene board – 1.50$ locally bought
Various tools.
Step 2: Preparing – Digit Template
- download and install LCD font (http://www.dafont.com/lcd-lcd-mono.font
- open word or similar editor and make a template similar to the image (first img)
- font size ~800,
- white font color black outline,
- gray boxes where led strip fits
- Print and cut the gray strips with a exacto knife (second img)
Step 3: Preparing – Cut Cardboard and Led Strip
Using the digit template cut the cardboard to size (don’t forget to leave space for the dots between hours and minutes)
If your LED strips came with connectors at each end (like mine did) desolder the connector and cut them in sets of 3.
Read more: Arduino LED Wall clock using WS2811

