
Summary of Arduino GPS Tutorial – Complete Guide
This tutorial guides users in building a handheld Arduino GPS logger using an Arduino board, a GPS shield with a USGlobalSat EM-406A receiver, and an SD card. The device records latitude and longitude data over time by communicating with GPS satellites. The guide details the initial setup to receive serial data from the GPS unit directly via an FTDI cable after modifying the Arduino configuration.
Parts used in the Handheld Arduino GPS Logger:
- Arduino Board
- GPS Arduino Shield (USGlobalSat EM-406A receiver)
- SD Card
- FTDI Cable
- Jumper Cable
Do I need to say more about GPS? See here for some background info: Global Positioning System (GPS)
In this tutorial, I will be showing you how to use Arduino, a GPS Arduino shield and a SD card to make a handheld Arduino GPS logger, to record your latitude and longitude over the course of a day.
I will be taking it step by step:
- How does it work?
- How to interface this into your robot or other projects
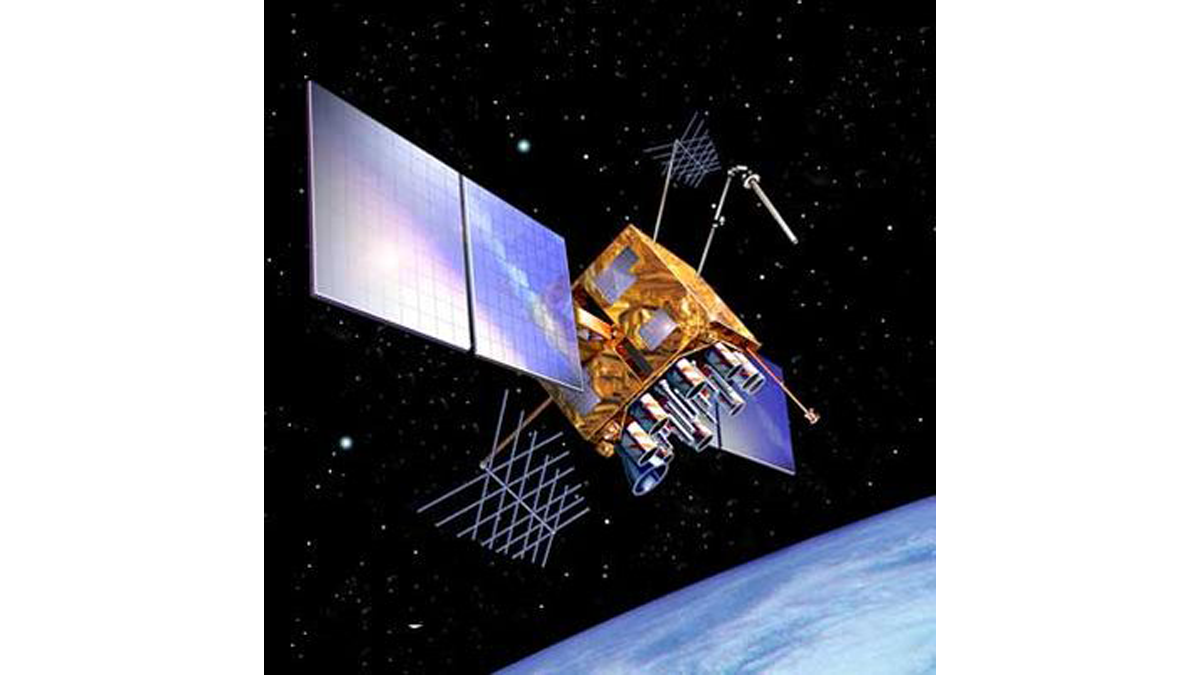
Basic GPS Working Concept
GPS satellites orbit the Earth at an approximate altitude of 20,000 km. For a GPS unit to fix its location it needs to receive signal from at least 3 satellites.
The GPS signal that is transmitted from each satellite contains:
- Time (accuracy of millisecond) (GMT time).
- Date
- Position (accuracy of 2 to 3 meters)
- Altitude
From these information, it is also possible to work out compass heading and speed.
The Tools
The reason we use Arduino is because it’s very easy to integrate into different projects, and it’s very popular among electronics hobbyists. I also will be paring the Arduino with a GPS Shield which uses a USGlobalSat EM-406A receiver.
This Shield has also a data logging facility that saves to a SD card .
Arduino GPS Work Through
Okay, let’s get our hands dirty. I will break the tutorial into 3 parts.
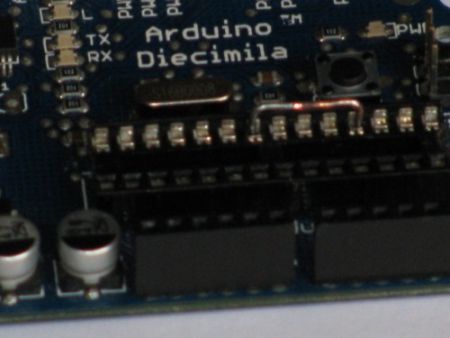
Part One: Receiving Data from the GPS Unit via Serial Port
Firstly, we set up the system in basic configuration. We will try to talk directly to the GPS via its serial port just by connecting a FTDI cable direct to the GPS shield board, so we can check what kind of data we will be receiving on our computer.
- Remove the ATmega chip on the Arduino Board as we only need the serial circuit on the Arduino.
- Place a jumper cable between digital i/o pin 2 and ground (as Shown Below).
- This switches the GPS Unit on and you can use the Arduino’s serial port to read the data.
For more detail: Arduino GPS Tutorial – Complete Guide
- What components are required to build this project?
You need an Arduino board, a GPS Arduino shield using a USGlobalSat EM-406A receiver, and an SD card. - How many satellites does a GPS unit need to fix its location?
A GPS unit needs to receive signals from at least 3 satellites to fix its location. - Can I interface this setup into other projects like robots?
Yes, the article states you can interface this into your robot or other projects. - Why is Arduino chosen for this project?
Arduino is used because it is very easy to integrate into different projects and is popular among electronics hobbyists. - What specific receiver is used on the GPS shield?
The shield uses a USGlobalSat EM-406A receiver. - Does the GPS shield have data logging capabilities?
Yes, the shield has a data logging facility that saves data to an SD card. - How do you switch on the GPS Unit during the initial setup?
You place a jumper cable between digital i/o pin 2 and ground to switch the GPS Unit on. - What information does the GPS signal transmitted from each satellite contain?
The signal contains Time, Date, Position, and Altitude.
