The Arduino Cellular Shield allows you to make cellular telephone calls, and send text messages. The brains of this shield is the SM5100B which is a robust cellular module capable of performing many of the tasks of most standard cell phones. This shield requires use of a SIM card to connect to a cellular network. The tutorial that follows is a bare bones tutorial for initializing the shield, and both sending and receiving text messages, and telephone calls. To learn more about the module’s functionality, be sure to check out the datasheets on Sparkfun’s product page.
Step 2: Solder Headers
Insert the headers into the shield and solder them into place.
Step 3: Insert
Insert the header pins into the sockets on the Arduino.

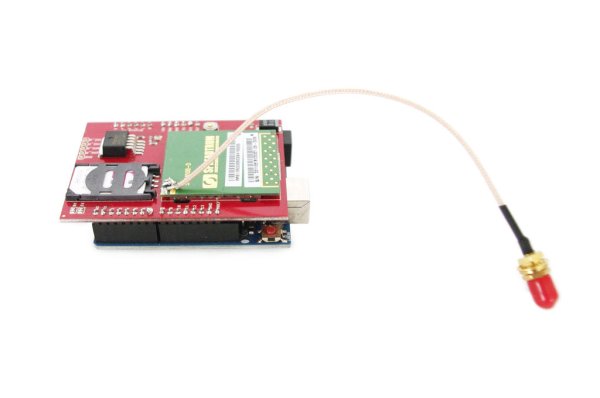
Step 4: Resolder
The antenna cable’s connection to the SM5100B module is usually not very good. Resolder each of the cable’s connections to the module to ensure connectivity.
Step 5: Attach the Antenna
Thread the antenna to the antenna cable.
Step 6: Insert SIM Card
Insert the SIM card securely into the SIM card socket.
Step 7: Initialize
Run the following code on the Arduino:
Go Get Stuff
You will need:
(x1) Cellular shield
(x1) Stackable Arduino headers
(x1) Quad band antenna
(x1) Arduino Uno (or similar)
For more detail: Arduino Cellular Shield Tutorial