You can download our e-book ‘Learn Arduino’ from this link
Libraries are an essential part in the Arduino world. They are what makes Arduino so easy to use. Libraries are written to encapsulate complex functions and expose them as simple function calls to the user. For example to switch a pixel on and off in an LED monitor. This is relatively very complex but, fortunately some folks at Adafruit created a library that enables us to handle an LEd monitor with simple functions like, draw lines, text, circles, rectangles, etc… Normally these libraries include a readme file with some explanations about the various functions, and examples of how to use the library.
A list of standard libraries can be found on https://www.arduino.cc/en/Reference/Libraries
These libraries are pre-installed once you download the Arduino IDE. So we can start using them right away.
Others, will need to be downloaded and included into the IDE. We’ll go through these one step at a time.
Installing Libraries
There are 3 ways to install a library. We’ll cover the 2 most common and most simple to use.
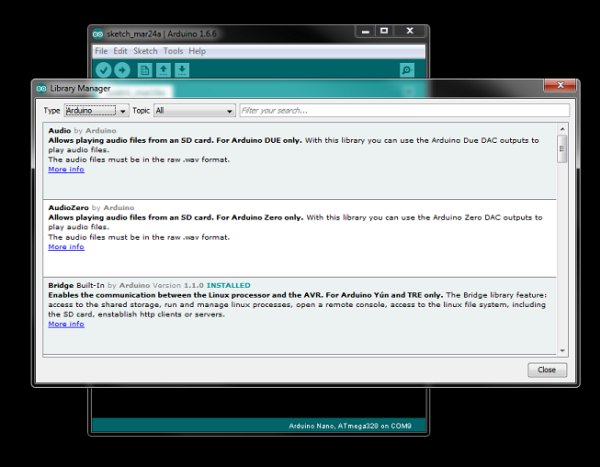
Option 1: Open the Arduino IDE
From the menu choose Sketch > Include Library > Manage Libraries
From here one can choose to install libraries from the many known sources. Most of them (if not all) would have been tested by others and most probably libraries found here will have a certain standard. These libraries can be added locally and ready to be used in your sketches.
Another way of installing libraries, and probably the most common is by importing a zip file into the IDE. Most Arduino developers produce awesome libraries and make them available for free on Github or any other source code hosting environment. There libraries can be downloaded as ZIP files which are then imported into the IDE directly, hassle free!!
Read more: Arduino Beginner’s Course Lesson 5– Installing and Using Libraries