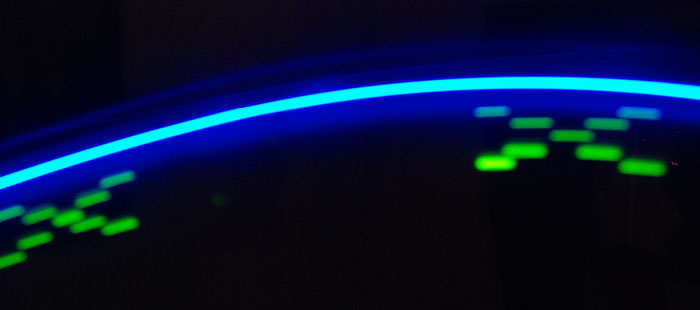
I think this’ll be the start of a few more projects for me. I’ve seen some cool LED PoV stuff (Persistance of Vision) with mounting displays on bikes, so hopefully I’ll get round to doing something like that.
Anyway as a start I’ve got 5 LED’s connected to 5 pins on the Arduino, nothing complex there. The real struggle is to work out the timings, or rather the pauses between the patterns. Starting with how to make a character or drawing.
Arduino POV LED parts
Arduino Deumilanove w/ ATMEGA328
Breadboard / Prototyping board
Jumper/ Connector wires
5 x LED (All the same colour!)
5 x 220 Ohm resistor (Red, Red, Brown, Gold)
Using my knowledge of graphics etc.. the logical way to do this is to use a grid of pixels and I’ll have the column of LED’s change quickly to represent each column of the grid or frame. The effect will be that at a certain speed this should look like a grid of of LED’s rather than a lonely column.
So we have a grid as below:
pin 3: 10001
pin 4: 01010
pin 5: 00100
pin 6: 01010
pin 7: 10001
This shows a cross drawing, but you can make letters or drawings etc.. once you figure this out. This is the hardest bit of the process to grasp and I’ll try and explain the code.
We need to first set our LED’s as an output, the number of LED’s is how many rows are in your grid, once this is done we need to define how many columns are in our grid.
Then we define an array of a sequence of 0′s and 1′s to say when to turn on and off the LED’s and we use a for loop to run through the number of rows against the array. After this count is finished we then loop through the number of columns to move on to the next chunk of the array. If the array is a 0, then LED is low otherwise set it to HIGH. Until we reach the end of the array and we start again. You should be able to see/ understand this from my code comments below. If you want to add more letters then you can add in another frame, just keep adding to the sequence though.
Arduino LED POV Circuit
Nothing too fancy just 5 LED’s in a line (longer terminal is +, shortest is – ), a 220 Ohm resistor between the + pin and the Arduino pin and the – pin going to GND on the Arduino.
LED Persistance of Vision Code
int setPins[] = {7,6,5,4,3};      // an array of pins/ outputs for the LEDs
int rows = 5;                   // number of LED's
int columns = 5;                // number of columns
int numberOfFrames = 1;         // number of frames
For more detail: Arduino – Basic Persistance of Vision

