
Summary of Arduino Based Home Automation Project via Bluetooth
This project demonstrates a Bluetooth-controlled home automation system using an Arduino UNO. Users can switch electrical appliances on or off via a smartphone app, sending commands through an HC05 module to control relays. The setup includes a voltage divider for signal compatibility and connects 230V AC bulbs to the relay outputs, allowing remote control without physical switches.
Parts used in the Home Automation Project:
- Arduino Uno
- Bluetooth Module HC05
- Relay Board
- Tungsten Bulb(2)
- Connecting Wires
- Breadboard
- AC power supply(230v)
- 1k Resistor
- 2k Resistor
- 9v DC Adapter
In this project, we will design a simple home automation project using simple components using which different electrical appliances can switched on or off. The project is based on Arduino and we have used Arduino UNO for the project.
Description
Introduction
Nowadays, people have smartphones with them all the time. So it makes sense to use these to control home appliances. Presented here is a home automation system using a simple Android app, which you can use to control electrical appliances with clicks. Commands are sent via Bluetooth(HC05) to Arduino Uno, Which controls the relay operation( ON or OFF). So you need not get up to switch on or switch off the device while watching a movie or doing some work.
Hardware Requirement
- Arduino Uno
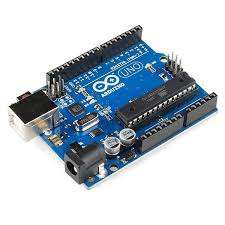
Bluetooth – HC05
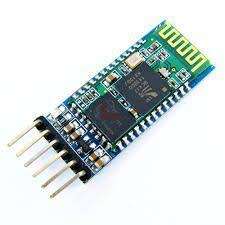
Relay Board
Tungsten Bulb(2)

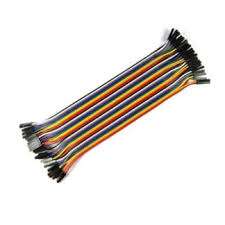
Connecting Wires
Breadboard
- AC power supply(230v)
Software Requirement
- Arduino IDE
Circuit Diagram
Circuit Construction
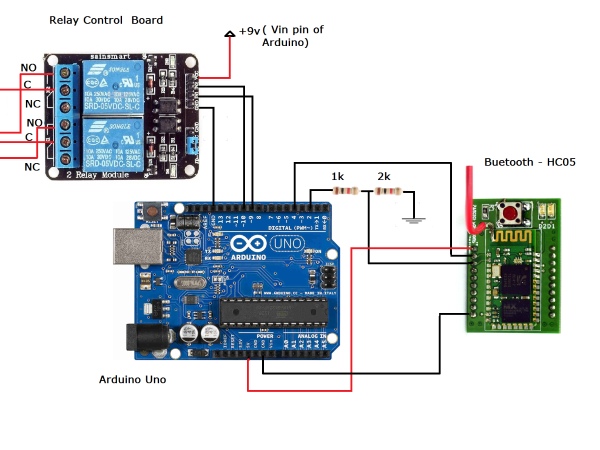
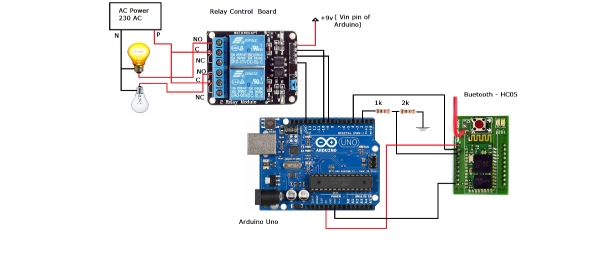
First, make the circuit connection as shown in fig1.1. The 1st Pin(Vcc) of Bluetooth(HC05) is connected to +5v of Arduino Uno and 10th pin(GND) to Arduino Uno GND. The 2nd pin(Tx) and 3rd pin(Rx) of HC05 is connected to 4th and 2nd of Arduino Uno. Make sure that Rx pin of HC05 is connected to Arduino @nd pin through a voltage divider contains 1k and 2k resistor, because Rx pin of HC05 is 3.3v compatible but Arduino GPIO output is 5v. So we decreasing the voltage from 5v to 3.3v using a voltage divider to make Arduino and Bluetooth compatible.
Then the 9th and 10th pin of Arduino Uno is connected to R1 and R2 of the relay board. Vcc and GND pin of the relay board is connected to Vin(+9v) and GND pin of Arduino Uno. Another side of the relay board three-pin connector available named NO(Normally open), C (common), and NC(Normally closed). Each relay contains a separate connector. Phase(P) of 230v AC is connected to C (common) and one end of the bulb is connected to NO(normally open). Another end of the bulb is connected to the Neutral(N) of the AC supply.
Working
After making the circuit connection, compile the Arduino program given below in Arduino IDE and upload the program to your Arduino Uno using a USB B type data cable. Power up your Arduino using a 9v DC adapter. After power up your circuit the led on Bluetooth start to blink very fast, it means the Bluetooth device waiting to be pair. Now connect your mobile to HC05 using the Bluetooth Controller app. After connecting your mobile to HC05 turn ON and OFF the lights using respective keys.
Step 1: Download the Bluetooth Controller app from google play store.
Step 2: Once the Bluetooth in Android phone is turned ON and the app is started, the following screen will be opened.
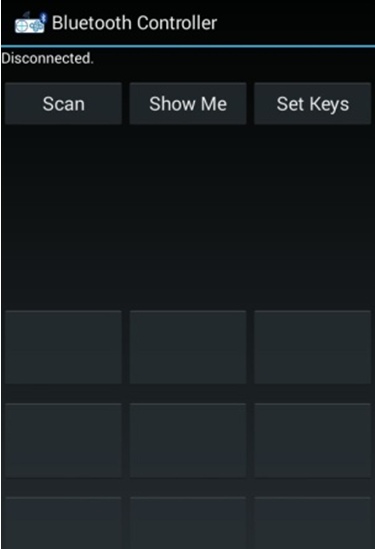
Step 3: Here, we can set the data to be transmitted when a particular key is pressed by selecting “SET KEYS” option.
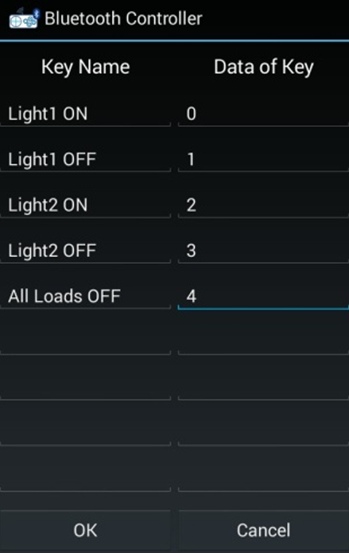
Step 4: In order to connect the Bluetooth module we need to press “SCAN” and list of available Bluetooth device select your Bluetooth device. “Connected” is appeared on the top left of the screen
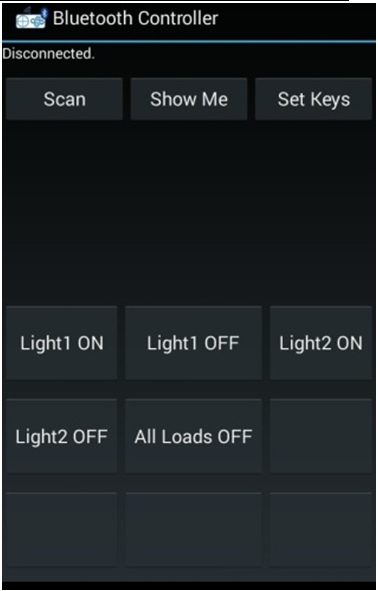
Step 5: Once the setup is done, we are ready to transmit the data to Arduino. When Light1 ON is press light1 will glow and if Light1 OFF is pressed Light1 will stop glowing. Same to Light2. If we need turn OFF all lights we need to press All Loads OFF.
Source: Arduino Based Home Automation Project via Bluetooth
- How does the system send commands?
Commands are sent via Bluetooth from an Android app to the Arduino Uno. - What is the purpose of the voltage divider?
It reduces voltage from 5v to 3.3v to make the Arduino and Bluetooth Rx pin compatible. - Which pins connect the Bluetooth Tx and Rx?
The Tx pin connects to Arduino pin 4 and the Rx pin connects to Arduino pin 2. - What happens when the circuit powers up?
The LED on the Bluetooth module blinks very fast indicating it is waiting to be paired. - How do you pair the mobile device?
You press SCAN in the app and select your Bluetooth device from the list. - Can you turn off all lights at once?
Yes, by pressing the All Loads OFF button on the app. - What app is required for this project?
The Bluetooth Controller app downloaded from the Google Play Store is required. - How are the AC bulbs connected to the relay?
The Phase connects to the Common pin and one bulb end connects to the Normally Open pin.
