A couple of years ago while looking for inspiration for a new animated Halloween prop we stumbled upon a video from YouTube contributor 68percentwater called Arduino Servo Pumpkin. This video was exactly what we were looking for, however, some of the details seemed to be missing. So, we decided we should record our build, with some modifications, so that others could follow along. The first modification that we made was replacing the real pumpkin with a craft store foam version. For us this helps in two ways. First, no sticky mess. Second and most important, it’s reusable. However, this decision means that other modifications were needed.
Tools:
1) X-ACTO knife or some other sharp knife.
2) Drill with multiple drill bits.
3) Saw
4) File
5) Sandpaper
6) Hot melt glue gun and glue sticks.
Parts:
1) Lifesize Foam Pumpkin
2) Spooky Eye Balls
3) 1″ PVC Couplings
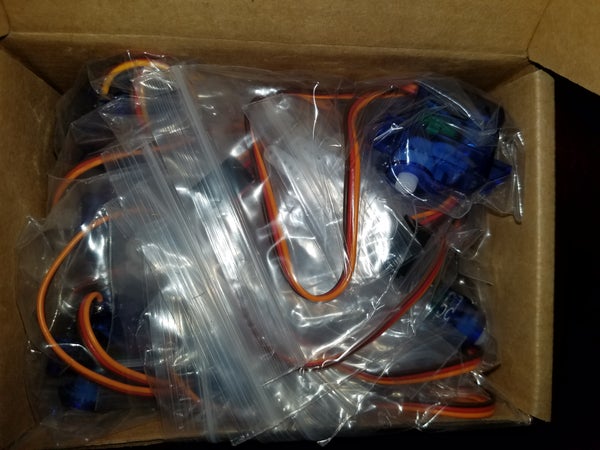
4) Micro Servos
5) Arduino Uno
6) Solderless Breadboard
7) Bailing Wire
8) Wooded Dowels
Video
To see a short video of the completed prototype check out https://www.youtube.com/watch?v=B73tJmcNe7E.
Step 1: Disclaimer
Just a quick disclaimer to state that we take NO responsibility for anything that happens as a result of following this instructable. It’s always best to follow the manufacturers instructions and safety sheets when building anything so please consult those documents for any of the parts and tools you use to build your own. We are simply just providing information on the steps we used to create ours. We are not professionals. As a matter of fact, 2 out of 3 of the individuals who participated in this build are children.
Step 2: Prep the Pumpkin
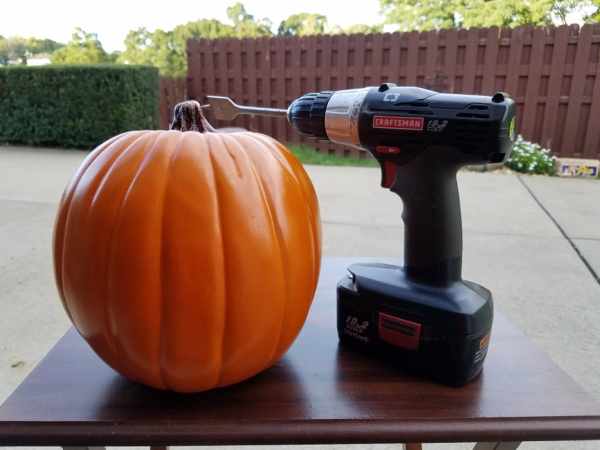
Cut a large access hole in the bottom of the pumpkin.
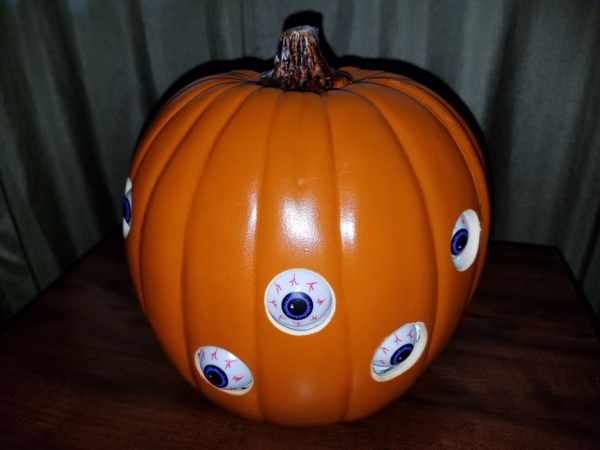
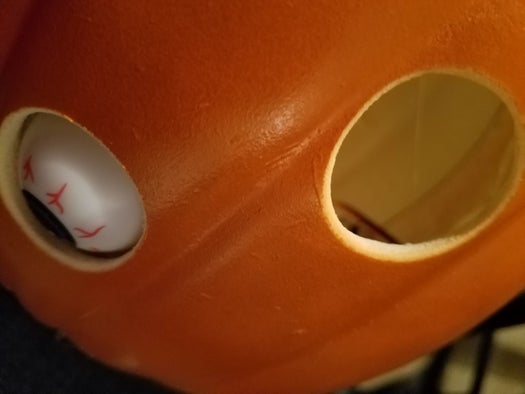
Using your drill and a drill bit a little smaller than the diameter of the spooky eyes drill randomly spaced holes in the pumpkin. The original inspiration pumpkin had 12 spooky eyes. You can adjust the number of eyes to your liking and the size of the pumpkin. The spooky eyes used in this project were about 1 1/4″ in diameter so I used a 1″ spade bit to drill the eyes.
After I drilled the holes I took the file to create a chamfered edge on the inside of the hole testing it frequently with one of the eyes. Once I was satisfied I used fine sandpaper to slightly chamfer the outside edge of the hole giving it a more realistic looking effect.
Step 3: Create the Eye Socket
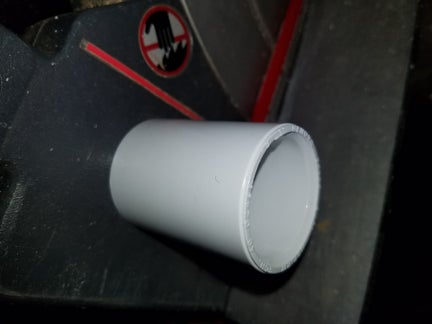
Take a 1″ PVC coupling or whatever size coupling you can find that fits your spooky eyes and cut it in half.
Depending upon the size of your spooky eyes you may need to bore the inside of the PVC coupling a little larger. The eyes used in this project were roughly 1 1/4″ in diameter so the coupling halves were bored out using an 1 1/4″ spade bit and drilled to a depth of about 3/8″. However, the depth can be modified to meet the needs of the actual eyes you selected and the wall thickness of the pumpkin you are using. The thicker the foam walls of the pumpkin, the less need to bore the hole larger. In the inspiration video, contributor 68percentwater did not seem to need to modify the 1″ couplings because the real pumpkin walls were thick but the walls on the foam pumpkin used in this project are very thin so modifications to the coupling were required.
Once the PVC coupling halves are properly modified for use as eye sockets test fit the spooky eyes. Determine where the center of the aligns with the eye socket. Using a small drill bit, drill a hole all the way through the eye socket. This hole will be used to attach the eye in the next step. In this project the holes are set 1/4″ from the front of the eye socket. Alternatively, you can file groves into the front of the eye socket deep enough to allow the center of the spooky eye to sit inside the eye socket deep enough to appear realistic. Both processes were used in this project to test which worked better. Our conclusion is that the drilled holes are better.
Step 4: Attach the Spooky Eyes to the Eye Sockets
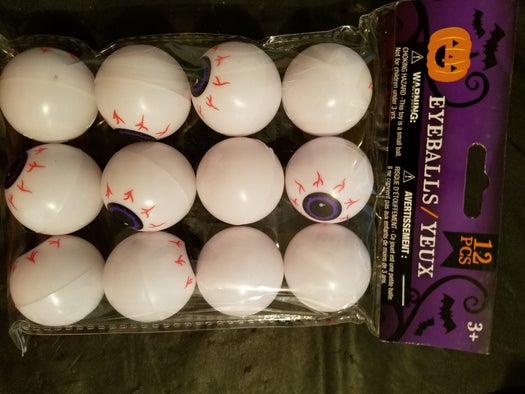
Find the center of the top of the spooky eye. Then drill a small hole through it and all the way out the bottom. In this project, the spooky eyes being used have a little reflective spot on their pupils so I decided that I would have these on the left side of the eyes. This meant that I had to take care when drilling the holes such that the reflective spot was always in the same position on each spooky eye as I drilled the holes. Also, on this project a few of the spooky eyes look up and down. On those eyes the holes were drilled 45* out (on the sides of the eyes).
Next, cut a 2″ length of bailing wire. Carefully place the spooky eye in the eye socket and align the holes. Subsequently install the bailing wire through the one side of the eye socket, into the spooky eye and out the other side of the eye socket. Bend the protruding ends of the bailing wire over 90* and secure with hot melt glue.
Once the spooky eye is mounted in the eye socket cut a wooden dowel rod about 1 1/2″ long. Taking care to have the spooky eye pupil centered in the socket, add a little hot glue to the tip of the wooden dowel rod and attach it to the center of the back of the spooky eye. You’ll notice that each dowel rod has 2 holes drilled for attaching the servo to the rod via a short length of bailing wire. As this build is a prototype the exact amount of leverage and throw of the servos was not know at the time and thus it was decided that having both holes increased our chance of success. As it turns out the inner hole is more than sufficient and the length of the rods could be shortened thus providing better clearance inside the pumpkin.
Step 5: Mount the Servos to the Eye Sockets.
Hot glue a motor servo to each of the eye sockets. Once the glue hardens then take a section of bailing wire and connect the dowel rod to the servo horn. In this prototype we had to enlarge the servo horn hole before the bailing wire would fit. Make sure that the you center the eye and the servo horn before cutting the bailing wire to length this will ensure the correct throw to the eye socket. Adjust as needed.
Step 6: Glue the Eye Socket and Servo Assemblies Inside of the Pumpkin.
In this next step hot glue each of the eye socket and servo assemblies inside of the pumpkin. Take care to orient all of the eyes correctly.
Step 7: Connect the Electronics
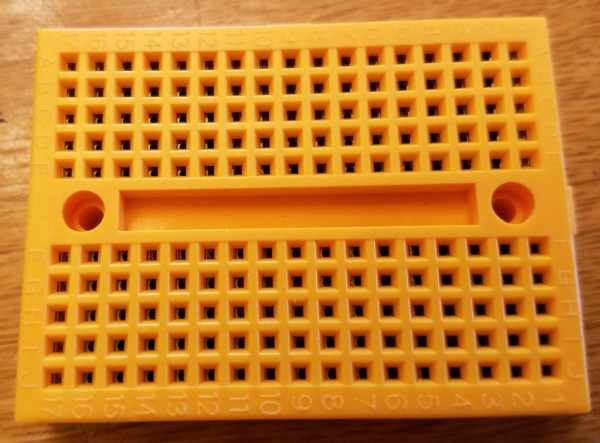
In this step you will need to connect servos to the power, ground and digital pins. The servos used in this prototype have red (5 volt +), brown (ground -) and orange (trigger) wires. The red wire of each servo s must be connected to the 5 volt pin of the Uno board, the brown wire of each servo must be connected to the ground pin of the Uno board and Finally, the orange wire of each servo must be connected to a digital output pin on the Uno board. The program below uses pins 5 through 10 to control the six servos. Therefore, we connected pin 5 to the first servo, 6 to the second, 7 to the third, etc., etc. until we finally had all 6 servos connected. To aid in connecting all of the 5 volt and ground connections a small solderless breadboard was used to distribute both the 5 volts and ground connections from the Uno board to each of the servos.
Source: Animated Spooky Pumpkin Eyes