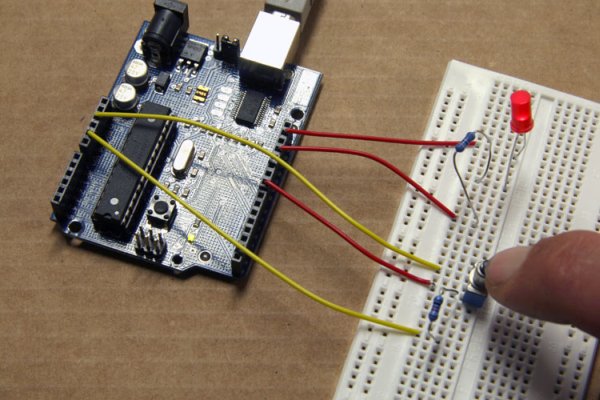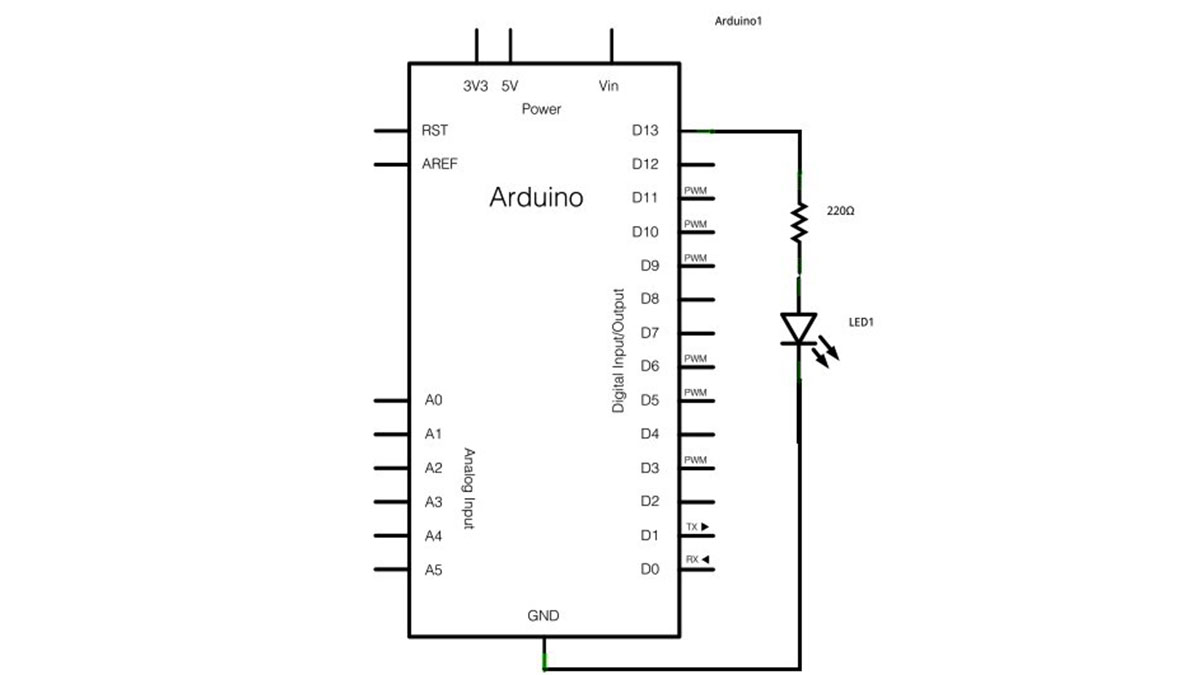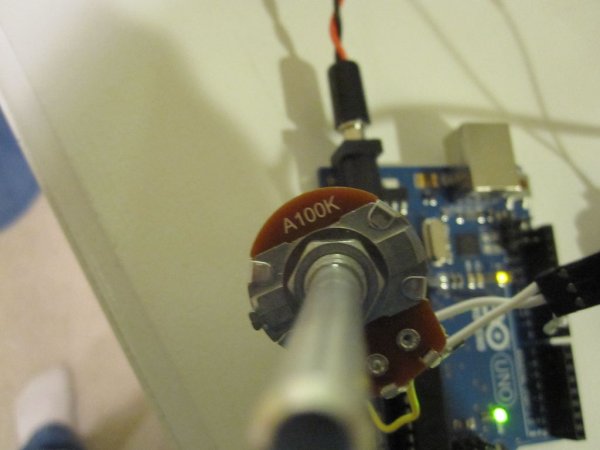
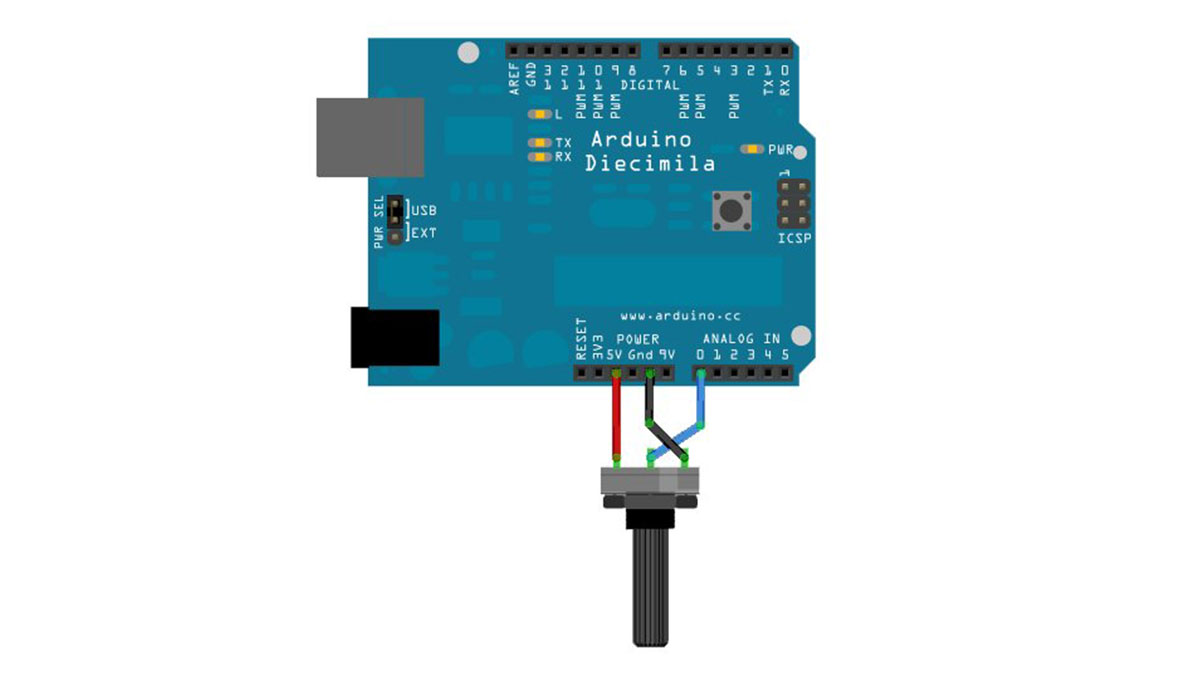
A potentiometer is a simple knob that provides a variable resistance, which you can read into the Arduino board as an analog value. In this example, you’ll connect a poterntiometer to one of the Arduino’s analog inputs to control the rate at which the built-in LED on pin 13 blinks. Circuit image developed using Fritzing. For […]
Projects
SPlaying tones on Multiple outputs using the tone() function with Arduino
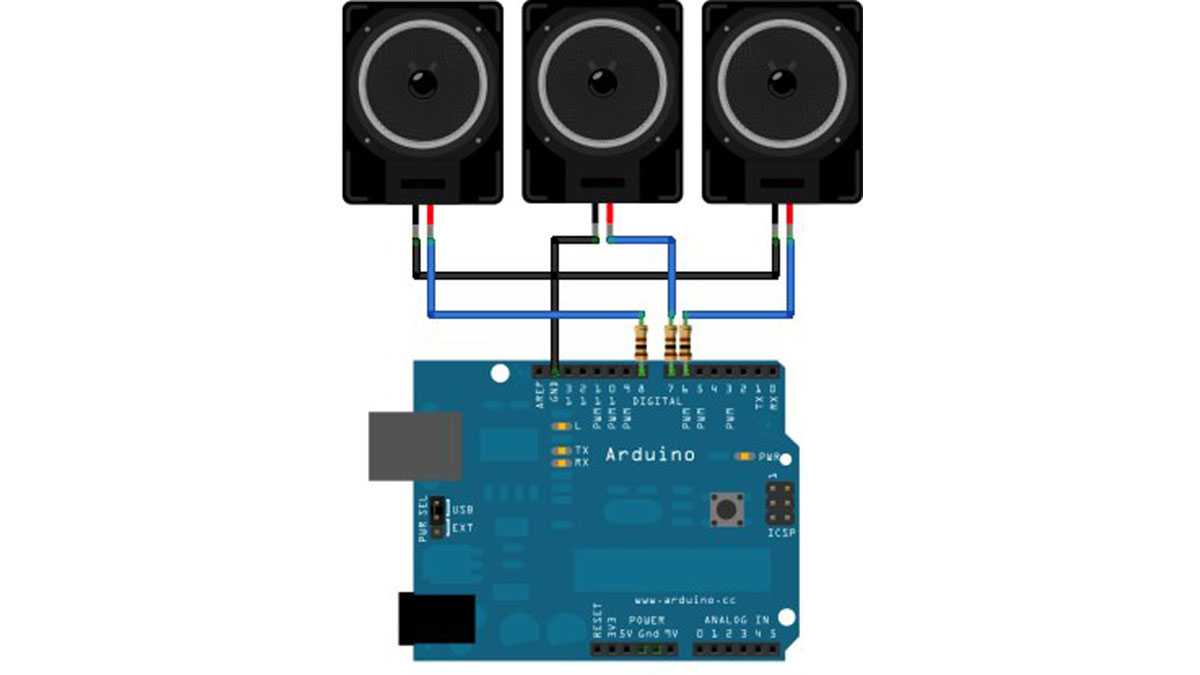
This example shows how to use the tone() command to play different notes on multiple outputs. The tone() command works by taking over one of the Atmega’s internal timers, setting it to the frequency you want, and using the timer to pulse an output pin. Since it’s only using one timer, you can only play […]
Simple keyboard using the tone() function using Arduino
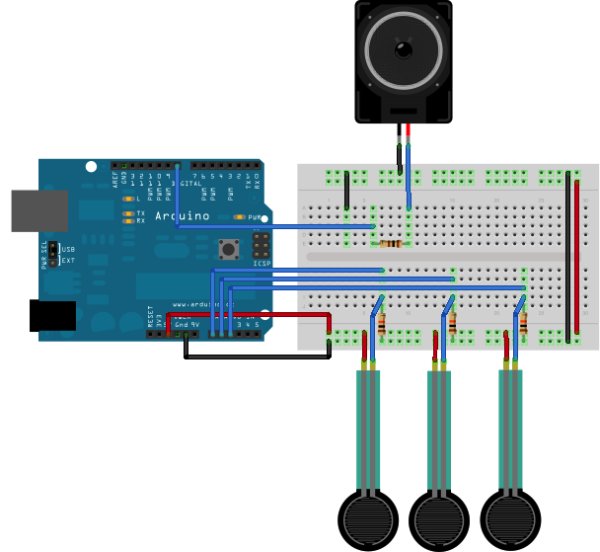
This example shows how to use the tone() command to generate different pitches depending on which sensor is pressed. Circuit Connect one terminal of your speaker to digital pin 8 through a 100 ohm resistor, and its other terminal to ground. Power your three FSRs (or any other analog sensor) with 5V in parallel. Connect each […]
Play a Melody using the tone() function with Arduino
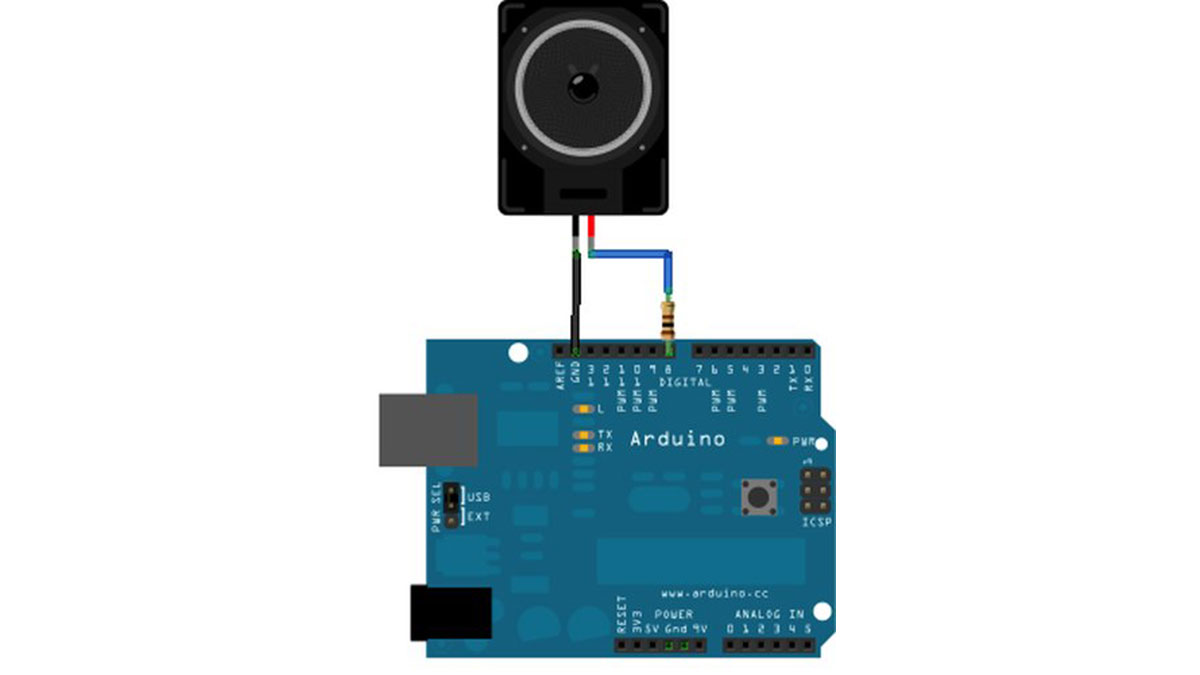
This example shows how to use the tone() command to generate notes. It plays a little melody you may have heard before. Circuit image developed using Fritzing. For more circuit examples, see the Fritzing project page Connect one terminal of your speaker to digital pin 8 through a 100 ohm resistor. Connect the other terminal to ground. […]
Debounce an input using Arduino
This example demonstrates how to debounce an input, which means checking twice in a short period of time to make sure it’s definitely pressed. Without debouncing, pressing the button once can appear to the code as multiple presses. Makes use of the millis() function to keep track of the time when the button is pressed. Circuit image […]
Push-button using an Arduino
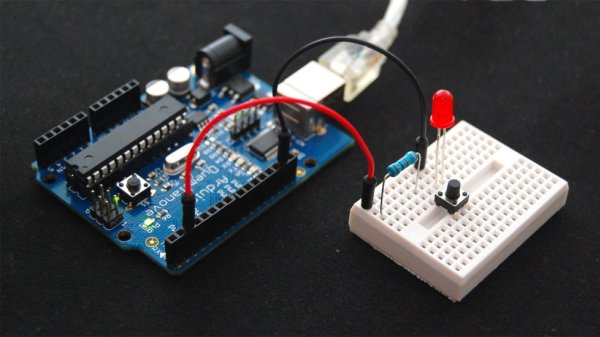
Pushbuttons or switches connect two points in a circuit when you press them. This example turns on the built-in LED on pin 13 when you press the button. image developed using Fritzing. For more circuit examples, see the Fritzing project page Connect three wires to the Arduino board. The first two, red and black, connect to the […]
Blink Without Delay using Arduino
Sometimes you need to do two things at once. For example you might want to blink an LED (or some other time-sensitive function) while reading a button press or other input. In this case, you can’t use delay(), or you’d stop everything else the program while the LED blinked. The program might miss the button press […]
Analog Read Voltage using Arduino
This example shows you how to read an analog input on Pin 0, convert the values from analogRead() into voltage, and print it out to the serial monitor. Circuit: image developed using Fritzing. For more circuit examples, see the Fritzing project page Connect the three wires from the potentiometer to your Arduino board. The first goes to […]
Using Servo Motors with Arduino
In this instructable, I am going to show you what a servo motor is, how to use it, and ideas for starting projects using it. I used arduino to control my servo, I added how to use a 555 in some of the later steps. Step 1: What is a Servo motor If you are […]
Fading an LED off and on using Arduino
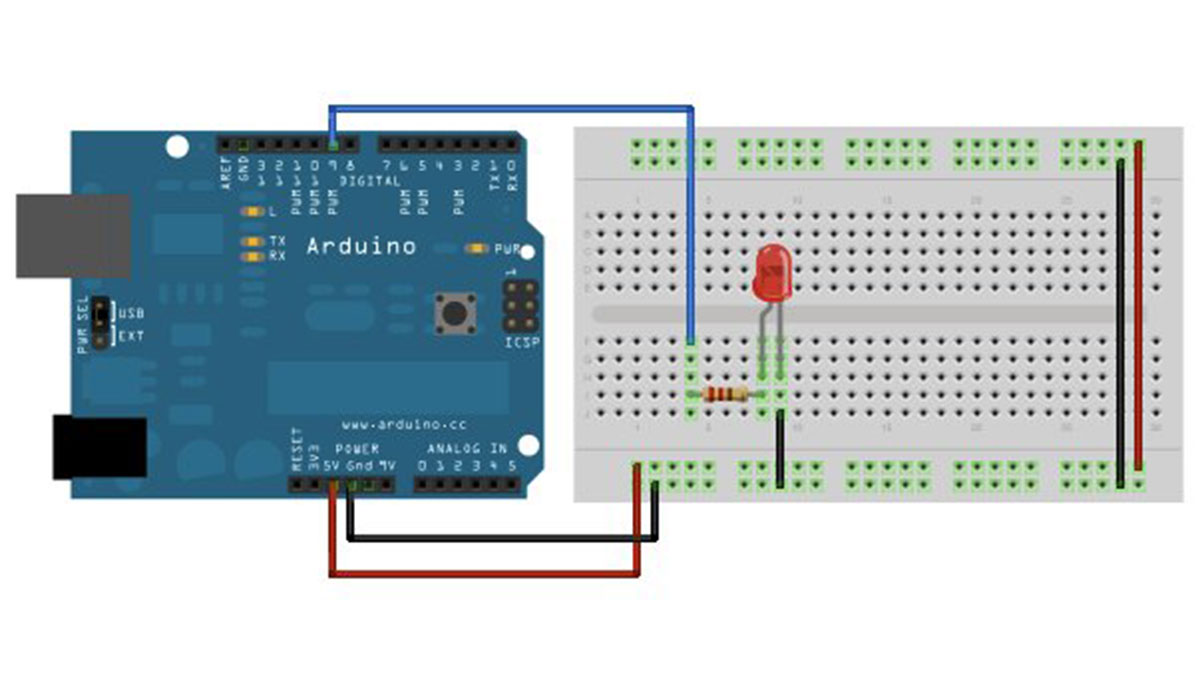
Demonstrates the use of the analogWrite() function in fading an LED off and on. AnalogWrite uses pulse width modulation (PWM), turning a digital pin on and off very quickly, to create a fading effect. Circuit Connect the anode (the longer, positive leg) of your LED to digital output pin 9 on your Arduino through a 220-ohm resistor. Connect the cathode (the shorter, negative leg) […]