Howdy! If you are interested in astronomy and always look up at the stars and not down at your feet, you’ll surely know the ISS. The ISS or The International Space Station revolves around the earth around 16 times per day. Being an aerospace engineering student, I’m very keen about things like the ISS. If you’re too, then I bet you’ll love this project.
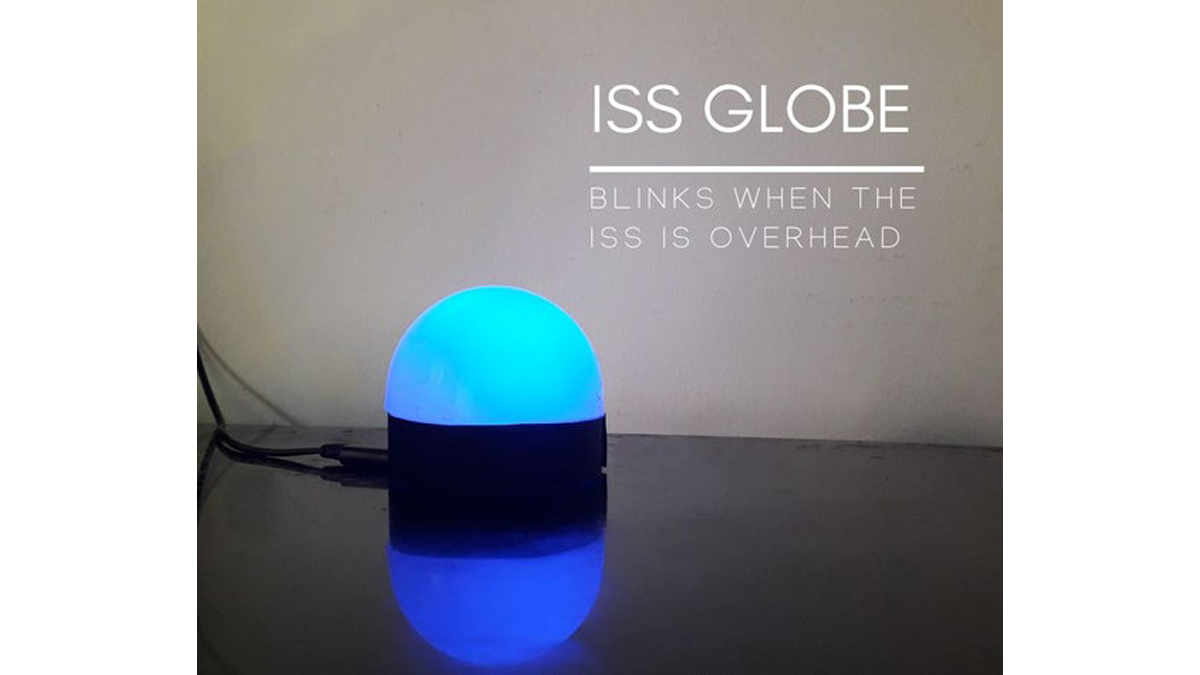
Meet ISS Globe – a smart lamp that can notify you whenever the ISS is passing overhead. Basically, it’s a small (and cute looking) hemispherical lamp that gives a mild glow when connected to a power supply. If the ISS is passing overhead, the lamp starts blinking for about 30 seconds (you can customise the duration).
It’s also very pleasant to look at when it just sits on the table like any other mood lamp. Sounds complicated to build, but nope, it’s a very simple microcontroller project. No soldering, no glue gun, just a microcontroller(esp8266) and an LED for the main part. You can finish the complete build in just an hour! The video shows how it behaves, note that the blinking is just a demo. Although I have witnessed a flyby and blinking of the globe before writing this instructable.
So what’s the wait for? Let’s get making!
Supplies:
NodeMcu WiFi development board https://www.amazon.com/AZDelivery-Nodemcu-Module-E…
An LED
Cardboard
Female- Female jumpers (optional) https://www.amazon.com/LANDZO-Multicolored-Breadbo…
Cellophane tape
Adhesive
Besides these, you’ll have to install two free apps- Blynk and ifttt
Playstore link:
Blynk: https://play.google.com/store/apps/details?id=cc.b…
IFTTT: https://play.google.com/store/apps/details?id=com….
Appstore link:
IFTTT: https://itunes.apple.com/us/app/ifttt/id660944635?…
Blynk: https://itunes.apple.com/us/app/blynk-iot-for-ardu…
Step 1: Build the Structure

To make the globe, I used the top portion of an old LED light. It can disperse the light very well. Popping it out of the light is simple, use a screw driver to push it out of the bottom plastic part.
To make the base of the lamp, I cut a strip from black cardboard and rolled it into a cylinder. The height of the cylinder (thickness of the strip) should be a tiny bit more than the height of the NodeMcu when it is standing on its pins. I cut a circle with diameter equal to the diameter of the top globe from the cardboard and stuck the cylinder on it with adhesive. Great! The building process is complete. Now let’s move to the electronics.
Step 2: Upload the Code
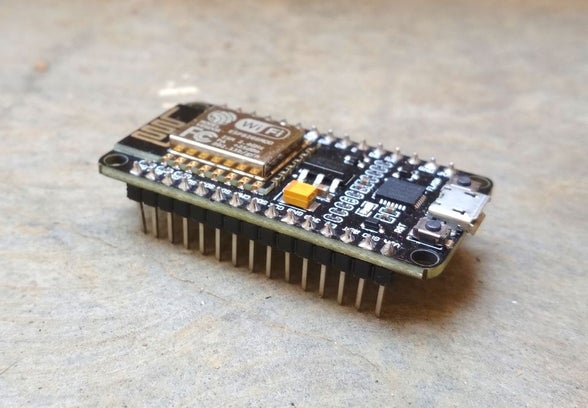
The heart of the ISS globe is the NodeMcu, and we need to code it to make it work as we want it to. You can find two different versions of the code in this step. One is the blink version and the other is power saving version. Let me explain what each one does.
Blink version: When you power the NodeMcu, the led will always remain on. When the space station passes overhead, the led will start blinking for about 30 seconds. After that, it’ll again glow continuously.
Power saving version: The LED will remain off even when you power up the NodeMcu. When the space station passes overhead, the led will turn on for 30 seconds and then turn off.
While the second one saves power since the led is normally off, I would suggest you to still use the first one because the globe looks very beautiful when it glows. Anyway a single led will not consume so much power that it’ll alter your electricity bill. I shall do a code walkthrough at the end of the instructable. So if you’re interested, you can refer it to understand the working.
After you’ve decided which one to use, download it and open it in the Arduino IDE. Make sure you have the blynk and node mcu libraries installed. Then, replace the part of the code saying “ssid” with your WiFi name and “password” with the WiFi password. You also need to replace the part saying “Auth” which I’ll explain in the coming steps. After doing these modifications, you can upload the code to your NodeMcu.
Step 3: A Little Bit of Electronics
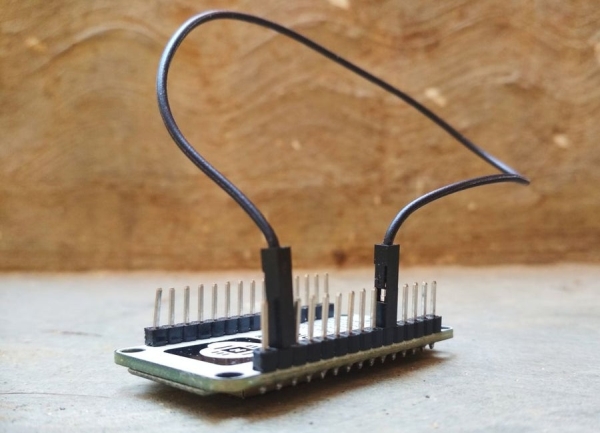
This step is an easy one. I’ll keep it short. Connect pin D1 of the NodeMcu to D7. Connect the positive electrode of the LED to D5 and negative electrode to GND of the NodeMcu.
I sanded the top of the led to disperse the light and bent the pins in L shape. I then stuck the LED to the bottom of the NodeMcu so that it doesn’t occupy much space. Now the NodeMcu can be placed upside down in the cardboard bottom we built earlier and the hemisphere can be stuck on top.
Yify! The major part of the build is done! Now the only things left are configuring the two downloaded apps. Go ahead and download them if you haven’t because I shall be explaining how to configure them in the next steps with screenshots. So it’ll be easier for you if you follow along.
Basically, what we are going to do is create a button on blynk that triggers a specific pin (say D1) of the Nodemcu. We then create an IFTTT applet that connects to blynk and triggers that button when the ISS passes over our location. All that the code does is blinks the LED for 30 seconds if that particular pin (D1 in this case) is triggered.
Read more: ISS Globe- Blinks When the ISS Passes Overhead