
Summary of RGB LED Strip Clock
This project features an analog-style clock built with an Arduino microcontroller. It utilizes an RGB LED strip for visual display, a DeadOn RTC module for independent timekeeping via SPI communication, and a custom user interface that enables users to adjust settings and modify the clock's appearance.
Parts used in the Analog Style Clock:
- Arduino microcontroller
- RGB LED Strip
- DeadOn RTC
- Custom user interface
For the final project we made an analog style clock with an Arduino microcontroller. To do this we used three major components: an RGB LED Strip, a DeadOn RTC, and a custom user interface.
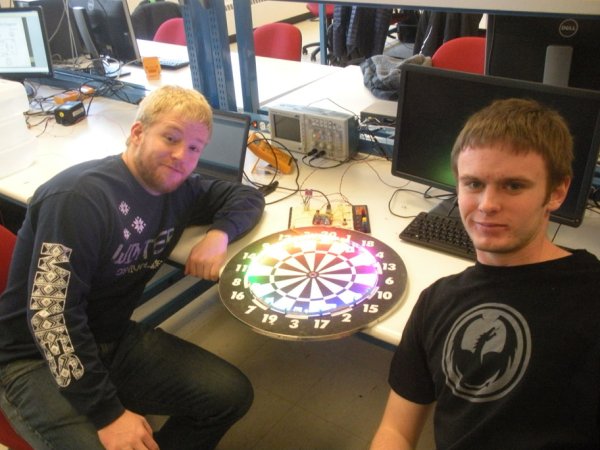
The LED strip is used to set the display around the clock. The DeadOn RTC is used to keep time independent of the microcontroller and communicates using SPI. The custom user interface allows the user to make various selections concerning the display of the clock and setting the time.
Read More Detail :RGB LED Strip Clock
- What components are used in this clock project?
The project uses an Arduino microcontroller, an RGB LED Strip, a DeadOn RTC, and a custom user interface. - How does the clock keep time?
The DeadOn RTC keeps time independently of the microcontroller and communicates using SPI. - What is the function of the RGB LED Strip?
The LED strip is used to set the display around the clock. - Can users change the clock settings?
Yes, the custom user interface allows the user to make various selections concerning the display and setting the time. - Does the RTC rely on the microcontroller for timekeeping?
No, the DeadOn RTC keeps time independent of the microcontroller. - What communication method does the RTC use?
The DeadOn RTC communicates using SPI. - What type of clock was created for the final project?
An analog style clock was made using an Arduino microcontroller.
