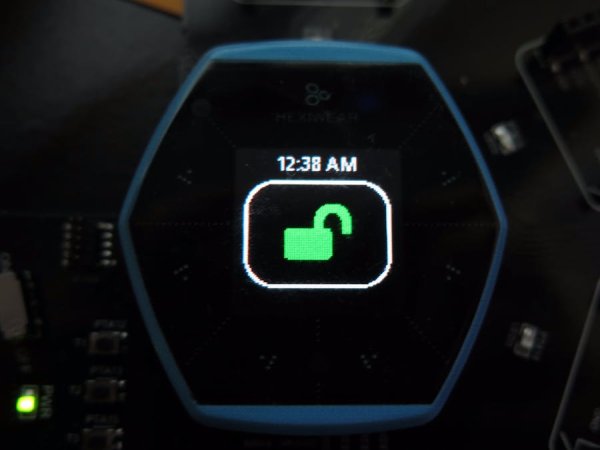
Reinventing the home security system with the IoT method using sensors connected to a Node.JS server.
Story
The Idea
Modern security systems have several disadvantages, some of which are:
- As a user to you can’t customize the system the way you want
- The panel is in a centralized location, if you can’t get to it and you don’t have a keyfob handy, there is no way to trigger the alarm or arm it
- There may be vulnerabilities that robbers are aware of with that specific system that haven’t been patched, I know that the panel we used to have for years never got any kind of updates
- Most of the existing companies that do advanced modern systems usually need to put holes in the wall for wires or mounting, which might not be allowed if your in a rental, and that means you can’t move it with you if you go to a new place.
Thinking through those things, I came up with an idea for a wireless connected alarm system, that is modular in such a way that it can be installed in any location, and be easily moved to a new place.
How the sensors would work
Like a typical system, all the sensors would be in their own self-contained packages that are either magnetized to the door/window, or stuck on the surface with double-sided mounting tape that’s easy to remove.
All the sensors would connect to a central NodeJS server on the local network that would save their status’, handle sensor events, and provide a point of access either internally or remotely for an admin panel.
But if the network wasn’t available, instead one of the sensors would switch to hosting an Ad-Hoc network that all the sensor would connect to, and it would manage basic alarm functionality until the main server comes online again.
This effectively creates a system where there is no simple single point of entry, eliminating the potential issues that come with having a central panel that could potentially be knocked out to disable the system. Having the sensors also connect to each other means that even if one is knocked-out of the system, all the others are still active.
Points of Access
To access the system, you have several options:
- Create a panel that you mount somewhere that connects to the server and allows you to control the system
- Connect to the server via your laptop of phone and view a webpage with settings and controls
- Use other devices such as a raspberry pie or an Hexiwear to create a remote from the system. The Hexiwear is especially suited for it because of it’s low costs, and the sensors it has which could also be used for events in the system.
Also because the system would be running on a NodeJS server, you could port-forward to the server and connect from anywhere in the world, not just from in your house.
Making it Happen
At this point I don’t have the money to buy all the components the build a full system, but I’m going to make use of what I have and at least make a small scale one for now.
For this project I’ll be using my:
- Beta Arduino MKR1000
- Particle Photon
- Intel Edison
- Hexiwear
- And maybe my TI Launchpad
For sensors I’ll be using:
- Some pieces of tin-foil for door/windows. Ideally I’d use reed-switches but I don’t have any on hand right now
- A cheap $5 360p webcam from the Dollar store along with my Intel Edison for a camera
- Some photo-diodes and a laser for a laser trip wire
- A basic Microphone for detecting sound, probably one salvaged from some old ear-buds
Out of this whole program the NodeJS server is the simplest part. Connecting all the sensors and microcontrollers will probably be the hard part, along with having them communicate with the NodeJS server.
Also I don’t have the time right now to put into making the sensors a connected cloud type setups for when the server goes down, so for this project it will just be a single server.
Hexiwear – Getting Started
Since I already know how to use and program all the other microcontrollers I’ll be using, and how to program the NodeJS server, I’m starting with figuring out how to get the Hexiwear to work.
Hexiwear – IDE Options
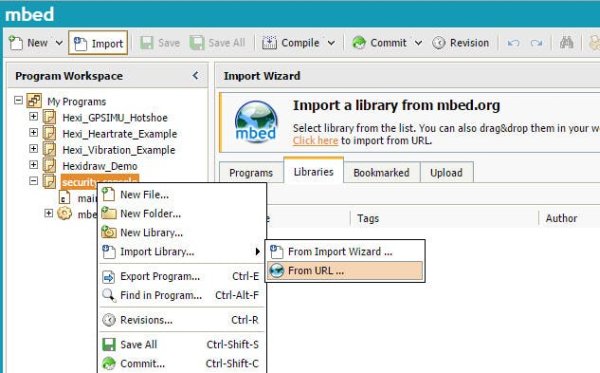
There are the two options I mentioned before, the Kinetis IDE (KDE), or the mBed online IDE.
mBed
Yesterday the Hexiwear team started posting more examples for using the mBed platform for programming the Hexiwear, and answering some questions on the forum for how to use the OLED through the mBed platform.
Ideally I would like to go with using the mBed platform, as it’s simpler to use, but I need to figure out how to fully use the OLED before I can consider it.
KDE
The usual/pro way to program it would be using KDE. Unfortunately though I tried to for 3 days and couldn’t get very far due to the lack of any kind of libraries or basic project templates for Hexiwear projects. The factory demo project could access all the sensors and the OLED, but it also depended on a lot of other files (some unnecessary for what I was doing) that created quite a bloated project.
I’m going to wait a could days and see if I can figure out how to use the OLED in mBed before deciding the use KDE, as mbed would speed us the process a ton.
Read more: Connected Security System


