
Summary of Wi-fi browser controlled servomotors
This project enables remote control of servomotors via a Wi-Fi network using an Arduino Uno and ESP-8266 module, accessible through standard web browsers. The system utilizes HTML and jQuery for the interface and was inspired by existing tutorials for LED control. It is designed for applications like robots, drones, and camera pan/tilt mechanisms, specifically demonstrated in the "Robô da Alegria" project.
Parts used in the Remote Servomotor Control:
- Arduino Uno
- ESP8266 module
- Protoshield or breadboard
- 10 kohm resistor (x3)
- Jumper wires
- SG90 servomotor (x2)
- Computer for code compilation
This instructable shows how to control some servomotors remotely in a wi-fi network, using an ordinary internet browser (Firefox, for instance). This might be used in several applications: toys, robots, drones, camera pan/tilt, etc.
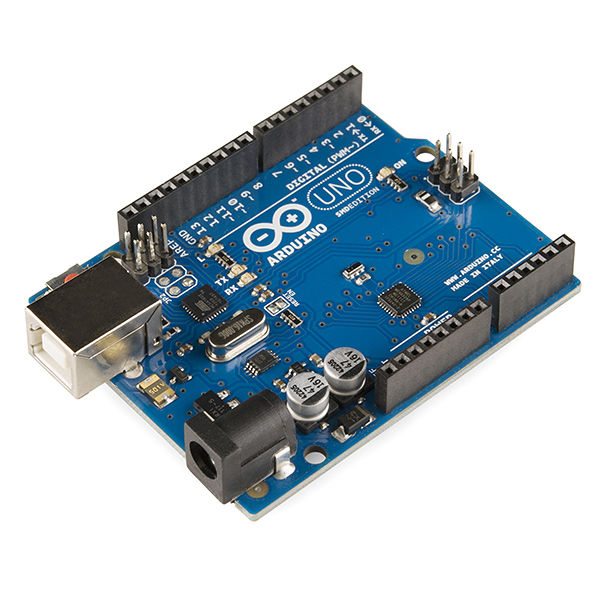
The motors were attached to an Arduino Uno, which connects the wi-fi network through a ESP-8266 module. The control interface was designed with HTML and jQuery.
Miguel’s tutorial (http://allaboutee.com/2015/01/02/esp8266-arduino-led-control-from-webpage/), which shows how to turn LEDs on/off using ESP-8266, served as inspiration for this post.
The technique shown here is used in one of my projects: “Robô da Alegria”:
https://www.instructables.com/id/Joy-Robot-Rob%C3%B4-Da-Alegria-Open-Source-3D-Printed-A/
You might found more about this in one of the following links:
https://hackaday.io/project/12873-rob-da-alegria-joy-robot
https://www.facebook.com/robodaalegria/
https://github.com/ferauche/RoboAlegria
Step 1: Electronics
For this project you’ll need the following components:
- Arduino Uno (buy)
- ESP8266 (buy)
- Protoshield (for a more compact version) or an ordinary breadboard (buy)
- 10 kohm resistor (x3)
- Some jumper wires
- SG90 servomotor (x2) (buy)
- A computer (for compiling and uploading Arduino code)
You won’t need specific tools for the assembly of this project. All the components can be found online on your favourite e-commerce store. The circuit is powered by the USB port (connected to a computer or a ordinary phone charger), but you may also add an external DC power supply or a battery connected to the Arduino power jack.
Step 2: Assembly
Connect all componets according to the schematic. You’ll need some jumper wires to connect the ESP-8266 module and the servomotors. You might use a protoshield (for a more compact circuit), an ordinary breadboard, or design you own Arduino shield.
Plug the USB cable to the Arduino Uno board and proceed to the next step.
Step 3: Arduino Code
Install the latest Arduino IDE. In this project servo.h library was used for the control of the servos. In order to avoid conflict between the wi-fi module and computer’s USB port during the upload of the code, softserial library was used. No additional library was needed for communication with ESP-8266 module. Please check the baudrate of you ESP8266 and set it properly in the code.
Read more: Wi-fi browser controlled servomotors
- How can I control servomotors remotely?
You can control them using an ordinary internet browser over a Wi-Fi network with an Arduino Uno and ESP-8266. - What components are required for this electronics project?
You need an Arduino Uno, ESP8266, a protoshield or breadboard, three 10 kohm resistors, jumper wires, two SG90 servomotors, and a computer. - Can I power the circuit with a battery?
Yes, while it runs on USB power, you may add an external DC power supply or a battery connected to the Arduino power jack. - Which libraries are necessary for the Arduino code?
The servo.h library is used for motor control, and the softserial library is used to avoid conflicts during code upload. - Does the control interface use specific software?
The interface is designed with HTML and jQuery, allowing access via browsers like Firefox. - Is this technique applicable to other devices?
Yes, it can be used for toys, robots, drones, and camera pan/tilt systems. - Do I need special tools for assembly?
No, all components can be assembled without specific tools and found at e-commerce stores. - What should I check regarding the ESP8266 baudrate?
You must check the baudrate of your ESP8266 and set it properly in the code.
