
Summary of Simple 2-way motor control for the arduino
This article demonstrates a method to achieve bidirectional variable speed control of a small DC motor using an Arduino, leveraging two PWM ports without external circuitry like H-Bridges. The technique involves setting one pin HIGH and another LOW to reverse direction, though the author warns this is not safe for high-current applications due to pin limitations.
Parts used in the Simple 2-way Motor Control:
- Arduino
- Small DC motor
- Wire for motor
- Computer with Arduino IDE installed
- A-B USB cord
When I say simple, I don’t mean use a speed control. But control the motor directly without any external circuitry. Here’s how:
How this came about:
I recently was working on an instructable about charlieplexing with an arduino. And I was wondering if the same principle would work with motors to some extent. So I came up with the idea that if you used a motor instead of an led you could have 2-way control of it & if you used 2 PWM (Pulse Width Modulation) ports you could have 2-way variable speed control for a motor with no external hardware!! So I decided to post my findings. Have fun! If you have any questions Please ask them.
Note: This is not the safest way to control a motor. Each I/O pin can only handle 40 mA of current. I would recommend using a H-Bridge as pointed out by: Bongmaster & Frollard.
I am not responsible for any thing bad that happens to you or to your arduino!
Step 1: The stuff you need:
Parts:
– Arduino
– Small DC motor
– Wire for motor
Tools:
– Computer with Arduino IDE installed
– A-B USB cord
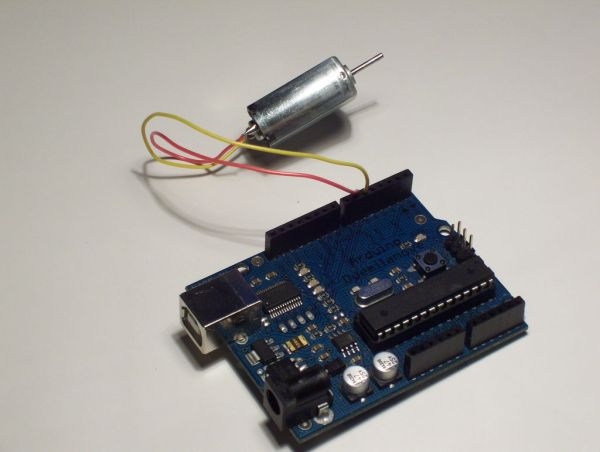
Step 2: Connecting the motor
– Connect one wire from the motor to pin 5 on you arduino
– Connect the other wire from your motor to pin 6 on your arduino
The hardware setup for this is pretty simple.
Step 3: Coding the Arduino
1) Download the source code from below
2) Open the file in the Arduino IDE
3) Press the “Upload to I/O Board” button
4) Once the program is uploaded it will start running
I tried to add a good amount of comments to the code, but if you have any questions, please ask them.
 _2Way_Motor_Control.pde
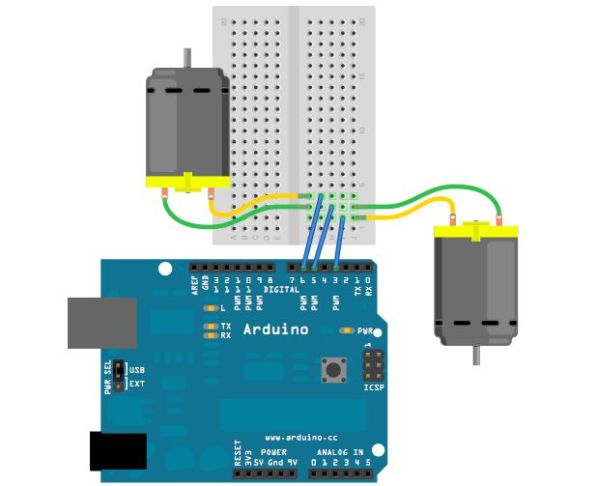
Step 4: How this works & more Ideas
How This Works:
When you make one pin HIGH & another LOW, the pin that is HIGH has a positive voltage & the pin that is LOW works like a ground(-).
– Small DC motor
– Wire for motor
For more detail: Simple 2-way motor control for the arduino
- How can I control a motor directly without external circuitry?
You can use two PWM ports on the Arduino to set one pin HIGH and another LOW for bidirectional control. - What principle was adapted from LED charlieplexing for this project?
The idea was to replace LEDs with a motor to achieve 2-way control and variable speed using PWM ports. - Does this method require an H-Bridge?
No, this specific method uses no external hardware, though an H-Bridge is recommended for safety. - Can I change the motor speed with this setup?
Yes, using two PWM ports allows for 2-way variable speed control. - What is the current limit for each I/O pin mentioned?
Each I/O pin can only handle 40 mA of current. - Which pins are used to connect the motor wires?
One wire connects to pin 5 and the other to pin 6 on the Arduino. - How do you make the motor spin in one direction versus the other?
Making one pin HIGH and the other LOW creates positive voltage and ground respectively to drive the motor. - Is this considered the safest way to control a motor?
No, the author explicitly states this is not the safest way and recommends an H-Bridge instead.