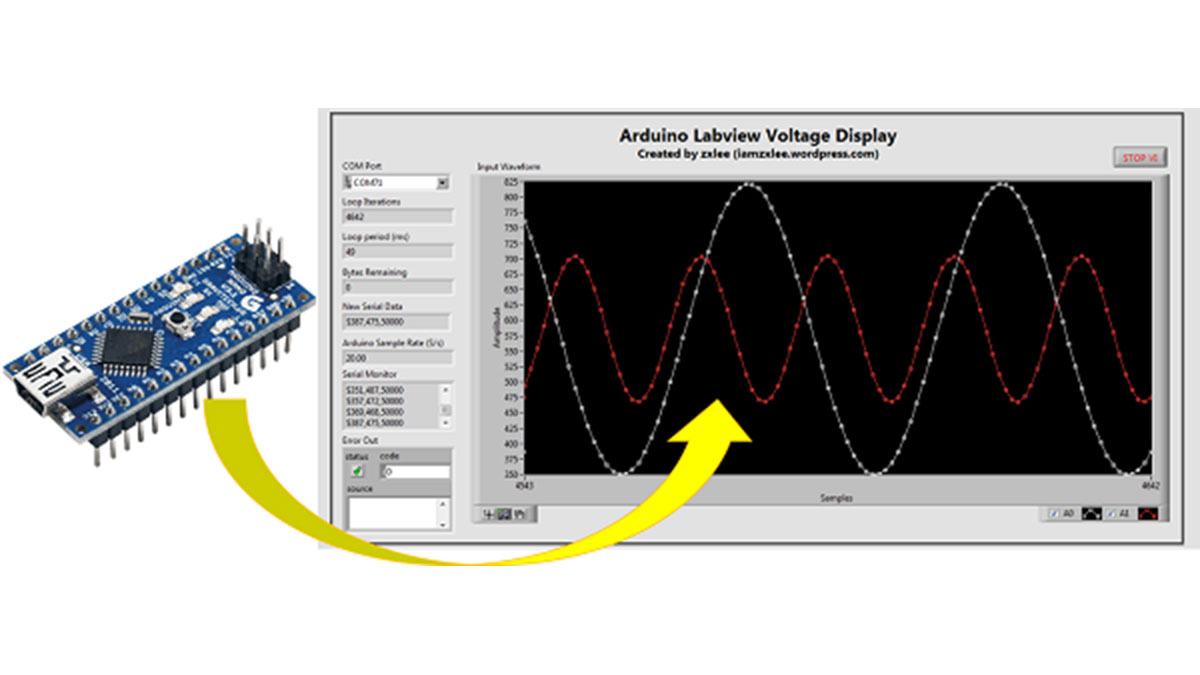
In my previous article, I have made the Bridge Monitoring System using Wireless Sensor Network project, which allows me to display all the related measurements from Arduino on my PC. Therefore, in this article, I am going to explain in details on how to display the Arduino measurements using Laboratory Virtual Instrument Engineering Workbench (LabVIEW). Two analog inputs of Arduino will be measured and displayed on a graph in LabVIEW.

A brief introduction to LabVIEW, according to Wiki, LabVIEW is a system design platform and development environment using graphical programming made by National Instruments. In other words, it can be used for various purposes such as creating graphical user interface (GUI), programming and simulation, hardware interface and data acquisition (DAQ).
Even though there are many platforms or tools available that can be used to create GUI for Arduino, my personal preference is using LabVIEW, mainly is due to the my previous experience with LabVIEW. The graphical programming is also an advantage as it eliminates the need to learn a new programming language. Creating user interface is also an easy task as LabVIEW was designed to enable engineers without heavy programming background to easily configure and display measurements from DAQ devices.
To get started, I will explain what is actually going on in Arduino. In this project, I am using an Arduino Nano to acquire signals and send the data to PC. As mentioned earlier, two analog input channels (A0 & A1) will be used to measure input signals. To ensure an accurate measurement is performed at fixed sample rate, the Arduino is configured to wait the predefined interval before taking a measurement and send to PC serially. The concept used is similar to the BlinkWithoutDelay example in Arduino. The benefit of using this method is that there is a while loop that always checks if it has crossed the desired interval. If it is reached, it will take the measurement, else it will skip and you can make it to work on other task.
Here is the code for Arduino, it is also available at my github.
Read more: Display Arduino analog input using LabVIEW
