
Summary of Simple Arduino L.E.D Police Lights
This project creates simple Arduino police lights using two LEDs and basic wiring. The Arduino toggles a red LED and a blue LED with short delays to simulate flashing police lights. The code uses two output pins, resistors for current limiting, and a breadboard with jumper wires.
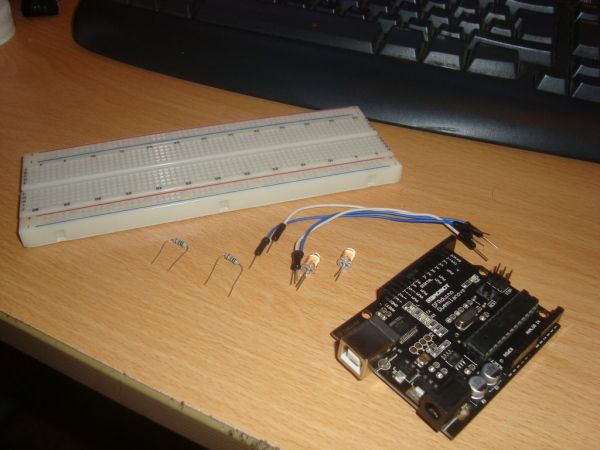
Parts used in the Arduino Police Lights:
- Arduino (or suitable clone)
- Breadboard
- 2x 240 ohm resistors
- 1x clear red LED
- 1x clear blue LED
- Jumper cables
This was one of the first programs i wrote for the arduino after having it a few days 🙂
we will be making l.e.d police lights with minimal materials
Step 1: You will need.
You will need
Arduino (or suitable clone)
Breadboard
2x 240ohm resistors
1x Clear Red l.e.d
1x Clear Blue l.e.d
Some Jumper Cables
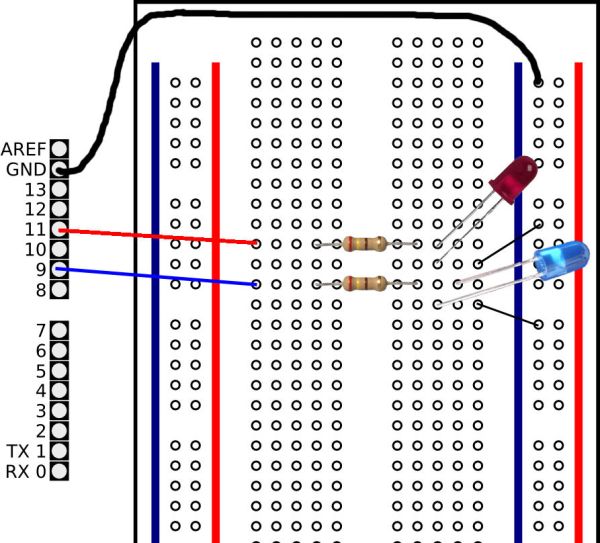
Step 2: Place Components Onto Breadboard
Place the components onto the breadboard as the diagram shows
Step 3: Writing The Code.
The code for this project is very, very basic
// Project 1 – Police Lights by Dave1324
int ledDelay = 50; // delay by 50ms
int redPin = 9;
int bluePin = 11;
void setup() {
pinMode(redPin, OUTPUT);
pinMode(bluePin, OUTPUT);
}
void loop() {
digitalWrite(redPin, HIGH); // turn the red light on
delay(ledDelay); // wait 50 ms
digitalWrite(redPin, LOW); // turn the red light off
delay(ledDelay); // wait 50 ms
digitalWrite(redPin, HIGH); // turn the red light on
delay(ledDelay); // wait 50 ms
digitalWrite(redPin, LOW); // turn the red light off
delay(ledDelay); // wait 50 ms
digitalWrite(redPin, HIGH); // turn the red light on
delay(ledDelay); // wait 50 ms
digitalWrite(redPin, :LOW); // turn the red light off
delay(ledDelay); // wait 50 ms
delay(100); // delay midpoint by 100ms
digitalWrite(bluePin, HIGH); // turn the blue light on
delay(ledDelay); // wait 50 ms
For more detail: Simple Arduino L.E.D Police Lights
- What components do I need to build the police lights?
The article lists an Arduino or clone, a breadboard, two 240 ohm resistors, one clear red LED, one clear blue LED, and jumper cables. - How are the components connected?
Components are placed onto a breadboard and wired according to the diagram in the article. - Which Arduino pins are used in the code?
The code uses pin 9 for the red LED and pin 11 for the blue LED. - What is the LED delay timing in the sketch?
The sketch sets ledDelay to 50 milliseconds and uses a 100 ms midpoint delay. - Does the project require complex code?
No, the article states the code for this project is very, very basic. - Can I use an Arduino clone for this project?
Yes, the article indicates an Arduino or suitable clone can be used. - Are current-limiting resistors required?
Yes, the parts list includes two 240 ohm resistors for the LEDs.