As someone who is very new to digital electronics this LED cube was fun to make, challenging and a great lesson in soldering. If you have some patience (64 LED’s to solder!) and steady hands, this project will be well worth it in the end!

Step 1: Materials & Tools
-64 LED’s ( I used 3mm ones on my cube)
-16 resistors ( I used 330ohm)
-solid uninsulated wire to connect the rows of LED’s together
-Arduino Uno
-Prototype Shield V.5
-2 six pin headers and 2 eight pin headers
-20 pieces of stranded wire (Using multicolored ones will help keep your wiring organized)
-1 stripboard or prototyping board with copper leads (The ones without leads are fine, the copper leads just save you a step)
-A case to hold your cube( I used this one for mine http://www.amazon.com/gp/product/B007POB8PK/ref=oh_details_o01_s00_i01?ie=UTF8&psc=1)
–Optional: A plastic covering to house your cube( I ordered 5 plastic squares with a two way mirror film from TAP Plastics to make my cover. The mirror element gives the illusion of infinity lights)Tools:
-soldering iron
-solder
-drill with a 3mm bit( or any other size depending on your LED)
-ruler
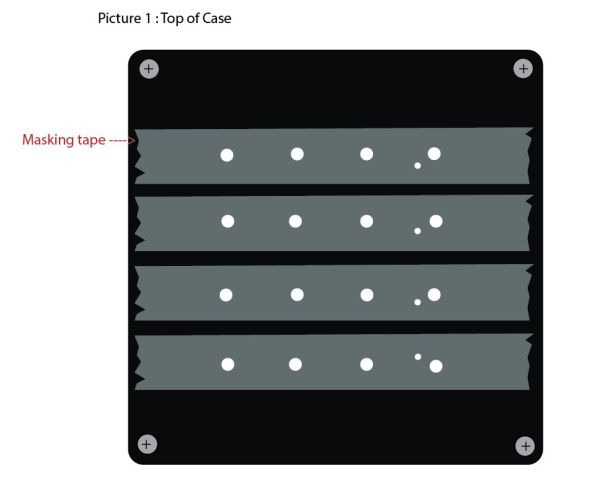
-masking tape
-pliers
Step 2: Creating a LED Template
In order to create a LED template you will need to measure out where to place all your LED’s.
First, cover the top of your surface with masking tape in order to keep it free from scratches and solder that may drop on it later.
After make 16 marks to represent where each LED will go. Then make an extra 4 marks at one end of the grid. These extra marks will be where we connect the common cathodes of each layer to the Arduino. (Picture 1) A good thing to remember when marking your spots is that the cathode(shorter and negatively charged leg) of each LED will need to overlap with the other. That means the spacing between each LED needs to account for that. (Picture 2) For example, if each cathode leg measures to about 23mm when bent I would subtract about 1mm from that and space each of my holes out by 22mm so I would have a 1mm overlap.
After marking where to place your LED’s grab your drill and fit it with the same size bit as your LED bulb size. I used a 3mm drill bit on mine since my LED’s were 3mm. After drilling your 16 holes with that bit switch to a smaller bit for the last 4 holes at the end of the grid. For mine I used a 1.5mm drill bit.
Step 3: LED Layers
Now to solder all your LED’s together!
First, make sure all your LED’s are working! Yes, it might take a while to test out 64 LED’s but it is definitely worth it. You don’t want to find out you have a dead LED in the middle of this project.
Step 1)After testing out your LED’s you will need to bend each cathode leg to a 90 degree angle. I bent mine with pliers right below the little nub each LED leg has. This kept each bend at a consistent length. (Picture 1)
Step 2) Next, place 4 LED’s into the template you created in the previous step. If all went according to plan your LED’s should overlap by about 1mm. (Picture 2) Solder all the LED’s together at the place they overlap. Repeat this step 3 more times and fill up your template.
When you’re done you should have 4 rows of 4 LED’s soldered together. (Picture 3)
Step 3) Now you will need to cut two pieces of solid uninsulated wire and straighten them. The wire should fit the length of the cube. These pieces of wire will connect the 4 rows of LED’s together to form a layer. Place one wire after the first row of LED’s and one wire right before the last row of LED’s. (Picture 4) Feel free to cut off the remaining legs of the 4 cathodes.
Step 4) Remove the layer and set aside.
Repeat steps 2-4 to create 3 more layers of LED’s!
For more detail: 4X4X4 LED Cube w/ Arduino Un