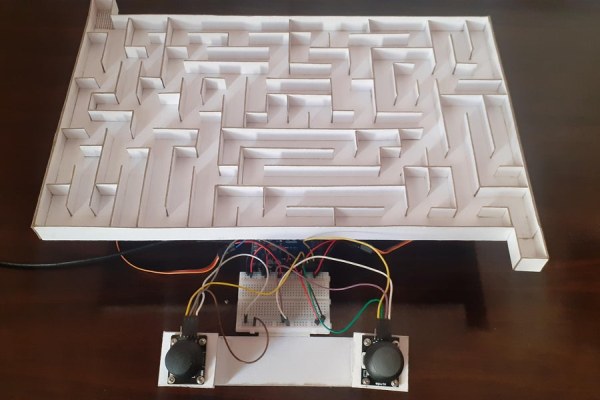
Hello friends , so today we are going to make a maze game using ARDUINO UNO.
As Arduino Uno is the mostly used board it is very cool to make games with it. In this Instructable lets make the maze game which is controlled using joysticks .
Don’t forget to Vote and this is MY FIRST INSTRUCTABLE.
Supplies
1.Cardboard(MDF Board)
2.Joystick Module*2
3.SG90 Servo Motor*4
4.Arduino Uno
5.Breadboard
6.Nuts
7.Nail pins
8.Jumper wires
9.Connecting wires
10.Some cardboard pieces
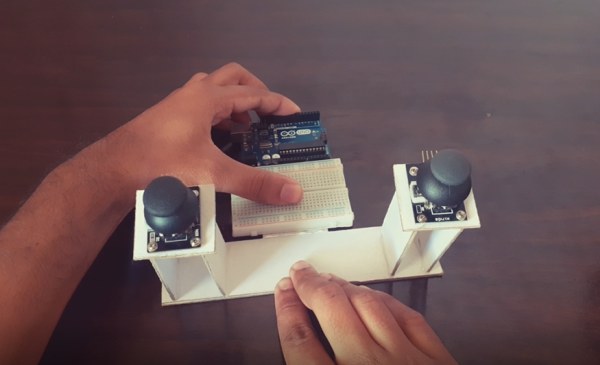
Step 1: Joining the Joystick
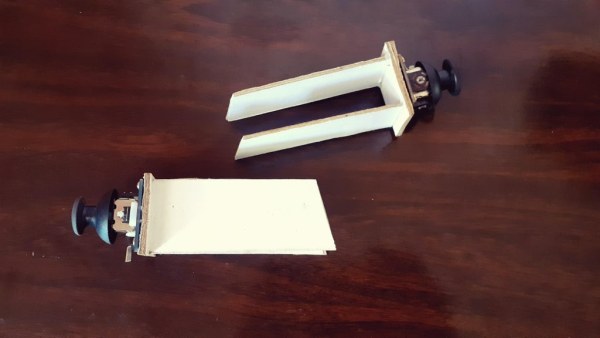
Firstly we are going to make a remote controller to control our gaming setup.
This is done easily by using joystick module. Place the joystick module on the cardboard and add two side cardboard pieces to make it like a jostick arm. This wo controllers are help to control the 4 servo motors effectively and it makes the control very cool even. Even though if you want to increase the difficulty of our game you can do connections of servo with jostick module in opposite manner easily.
Step 2: Pieces
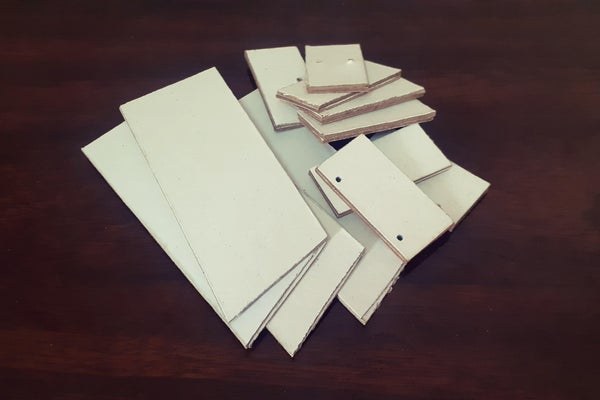
Take cardboard and make some pieces according to the size of the servo motors.
This cardboard pieces can connect the servo motors perpendicular to each other.
Step 3: Joining the Servos
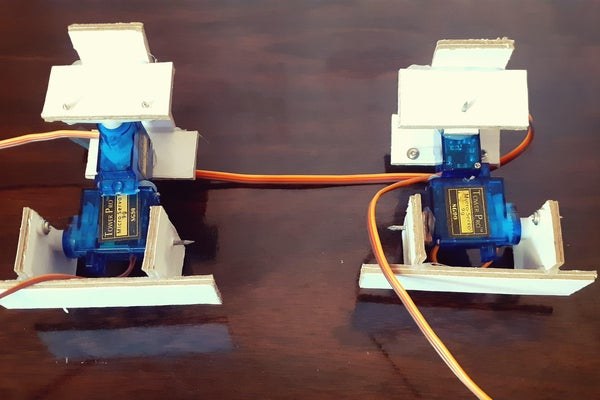
Take the two servo motors and connect them perpendicular to each other so that they can control the X and Y axis turning of the maze when controlled with the joystick.
Place this two pairs on the cardboard piece to hold the maze over it.
In order to make the base strong we can also use the MDF board rather than the cardboard.
Step 4: Connecting the Parts
Place the breadboard and Arduino Uno on cardboard and connect it with the joysticks using glue gun.
Step 5: Cuttings
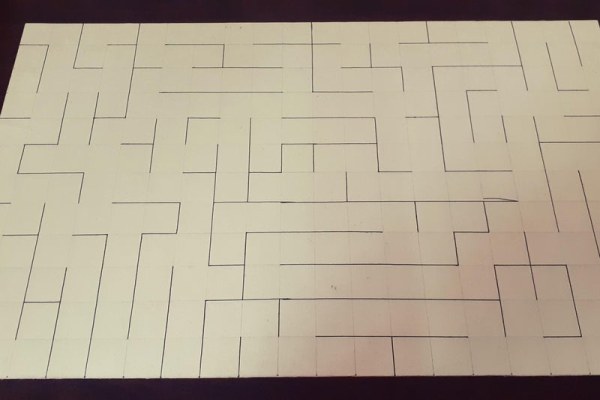
Take the cardboard and make a difficult maze over it.
Then use the cardboard pieces to make a 3D maze easily and surround it with borders.
Step 6: Connections
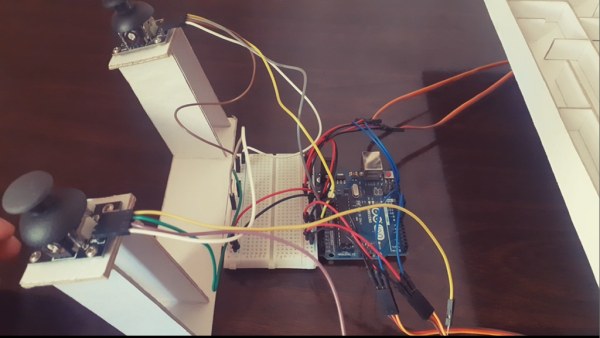
1.Connect s1,s2,s3 and s4 to the arduino digital pins (any according to you)
2.Connect the jostick modules to analog pins A0,A1,A1 AND A3 consecutively .
NOTE:-
1.Remember while uploading the given program into arduino that your connected pins and analog pins must be same otherwise the project doesn’t works.
2.Change the pin no. in the programming code according to your connections.
Step 7: Programming
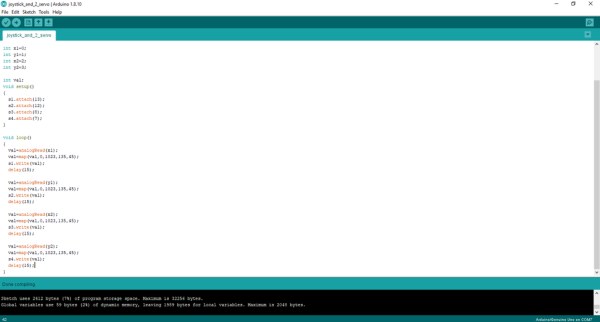
https://docs.google.com/document/d/1Rnvig5YBqGpCQB…
Let’s upload the code.
Step 8: Result

Our 3D MAZE GAME is ready to be played.
Source: 3d Maze Game Using Arduino