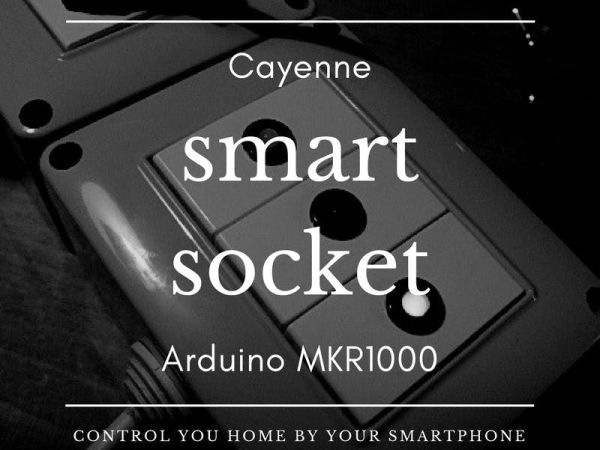
A really smart IoT socket. Switch ON/OFF your device by the smartphone using Cayenne Dashboard and Arduino MKR1000.
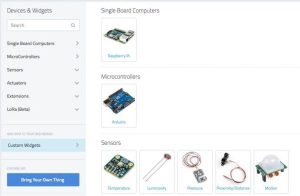
Things used in this project
Hardware components | ||||||
 |
| × | 1 | |||
 |
| × | 1 | |||
 |
| × | 1 | |||
Software apps and online services | ||||||
| ||||||
 |
| |||||
 |
| |||||
 |
| |||||
Hand tools and fabrication machines | ||||||
 |
| |||||
Story
I saw Chinese socket that you can command by your phone, but I’m a maker, and I just want make one of this by myself!
This is possible by using CAYENNE Dashboard!
Do you know Cayenne? See the Cayenne site!
Total amount of project is about $ 60,00
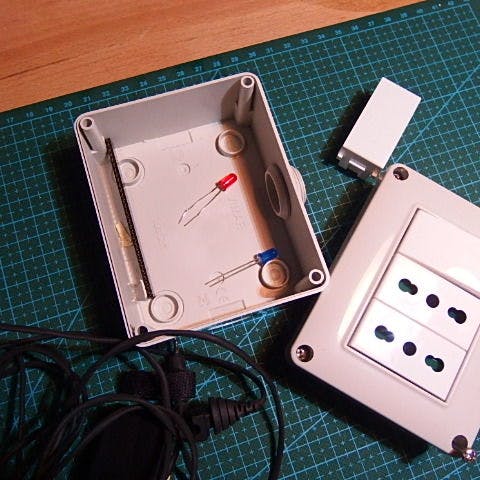
I use a normal socket components, and an Arduino MKR1000. Now I can switch on and off two sockets in my home whenever I want, and everywhere in the world by using my smartphone or others PC in the world, like an Internet Point PCs in Bangkok.
Step 1: Materials
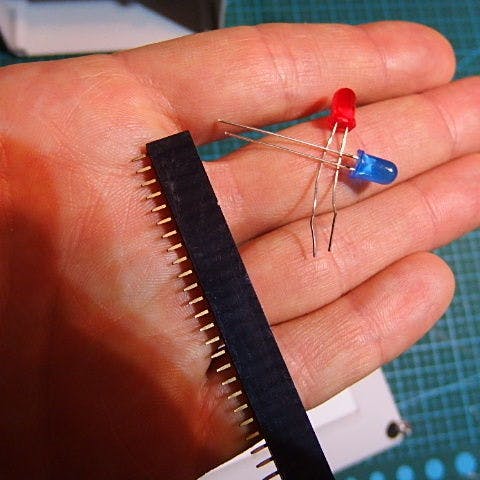
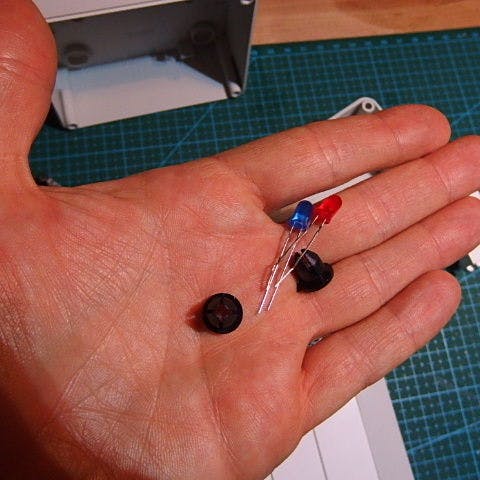
The total amount of project is about 60,00 $. The materials are available on Amazon, or on your local store.
You can buy Arduino MKR1000 by Amazon, and others electronics components, and buy the socket components by your local store. In Italy, there is 220V AC current for the home appliance. For this reason, the sockets have this kind of shape. You can use your local socket and your local AC components.
The Arduino and relay socket components are:
- Stripline connectors for Arduino MKR1000 (I can disconnect the Arduino MKR1000 from the PCB)
After you can buy on your local electronics store the 220 or 110 volts components.
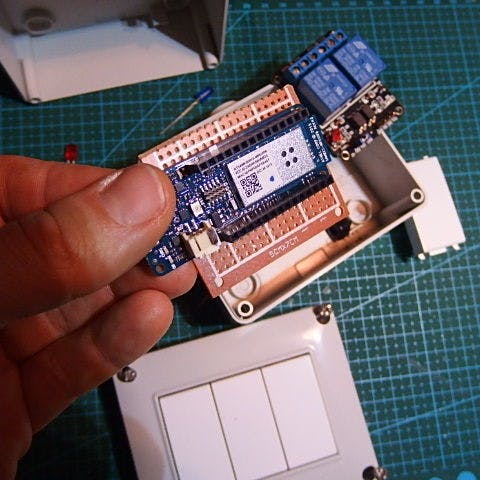
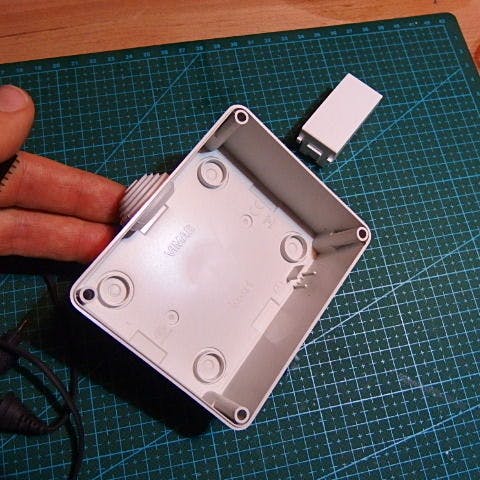
You can assemble all the components, and open a hole for Arduino MKR1000 USB cable. With this procedure, you can program your Arduino without open the case of the socket. You can upgrade or modify the sketch whenever you want.
Step 2: The Theory and the Practice
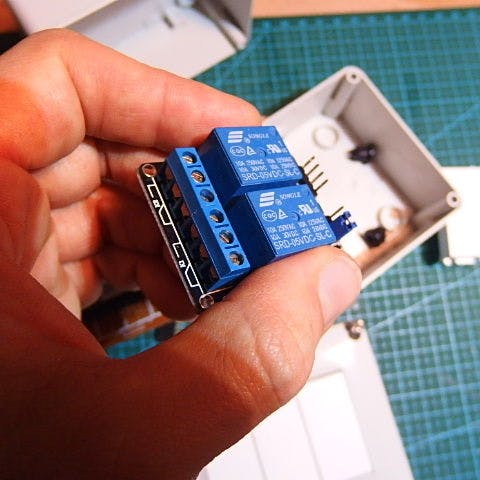
In the video I can to explain the project. You can use Arduino MKR1000 or many others shield like ESP8266 and others. Pay attention to the power limits of relays. The power in Watts on my socket is 10A on 220Volts about 2200W of power. Yes, I can use my hairdryer…
Put together, and try the relay shield by using the blink code.
Pay ATTENTION!!
This Project Use HIGH TENSION
Find the blink code in Arduino IDE. Click on File –> Examples –> Basics –> Blink. Use the pins that have relays shield, and see the led and the relay blinking. In my case, the pins are 7 and 8. Do not use the pin number 6. This pin is connected to one resistor, and to the onboard led. If the blink code work, you can go to the next step.
You can program your Arduino by using create.arduino.cc
Step 3: Create the Cayenne Dashboard
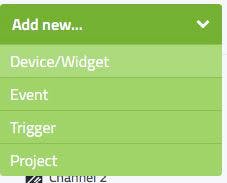
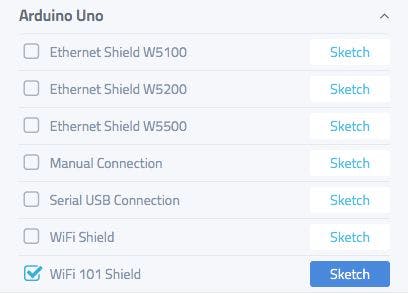

You can Sign Up on Cayenne by Cayenne My Device, and create a new device on your Dashboard. After the creation of the device, you should type the token code on your Arduino IDE. Take note of Token, in the Cayenne page, and in the next step put the code in your Arduino Sketch.
The token is different because you can connect many devices to Cayenne Dashboard. You can also use for example an input from an Arduino UNO device, and another widget from Arduino MKR1000, and put together in a Cayenne Project page. The possibility are many!
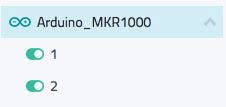
Charge the code on your board using the next step. You wait the connection of Arduino MKR1000 to the Cayenne cloud, and after putting the digital widget to your Dashboard. I’ve used Arduino pin 7 and 8.
Now Cayenne is in beta for MQTT protocol. Stay tuned!
Step 4: Install the Library and Upload the Code

Now you can install the Cayenne Arduino library, and upload the code from your Arduino IDE.
You can follow the tutorial for libraries installation.
The code to upload is more simple. Open the example code by File –> Example –> Cayenne –> Internet Connections –> Arduino MKR1000, and modify your LAN SSID, and LAN Password. After put the token of Cayenne Dashboard (see the previous step).
Also, you can use the new cloud Arduino IDE: http://www.create.arduino.cc
Step 5: See the Results
After this steps, you can command your socket by your Cayenne app or by your computer.
Make or modify this project. Share, like and subscribe. A good place to beginning to use Cayenne is Cayenne community forum.
Source : IoT Smart Socket Arduino And Cayenne