An all-in-one tutorial to getting started with the Arduino open-source electronics prototyping platform. This guide is meant for the beginner but should be also be useful to you if you already tinker with electronics but want to get started with the Arduino. I’ll cover:
– breadboarding LED outputs from the Arduino
– creating and reading digital inputs to the Arduino
– how to program the Arduino to take the input and act on it to modify the outputs
Our demonstration project will consist of a set of three blinking LED’s that blink in sequence. You’ll control the speed of the blinks via a pushbutton controller. I’ve designed this project to be modular in nature: we can create a fairly complex effect, but I’ve wired and coded everything in a modular fashion to make it easier to follow. Of course, that means that neither the circuits nor the code are necessarily the most efficient way of doing things — but the emphasis here is on making it clear and understandable.
Acknowledgement: I’d like to thank Lady Ada for her excellent set of tutorials on the Arduino which is where I first learned Arduino basics. I cover a lot of the same ground, but her work has a very different flavor and emphasis including a different set of circuits and programs. I recommend that you pay her tutorials a visit. You can also buy Arduino boards and an wide variety of shields and accessories for the Arduino from her company, Adafruit Industries.
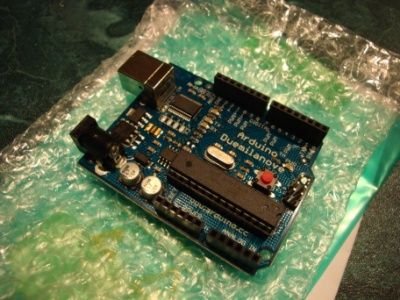
Step 1: Testing Your Board / Getting Started
If you have already connected an Arduino to your computer and run the basic “blink” example you can skip this step. However, if all you’ve done is unbox it, here’s how to start:
1) Download the software you’ll need from the makers: Software Download.
2) Install the software and connect your Arduino to your computer via a USB cable. It draws power directly from the USB port, so you don’t need to connect a power supply to it at this point.
3) If you have a newer board you’ll see a resistor next to pin 13 and an LED next to that. That LED works just as if it were connected between pin 13 and the ground (GND) pin next to it. If the LED is NOT on your board, just connect an LED between 13 and GND. You don’t need to do anything else since a resistor is already built in and limits the current through the LED so you don’t put your board at risk of a short circuit. NOTE: This resistor may not be present on really old boards (I just don’t know), but I doubt you have one of those.
4) Set your board type and serial port under “Tools” in the software kit. The current version (at the time of writing) does not have an option for the newest Duemilanove boards, but choosing Diecimila works just fine.
5) Open the blink example from the software kit: It’s under File | Sketchbook | Examples | Digital. The onboard LED (or the one you added) should blink on and off after you upload the Blink “sketch” (as Arduino projects are called) to the board (File | Upload).
When you write programs for your Arduino, you will normally do much of your debugging in the software development kit by doing a Verify/Compile before uploading, but since we just uploading a pre-built test sketch I skipped that here.
For more detail: Arduino All-in-One Getting Started Guide