What do I need to start?
The hardware requirements to start is:
*Note: where can I purchase the material with all the components to build myself the system:
http://iwup.altervista.org/shop/reference_list.pdf
1.-) Arduino UNO with USB cable
2.-) Ethernet Shield Arduino
3.-) Relay (for arduino 5 V)
4.-) Router Belkin (we recommend N150 or N300), also TPLink models( we recommend TL-WR740N). See TPLink model configutarion: http://iwup.altervista.org/shop/tplinkconfiguration.pdf
5.-) Arduino Case (optional, not necessary)
The software requirements to start is:
1.-) Arduino v0022 IDE you can download here: http://arduino.googlecode.com/files/arduino-0022.dmg
2.-) Open Your Garage project firmware, called “openyourgarage_arduino.pde”, you can download here: http://iwup.altervista.org/shop/openyourgarage_arduino.pde.zip
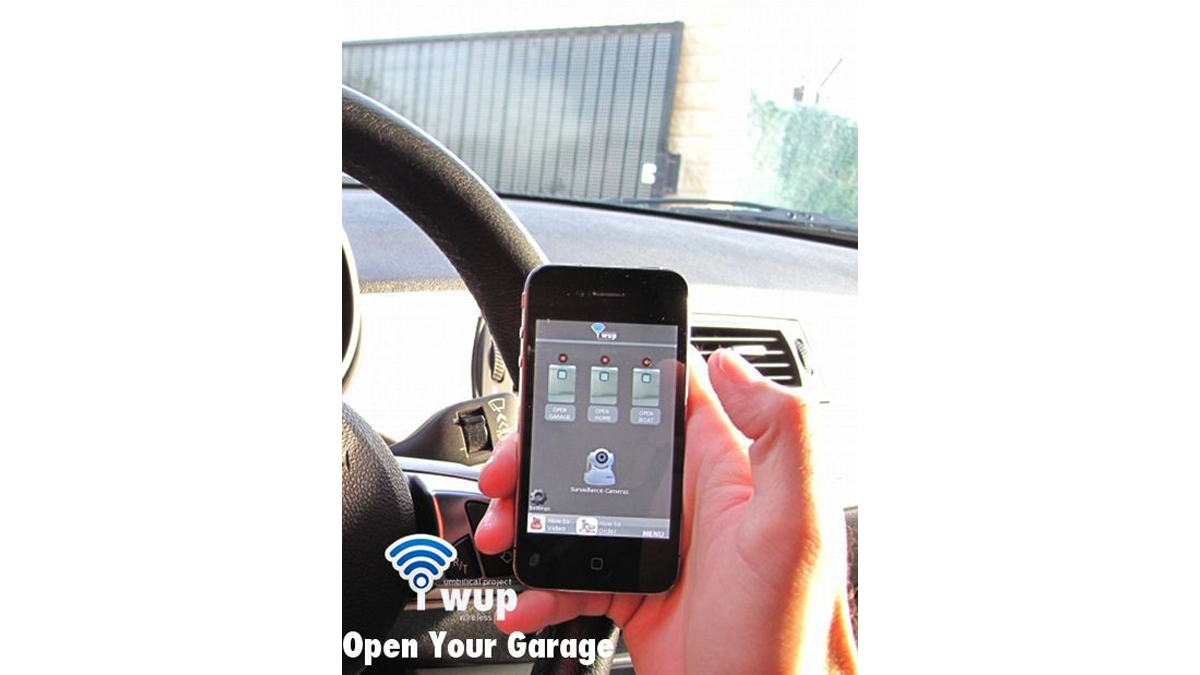
3.-) Open Your Garage vPRO iOS App.
Tools:
1.-) Welder 25-30 W.
2.-) Cable for soldering connectors.
Step 2: Upload the software to our Arduino UNO module
The first thing we must to do is to upload the software to our Arduino UNO module.
But before that we need to install Arduino IDE or application in our computer.
For that copy the Arduino application into the Applications folder (or elsewhere on your computer). You don’t have any drivers to install. Skip ahead to the next step.
Launch Arduino application with double click.
For this purpose we run the software that you downloaded in step 1. Once run a screen as seen below. In the “Tools” tab we select our board which will be the Arduino Uno.
Step 3:
Once selected the board Arduino Uno, let’s load the firmware of the software that we insert in our module Arduino Uno. Select the file “openyourgarage_arduino.pde” that you downloaded in the software section and click Open.
Step 4:
Currently loaded firmware will appear on screen. Do not forget to connect the Arduino module with the USB cable to your Mac.
Select the serial device
Select the serial device of the Arduino board from the Tools > Serial Port menu. On the Mac, this should be something with /dev/tty.usbmodem
Step 5:
Connect the Arduino board to your computer using the USB cable. The green power LED (labelled PWR) should go on.
Once connected the Arduino uno board to our MAC computer press the icon as it appears in the photo below illustration “upload”.
Step 6:
Once connected the Arduino uno board to our MAC computer press the icon as it appears in the photo below illustration “upload”.
Step 7:
Now your Arduino UNO module is now ready to operate, and will only weld the relay to operate with its iphone application.
Step 8: Welding
Now will make the step more easy and fun to our module, which is weld the relay to the arduino module so that it reacts to our iphone señals by Open Your Garage vPro App.
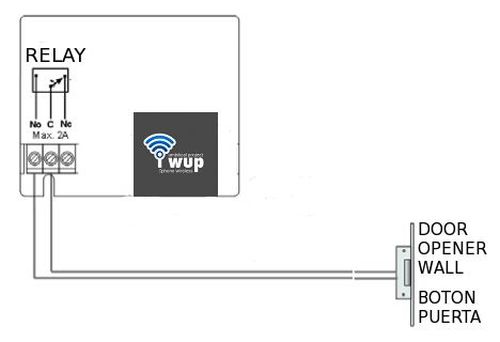
As you can see you can see in the pictures, the relay has three connectors, one directly connected to port 6 of the Arduino module, one that will be connected to the positive port of the Arduino, and finally the otherone to the negative port of the Arduino. Don’t worry because we will show you with pictures how it connects and solder wires.
Well right now, at the following illustrations we can see how and where they must be connected for proper operation, do not forget that THE SIGNAL WIRE will only work if you connect on port N ° 6, that in our App will correspond to the right button called Door 1.
Important note: If you need another aditional signal, you can repeat the same operation with another relay and welding to port Nº5. The i WUP system it´s ready to go up to 3 doors.
Just for two or tree doors: The Port Nº 5 of the Arduino UNO activates the central button (Door 2) of iOS App Open Your Garage, and the Port Nº 4 of the Arduino UNO the right button (Door 3).
Welding it must be so, as shown in the illustration below. Three welds can be appreciated how are connected to Pin 6, Positive and Negative of our Arduino UNO board.
2.-) Ethernet Shield Arduino
3.-) Relay (for arduino 5 V)
For more detail: Garage Door Opener with iphone using Arduino