The Wifi Arduino 85 is a small board with ESP8266 -01 module, Attiny85 micro controller and a relay. It Also has and additional header for connecting an external relay or to connect sensors like PIR, IR etc depending on your application. If you are a tinkerer you will also be able to connect a HC-05/06 Bluetooth module and convert this board to a Bluetooth Arduino 85 board.
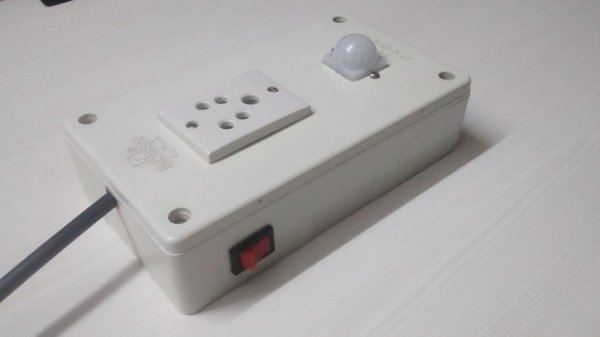
I am going to make a Swith board using the following ingredients
1.Wifi Arduino 85 Board (comes with ESP8266 -01 module)
2.Mobile Charger (5V 1A DC )
3.PIR Sensor
4.Plastic Gang Box(4″X7″)
5.Varistor (270V AC)
6.Three Pin Socket
7.Three Pin Plug
8.Switch
9.Double sided tape
Apart from this you will need a blade to cut the plastic box and a screwdriver
Lets start building it ..
Step 1: Firmware update of esp8266-01
First of all arrange your esp and FTDI (USB-UART) and connect them as shown figure (note: external 3V3 is better for your esp8266 instead of using the 3V3 from FTDI chip )
The esp8266 firmware flasher and binary can be downloaded here or from this instruct able.
You can use this firmware v0.9.5 AT Firmware.bin .Use a low numbered COM port 6 or less, you can change this in the device manager if needed .You will find in windows handling comports above COM10 is slightly different so a lot of software will trouble you.
Power on the esp8266 and run the flash tool, load the binary file .You change the COM port to match your USB-UART number, leave the second number (offset) at 0x0000 )
Hit download, should see this, I’ve always gotten this last warning “Leaving…Failed to leave Flash mode”
connecting ….
Erasing flash…
Writing at 0x00000000… (0 %)
Writing at 0x00000400… (0 %)
Writing at 0x00000800… (0 %)
Writing at 0x0007e800… (99 %)
Writing at 0x0007ec00… (99 %)
Leaving… Failed to leave Flash mode
If you are using the module provided with Wifi Arduino 85 Board this step is not required
For more detail: Wifi Switch board or Smart Plug with Esp8266, Attiny 85 & PIR Sensor with android app

