Hi Everyone!
I’ve had a few people ask about creating a simple clap-on/clap-off circuit using Arduino. Well those who are interested are now in luck. The software in this instructable is simple and well commented. The schematic is simple, and the components are easy and inexpensive to acquire! All you’ll need are 6x components, and an Arduino UNO. I hope that this helps those of you who need to build this for one reason or another. In this instructable, the circuit acts to simply toggle an LED on and off for ever clap. You can use a relay circuit instead if you’d like, or you can simply take the code in this instructable, and manipulate for your specific application. You can easily calibrate the sensitivity in the code to your level of satisfaction, and the circuit can be put together in minutes! The schematic and the code are explained in the below video, and in the following sections. I hope that you find it fun and educational!
Step 1: The Schematic Diagram!
The circuit is simple! You will need the following components:
2x 10k ohm resistors
1x 300-600 ohm resistor
1x Electret microphone
1x LED (I used a 3mm red LED)
1x 0.1uf ceramic capacitor
Lastly, you’ll need an Arduino UNO.
Let’s talk about the audio circuit. What we need to do is block the DC component from the microphone circuit, but couple the AC signal across the 0.1uf ceramic capacitor. The capacitor blocks DC, but accepts AC signals. When you make a noise, the audio signal is coupled across the capacitor, which is connected to the A0 pin on your Arduino. The louder the clap, the higher the amplitude of the coupled signal The secondary 10k pull down acts to bleed off any power built up on the input/line capacitance. Without it, the circuit won’t work properly.
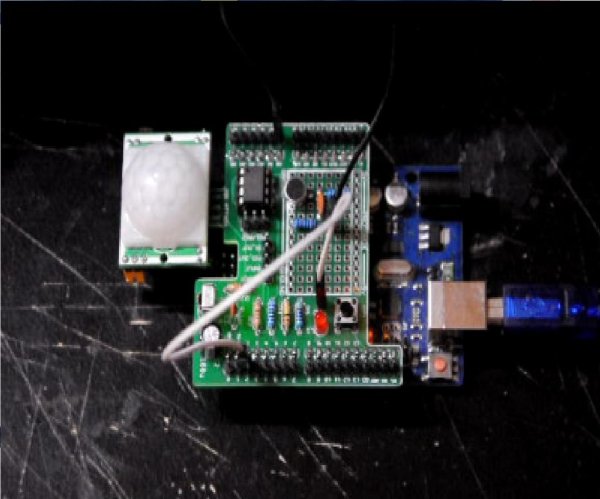
You will need to use the 5v pin and the ground pin on your Arduino to supply power to this circuit. I used an ICU-Duino Arduino Shield for this project, as it had a prototyping area. You don’t need to use this.
The LED circuit is very simple. You simply need a resistor with a value of 300 to 600 ohms and an LED. The resistor acts as a current limiter, which protects the LED from taking too much power from the source, which is pin#2 on your Arduino.
Step 2: The Code!
The Script Can Be Found Here: Clap Script
The link above is to my code samples page on my website. Look at the bottom of this page for the script download. The Code is also pasted below. It is explained in detail in the video, but I’ve also ensured that it was commented in full. It is pretty straight forward.
One thing that I’d like to note is that you can calibrate sensitivity with ease! I’ve added in a serial print function that allows for you to see the returned values every time you clap. This will give you an idea as to how to change the sensitivity in your code. The higher the compared values, the lower the sensitivity. I use a compare value of “8” in the code. If you make it 15 or higher, then the sensitivity will be low. If lower than 8, it will be extremely sensitive. It is truly very easy to manipulate!
The Script:
The Script Can Be Found Here: Clap Script
The link above is to my code samples page on my website. Look at the bottom of this page for the script download. The Code is also pasted below. It is explained in detail in the video, but I’ve also ensured that it was commented in full. It is pretty straight forward.
 One thing that I’d like to note is that you can calibrate sensitivity with ease! I’ve added in a serial print function that allows for you to see the returned values every time you clap. This will give you an idea as to how to change the sensitivity in your code. The higher the compared values, the lower the sensitivity. I use a compare value of “8” in the code. If you make it 15 or higher, then the sensitivity will be low. If lower than 8, it will be extremely sensitive. It is truly very easy to manipulate!
The Script:
Step 3: Many Thanks!
I hope that you found this interesting and/or useful. Thanks for taking the time to look at my instructable.
If you’re at all interested, my current kickstarter (Arduino Compatible Multi-Program Laser Tripwire Set) can be found here: Kickstarter Campaign!
You can find lots of other fun projects, kits, and turorials on my website: Engineeringshock Electronics
For more detail: The Viciously Simple Clap-ON Clap-OFF Circuit For Arduino

