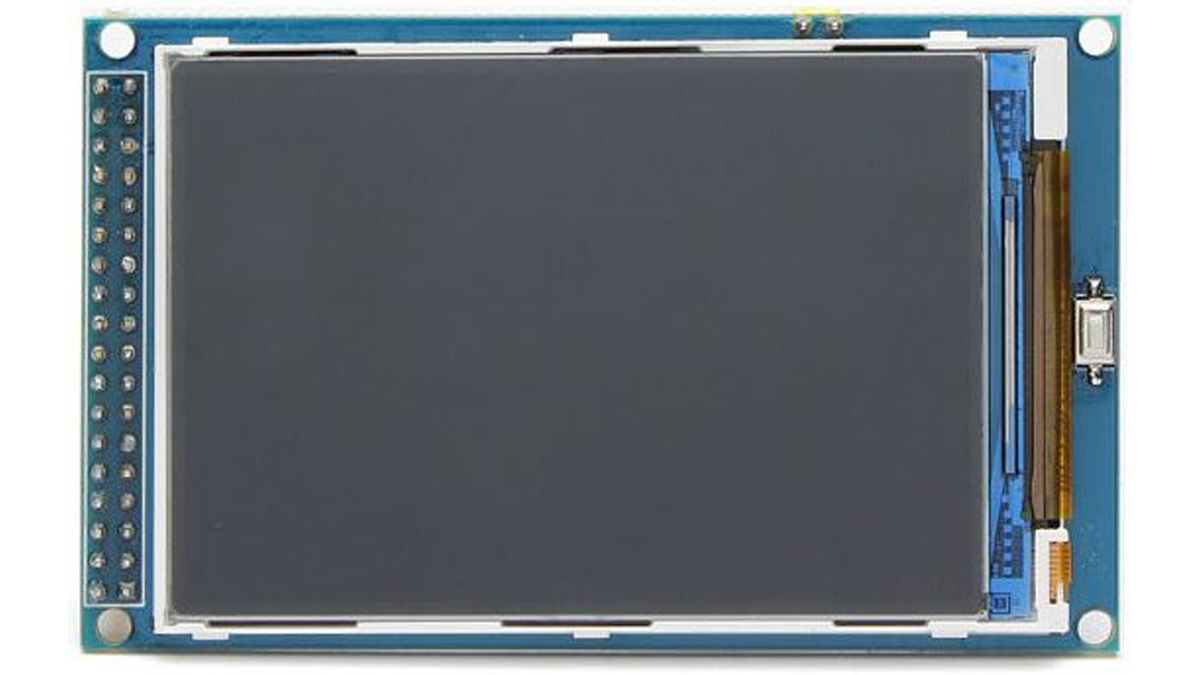
The display demand for every project is unique, a project may require just a simple, single character OLED display, while another project may require something bigger, all based on the function the display is to perform. For this reason, as a maker or electronics hobbyist, anyone needs to know how to work with as many displays as possible, that’s why today, we will take a look at how to use the super cheap, 3.2″ color TFT display with Arduino.

For this tutorial, we will use the 3.2″ TFT display from banggood. The display which is based on the HX8357B LCD Controller, supports 16-wire DataBus interface and comes with 262K color at 480 x 320 resolution. The module includes an SD card socket, an SPI FLASH circuit and a 5V-3.3V power and Logic Level conversion circuit which makes it easy to use with any microcontroller that uses either 5v or 3.3v logic voltage level. The module can be directly inserted into an Arduino Mega or Due board.
To demonstrate how the display works, we will use the UTFT LCD library for Arduino to display some images and text on the display including an animated graph. All these will show how the display could be used for something like an oscilloscope.
Required Components
The following components are required to build this project:
These components can each be bought via the links attached. The 3.2″ TFT display, as at the time I bought it was listed on the website as a 3″ display but after buying and measuring, the size of the display is 3.2″.
Schematics
The display comes in a shield form, which means it can be plugged directly into the Arduino with which it is going to be used, as such, no schematic is needed. Plug the display into your Arduino Mega or Due as shown in the image below.
Read more: Using the 3.2″ HX8357B Color TFT Display with Arduino
