A few weeks ago, we examined the features of ESP32 module and built a simple hello world program to get ourselves familiar with the board. Today, we will continue our exploration of the ESP32 on a higher level as we will look at how to interface a 16×2 LCD with it.

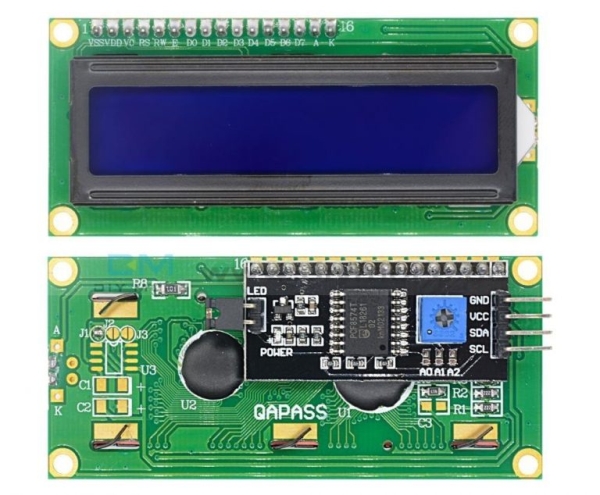
Displays provide a fantastic way of providing feedback to users of any project and with the 16×2 LCD being one of the most popular displays among makers, and engineers, its probably the right way to start our exploration. For today’s tutorial, we will use an I2C based 16×2 LCD display because of the easy wiring it requires. It uses only four pins unlike the other versions of the display that requires at least 7 pins connected to the microcontroller board.
ESP32 comes in a module form, just like its predecessor, the ESP-12e, as a breakout board is usually needed to use the module. Thus when it’s going to be used in applications without a custom PCB, it is easier to use one of the development boards based on it. For today’s tutorial, we will use the DOIT ESP32 DevKit V1 which is one of the most popular ESP32 development boards.
To demonstrate the use of I2C driven LCD with the NodeMCU, we will examine how to display both static and scrolling messages on the LCD.
REQUIRED COMPONENTS
The following components are required to build this project;
- DOIT ESP32 DevKit V1 board
- Breadboard
- A 16×2 I2C LCD display
- Jumper Wires
The breadboard requirement is optional as you can choose to connect the LCD directly to the DOIT devkit board using female-female jumper wires.
Read more: USING A 16×2 I2C LCD DISPLAY WITH ESP32
