Summary of DIY Digital Spirit Level
This article guides readers through building a digital spirit level using an Arduino Nano and an MPU9250 accelerometer IC. The project involves connecting the sensor to an OLED display, adding a slide switch for power control, and powering the system with a LiPo battery. Finally, users 3D print a custom enclosure to house the electronics, resulting in a functional tilt-measuring device.
Parts used in the Digital Spirit Level:
- Arduino Nano
- MPU9250
- Slide Switch
- 128x32 SSD1306 OLED Display
- LiPo Battery
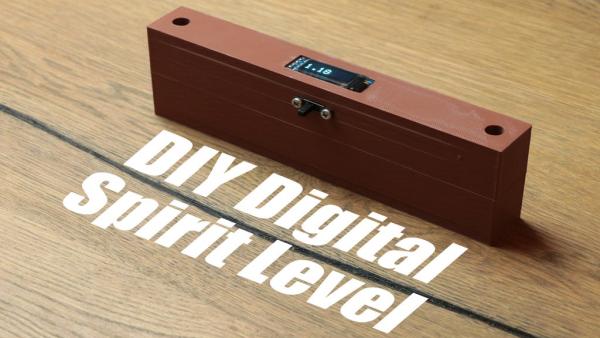
In this project we will have a closer look at accelerometer ICs and find out how we can use them with an Arduino. Afterwards we will combine such an IC with a couple of complementary components and a 3D printed enclosure in order to create a digital spirit level. Let’s get started!
Step 1: Watch the Video!
The video gives you all the information you need to create your own digital spirit level. During the next steps though I will present you some additional information.
Step 2: Order Your Components!

Here you can find a parts list with example seller (affiliate links):
Aliexpress
1x Arduino Nano: https://s.click.aliexpress.com/e/_dULoNXh
1x MPU9250: https://s.click.aliexpress.com/e/_d8hQS0C
1x Slide Switch: https://s.click.aliexpress.com/e/_dVn7Jlz
1x 128×32 SSD1306 OLED Display: https://s.click.aliexpress.com/e/_dSxLQku
1x LiPo Battery: https://s.click.aliexpress.com/e/_dV4FScY
Ebay:
1x Arduino Nano: http://rover.ebay.com/rover/1/711-53200-19255-0/1?…
1x MPU9250: http://rover.ebay.com/rover/1/711-53200-19255-0/1?…
1x Slide Switch: http://rover.ebay.com/rover/1/711-53200-19255-0/1?…
1x 128×32 SSD1306 OLED Display: http://rover.ebay.com/rover/1/711-53200-19255-0/1?…
1x LiPo Battery: http://rover.ebay.com/rover/1/711-53200-19255-0/1?…
Amazon.de:
1x Arduino Nano: http://amzn.to/2pmIEQr
1x MPU9250: http://amzn.to/2GG00ju
1x Slide Switch: http://amzn.to/2poJBI3
1x 128×32 SSD1306 OLED Display: http://amzn.to/2FKkXNh
1x LiPo Battery: http://amzn.to/2pqt6vp
Step 3: Build the Circuit and Upload the Code!
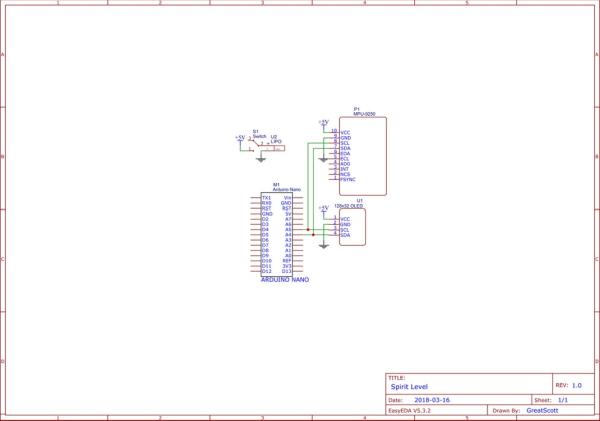
Here you can find the schematic and code for the circuit. Use them to create your own circuit. Also do not forget to include the SSD1306 Library from Adafruit.
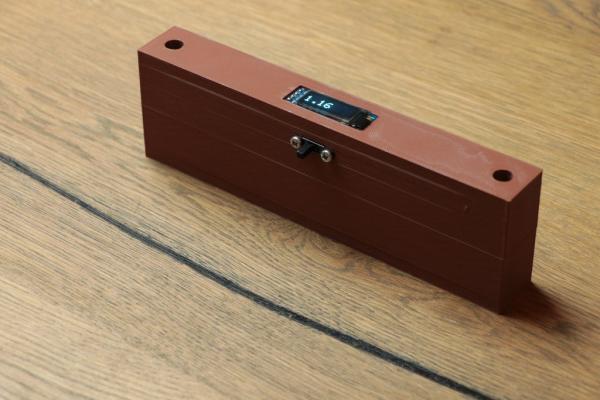
Step 4: 3D Print the Enclosure!

Here you can find the .stl files of my designed enclosure. Feel free to use them to 3D print your own housing.
Step 5: Success!
You did it! You just created your own Digital Spirit Level!
Feel free to check out my YouTube channel for more awesome projects: http://www.youtube.com/user/greatscottlab
You can also follow me on Facebook, Twitter and Google+ for news about upcoming projects and behind the scenes information:
https://www.facebook.com/greatscottlab
Source: DIY Digital Spirit Level
- What components are needed to build this project?
The project requires an Arduino Nano, MPU9250, Slide Switch, 128x32 SSD1306 OLED Display, and a LiPo Battery. - Can I find parts on Aliexpress?
Yes, the article provides specific affiliate links for all required components on Aliexpress. - Does the code require any specific libraries?
You must include the SSD1306 Library from Adafruit when uploading the code. - How do I create the housing for the circuit?
You can use the provided .stl files to 3D print your own enclosure. - What is the main function of the MPU9250 in this build?
The MPU9250 is an accelerometer IC used to measure tilt for the digital spirit level. - Where can I watch a video tutorial for this project?
A video guide is available at the provided YouTube link to help you create the level. - Is it possible to buy these components on Amazon?
Yes, the article lists direct purchase links for all parts on Amazon.de.