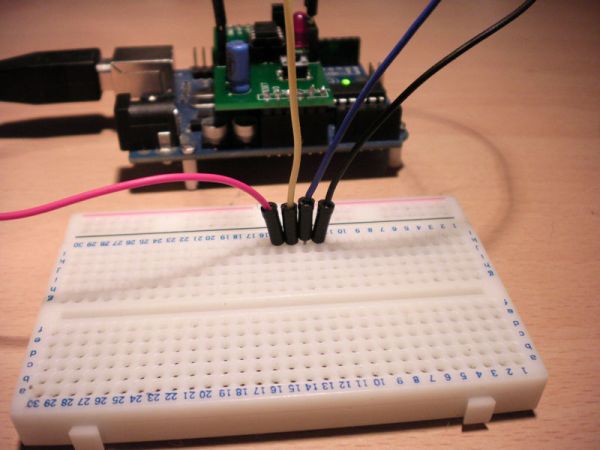
I’m here to show you how to use a HC-SR04 Ultrasonic Range Finder with an ATtiny85 as well as programming the ATtiny85 using the wonderful shield that randofo created.

List of materials:
ATtiny85 Programming Library
Arduino Uno
HC-SR04 Ultrasonic Range Finder and Library
Jumper Wires
Breadboard
ATtiny85
Step 1: Program the Arduino
Before you connect your shield to the Arduino Uno, you’ll want to make sure you’ve put your Arduino Uno into it’s ISP mode, to do this load up your Arduino IDE and once it’s loaded go to File > Examples > ArduinoISP, now connect your Arduino up to your PC and upload the ISP sketch.
Step 2: Connect The Shield
Take your Arduino Uno and clip the shield in place, then take your ATtiny85 IC and put it in the correct way into the DIP-8 Socket on the shield.
Step 3: Program the ATtiny85
Now that you’ve put the Arduino into its Programming state, and connected the shield, it’s time to program the ATtiny85 chip, now I’ll show you how to make the LED on the board blink.
Go to this link and follow those instructions to get the core library for ATtiny’s loaded into the Arduino IDE, Once you’ve done that then copy the code below into the IDE and upload it (Once you’ve selected the correct board.)
Now that you’ve put the Arduino into its Programming state, and connected the shield, it’s time to program the ATtiny85 chip, now I’ll show you how to make the LED on the board blink.

Go to this link and follow those instructions to get the core library for ATtiny’s loaded into the Arduino IDE, Once you’ve done that then copy the code below into the IDE and upload it (Once you’ve selected the correct board.)
/*
  Blink
  Turns on an LED on for one second, then off for one second, repeatedly.

  This example code is in the public domain.
 */

void setup() {
  // initialize the digital pin as an output.
  // Pin 13 has an LED connected on most Arduino boards:
  pinMode(0, OUTPUT);
}

void loop() {
  digitalWrite(0, HIGH);   // set the LED on
  delay(1000);              // wait for a second
  digitalWrite(0, LOW);    // set the LED off
  delay(1000);              // wait for a second
}
For more detail: Ultrasonic Range Finder with an ATtiny85 using an Arduino
