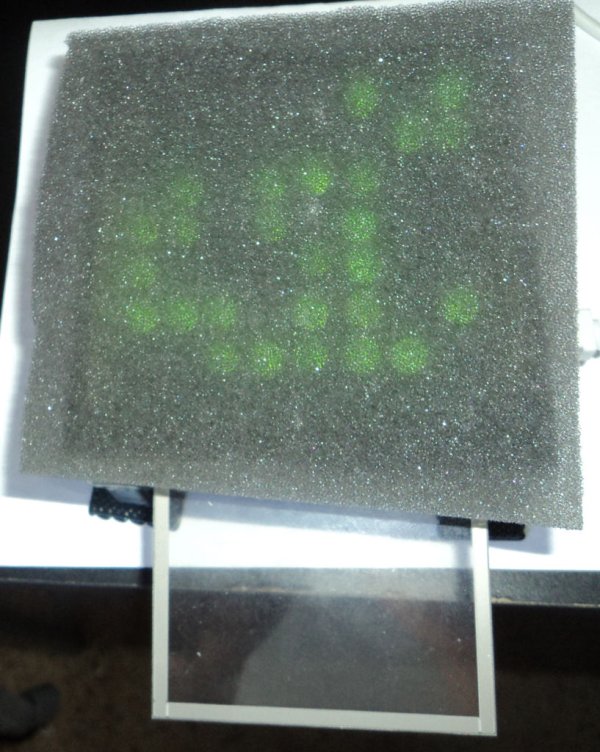
This piano-liked thing is what I called touch sticky note. I Use a piece of sponge as the paper, and put 8 x 8 LEDs under the sponge. Whenever I touch the touch screen, the related LED will turn on, and this is how I write for the sponge.
I got the idea from the traditional sticky notes. Normally, a piece of sticky note has a very short life and can only be used for one time, so I was thinking how to make a piece of sticky note live longer, and then the idea of touch sticky notes came to my mind.
http://www.youtube.com/watch?v=1VqwYwur2-g
Step 1: Supplies
Tools:
– Soldering tool and solder
– Leg cutter for cutting legs of LEDs
– Utility Knife
– Glue
– 3D Printer (Optional)
Step 2: Setup the LED matrix
I highly recommend soldering the LEDs at the very beginning, and then do other parts of the matrix. If you unfortunately did chip holders and chips before the LEDs, there is also a way to solder LEDs. You have to take the chip out of the chip holder first, and solder the LEDs every carefully, and then put the chip back.
Soldering is a time-consuming work, but it’s very important, because it can determine the performance of the final project.
After finishing the solder, you can use a code to text the matrix. I put two codes here for you to test. The first one is for testing whether the LEDs can light or not, and another one is for testing whether you can use matrix to control each LEDs or not.
 LED_8x8_Test.pde2 KB
– A 8 x 8 LEDs matrix
*The matrix I used here is from ModernDevice.com, and if you want to use the same matrix I used, you have to buy the LEDs as well. I recommend the 8 mm LEDs, because it perfect fits the board of matrix.
– A resistive touch screen with touch screen breakout board
*The touch screen I used here is from AdaFruit.com, and also you can find the touch screen breakout board on the same website.
– A Arduino setup
– Some wires
– A piece of sponge or anything which is transparent
– A case for all the things above
*I built the case by a 3D printer, but you can also by anything you like.