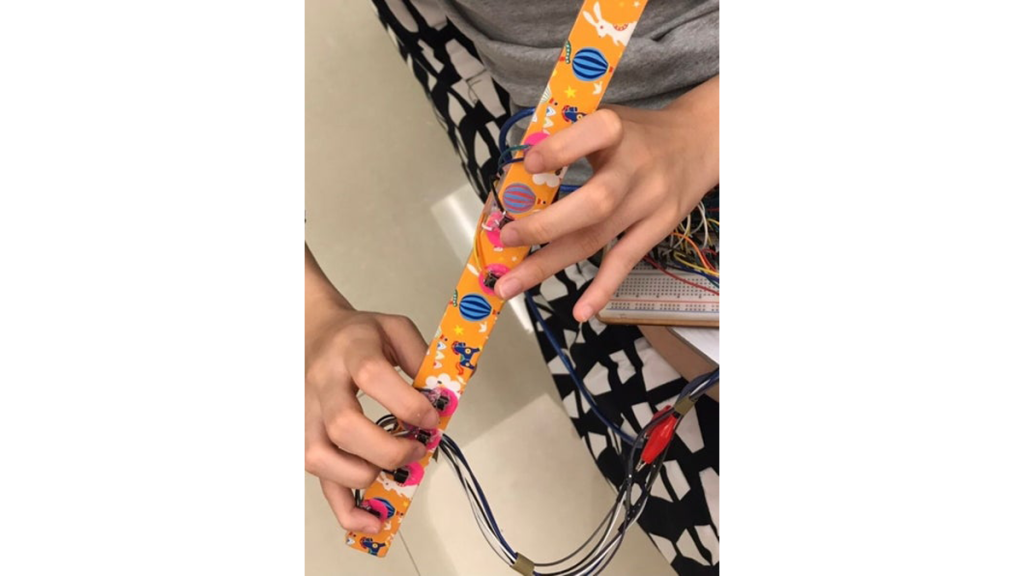
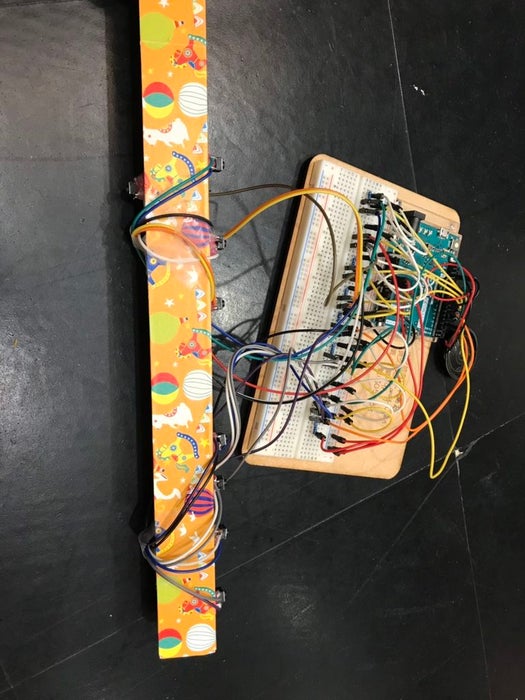
As one of the top ten common instruments played worldwide, the amount of beginners studying the flute comes in quite a quantity. While The “Flute” of Imitation does not train one’s breath control, the “instrument” concentrates on the fundamental fingerings, crucial to familiarize with for every player when player higher-level tunes. The “Flute” of imitation targets novices aging between 5-12, with the “flute’s” unique visual components attracting the attention from younger audiences. Younger audiences, who tend to focus on the brighter colors, would now have a mindset of depicting the flute as an enjoyable recreational activity, practicing out of passion, and not merely for the idea of practicing. Instead of involving a fingering chart, however, novices are required to figure the fingerings for each fundamental flute note by themselves: C, D, E, F, G, A, B. The multiple extension lines connecting the flute to the Arduino also allows the flute to play when individuals hold the instrument at the customary height, further simulating a real flute’s realistic positionings. A fun and innovative way for beginners to “test the waters” in preparation of purchasing an actual flute, this “Flute” of Imitation comes cheaper in price, enhancing beginner flute players’ fingerings through this light-weight device.
Step 1: Preparing
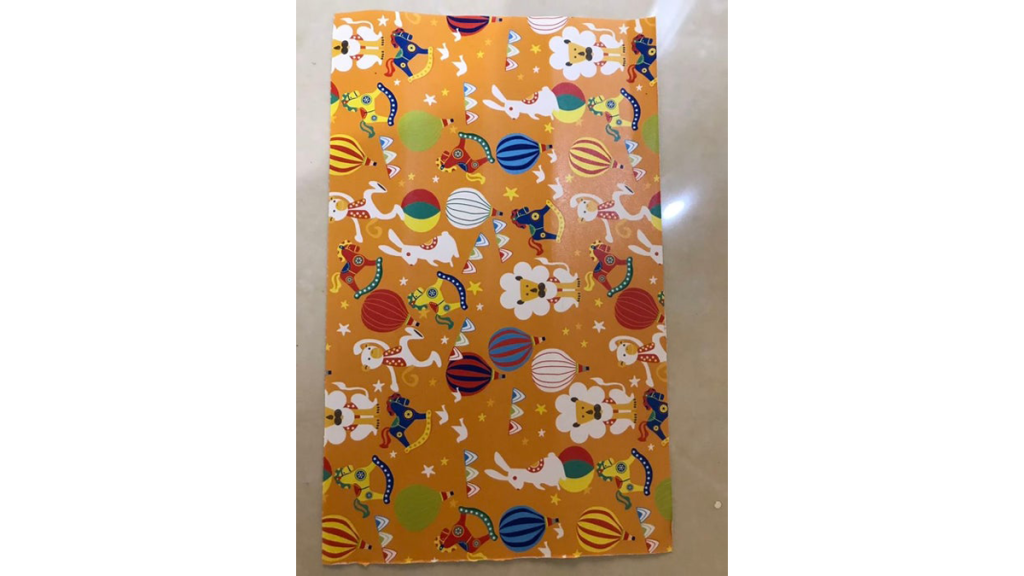
Place the wooden stick on a flat surface, accompanying the decoration paper, scissors, and double-sided tape.
Step 2: Decoration Prep
Surround the stick with the decoration paper; the wooden stick should be placed near on the edge of the paper, just enough so one side of the decorative paper covers exactly the stick’s four faces (top, bottom, and two sides).
The other side of the decoration paper should cover only one of the stick’s sides, marking with a pencil for where the decoration paper ends.
Step 3: Wrap Prep
The length of the decoration paper should reach around 3 cm more than the stick’s length for both ends, therefore being 26 cm long for the 20 cm stick. Make sure to also mark – with a pencil – the desired length: the start and end for the paper’s desired width and length.
Make a straight line down the paper from the points drawn, utilizing a scissor to cut the final paper out, with the set measurements.
Step 4: The Wrapping Process
To wrap the stick with the colorful decorating paper:
a. Start by placing one long strand of double-sided tape on each of the decoration paper’s two longer sides; the double-sided tape should be long enough to touch the decoration paper’s starting and ending points.
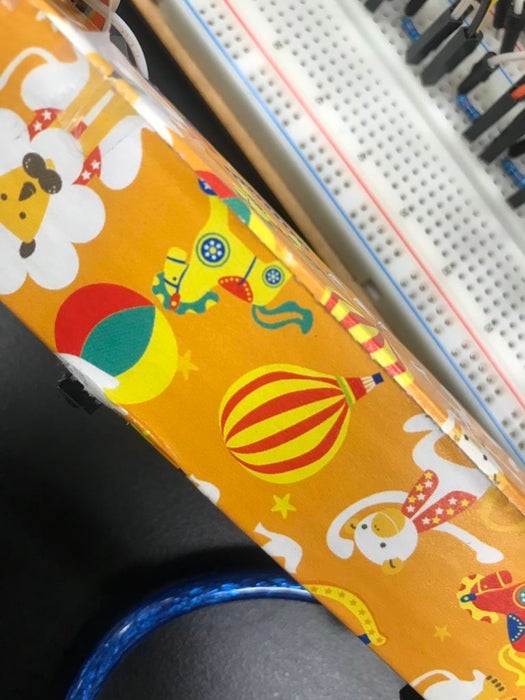
b. Similar to the stick placement as when marking the decorative paper’s points to cut, place the stick in the same location, carefully removing the double-sided tape’s cover to wrap the decoration paper for the four faces.
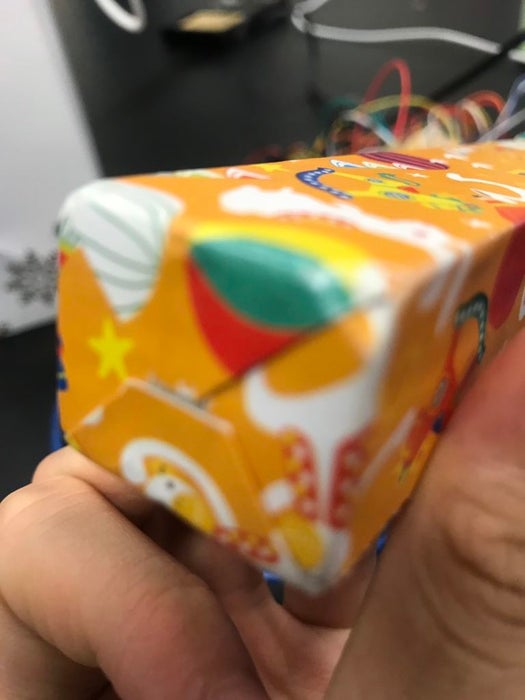
c. For the other two faces, tape the closings as you would when wrapping a present: pushing in the two opposite sides of the paper, with two triangular shapes forming on the other two opposite sides, and using double-sided tape to tape the outer “triangle” down, ensuring that no excess decorative paper is on the edges. Repeat this for the other remaining face.
Step 5: Finger Positions
Mimicking the finger placements for a real flute, use a ruler and pencil to mark the locations correct fingering hole positions:
a. Place the first mark 15 cm away from the wooden stick’s starting point, with a 1.25 cm distance between the point’s distance to the top and to the bottom
b. The first point and the second point should be 3.5 cm away from one another, placed horizontally aligned with each other.
c. The next point, however, should only be placed 3 cm away from the second point, and only with a distance of 1 cm from the stick’s top.
d. As the next point made would be a button for the other hand, the distance between the 3rd and 4th point will be 7 cm, also horizontally aligned with one another.
e. The 5th and 6th point made – horizontally aligned with the 4th point– will be 2.5 cm apart from each other.
f. The 7th point, however, will situate 3.5 cm away from the 6th, with a distance of 0.5 cm between the point and the stick’s bottom.
g. The 8th will be made directly on the opposite face of the side where the other points are made, located 16.5 cm away from the wooden stick’s starting point.
Read more: The “Flute” of Imitation