The synthduino is a fun Arduino project to do and as a beginner it is a great way to learn new things about Arduino’s many features. With only using household items to build the synthduino you will be satisfied with the finishing project and feel accomplished. the synthduino uses the six potentiometers on the controllers joysticks and triggers and uses the buttons for various functions the code also incorporates a sleep function for the Arduino to go to sleep automatically upon start up and for you to wake it up in case of accidental starting. This code incorporates a hello world at the beginning of the code to let you know if the code in on and working.
Step 1: Supply list
I used only household supplies
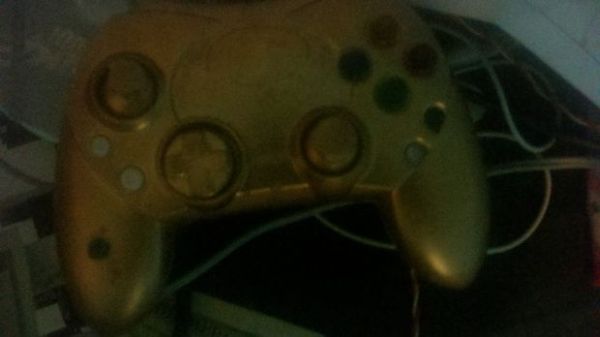
1. An old controller to game system (I used Xbox)
2. 4 resistors ( I just soldered them off of an old rc car)
3. Lots of wire(I used the wire used wires from an old computer)
4. Arduino( I used uno but anything that has the same amount or more pins than uno will work)
5. Speaker or audio adapter
6. Led
7. Power sorce for controller(or you can use Arduino’s 5v power )
1. Drill
2. Soldering iron
3. Solder
4. Hot glue gun
5. Glue sticks
6. Tape
7. Crazy glue
8. Screwdrivers (whatever kind works for you)
Step 2: Take apart controller

This step is a short step because I don’t know what controller you are using so this step can take you two minutes to ten minutes but I’d rather not bore you with how I took mine apart
Step 3: Strip A LOT of wires
You want to strip all of your wires to be able to solder them to the controller and to the pin inputs and outputs
Step 4: Solder like crazy
1. You want to solder four of the controllers buttons that are relatively close to each other these will be the tone buttons
• First locate the buttons
• find the type… if it’s a push button then solder it to just one of the four pins on the button… if it is not find the little circle next to the button and solder your wire there
• cut the rubber button pressers to fit around the wires make sure the rubber lines up with the black circles on the controller board
2. Next you want to solder the triggers and joysticks(potentiometers)
• These are easier you just locate the axis slider and solder to the middle pin on all of them
3. Last you want to solder the wake up and melody buttons you can choose where to put those
• First locate the buttons
• find the type… if it’s a push button then solder it to just one of the four pins on the button… if it is not find the little circle next to the button and solder your wire there
• cut the rubber button pressers to fit around the wires make sure the rubber lines up with the black circles on the controller board
4. on the two joysticks are two push buttons those will be used for this project so don’t forget to solder them
For more detail: SYNTHDUINO