There are so many authentic looking lightsaber build guides but not many on building a super long lightsaber.
Regarding Star Wars, I’m not sure why lightsabers are normal sword size anyway. Its not like the longer the lightsaber, the harder it would be to swing. I assume they are essentially weightless. Just make it 10′ long and do the helicopter move. Near flawless victory every time even without the force!
Anyway, this lightsaber IS hard to swing. And takes a lot of fore arm strength to hold it. And it makes your hard-core Star-Wars friends ask “why”. But we did this specifically for the Go Big Challenge and it wasn’t as easy as we thought. But still, fun.
Supplies

To make the handle and hilt, you will need a metal sink drain. These are relatively cheap and found at almost all hardware stores.
The next item you will need is the LEDs. These are a 16′ strand of addressable LEDs that are 5v powered. 300 LEDs in all.
For the sword, you will need a 6′ Polycarbonate Tubing, 3/4″ ID x 1″ OD x 1/8″ Wall
Finally, you will need a small microcontroller, a tube style battery, and a power converter (LM2596 DC to DC Buck Converter).
Step 1: Light Up Test
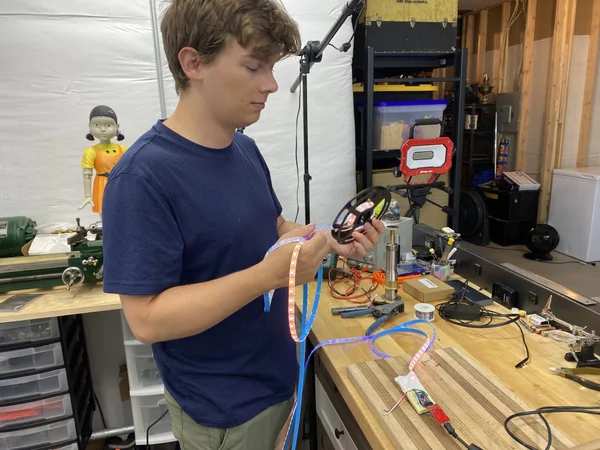
First thing we did was connect the LEDs to make sure they are working with our microcontroller. I used the very popular FastLED library to control the lights.
This is a fun step just to see all the lights, light up; especially if you use their ‘ColorPalette’ example.
Step 7 has the code.
Step 2: Light Strand
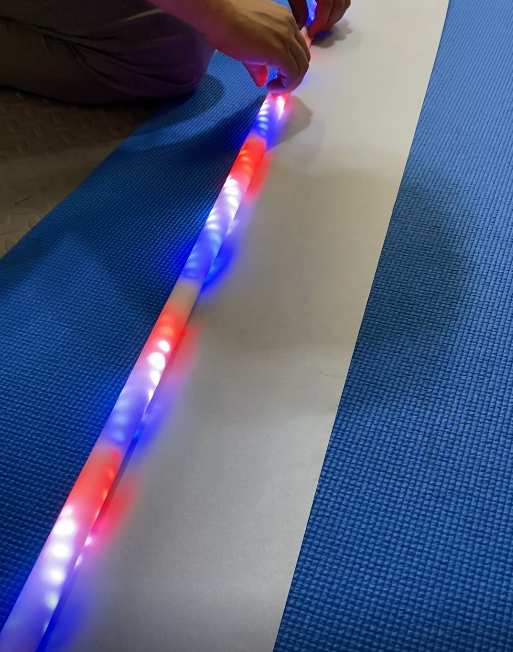
Not ever building a lightsaber before, we took other’s examples and wrapped the LEDs around a clear acrylic pole. The results were not exactly what we wanted, you could easily see all the LEDs and them spiraling around. There is an example included here that shows that.
So we undid that, and tried the second technique; just folding the LED strip in half.
Surprisingly, this produced a much better result. I would have bet the wrap method would have been better, and I would have lost!
So, for this step, we ran the lights the length of the 6′ tube. Folded the end over on itself, and ran it all the way back to the start. There will be a bit of extra length that will need to be cut off.
Step 3: Wrap the Lights
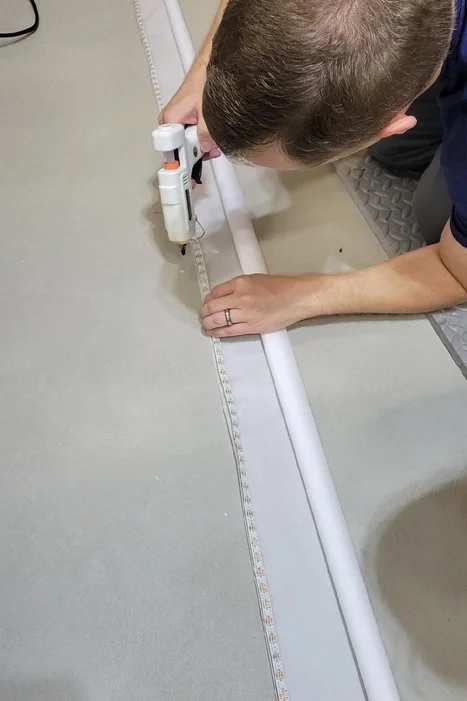
To defuse the lights a little bit, we wrapped the LED strand in parchment paper. This was an inexpensive solution and gives a ‘good’ result. Not an awesome result, but good.
We found that life is much easier if you glue the strip down to the parchment paper, then wrap. Otherwise, the lights and the paper become disconnected and it is hard to align them again.
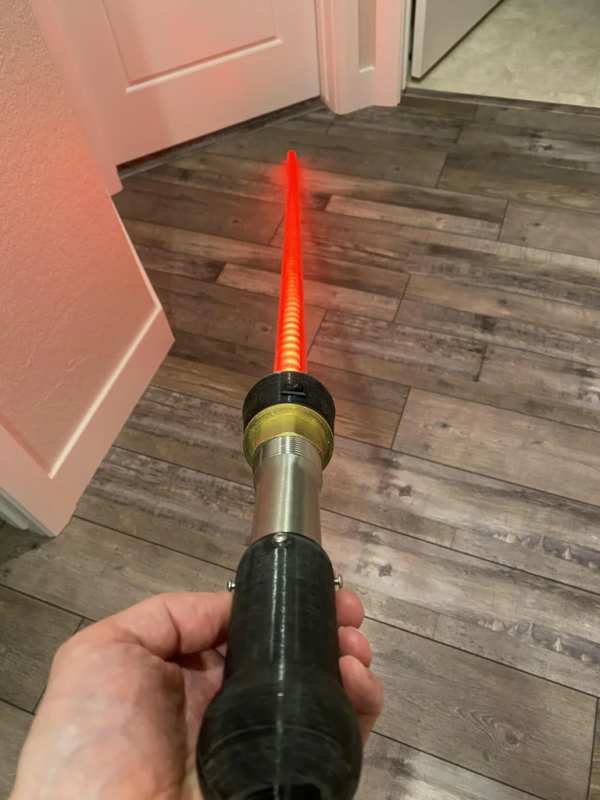
Step 4: Printed Parts
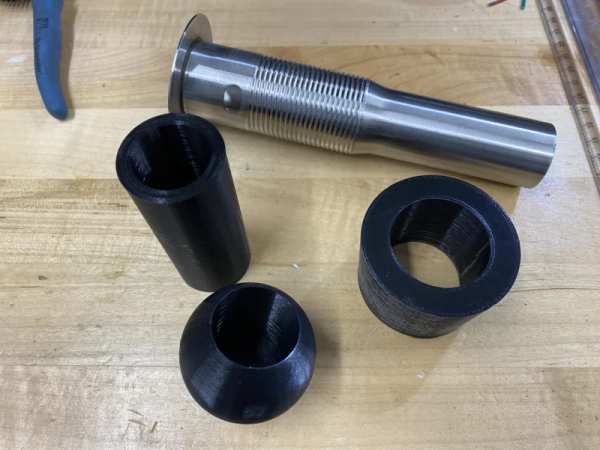
We printed parts to make the sink drain look less like…a sink drain. First we added a collar to reduce the chance of getting cut on the lip of the metal. We also kept the large brass nut, that looks kinda cool. Next, we extended the handle a little bit then added a large ball at the end. Be as fancy or simple as you’d like.
Step 5: Button and Switch
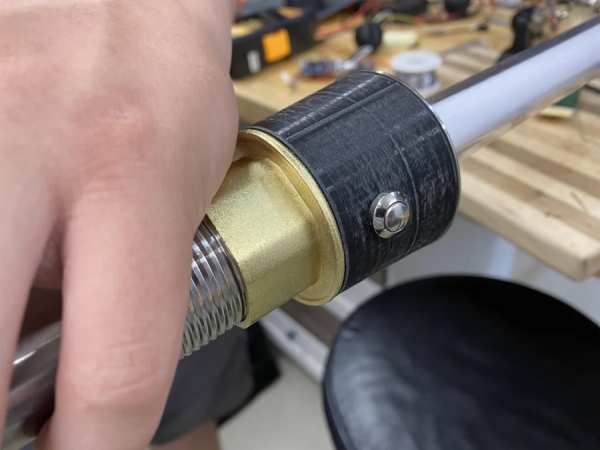
Obviously we need a power switch. But at this time we decided to add a little button to cycle through different colors. We chose red, blue, and rainbow. But the choices are endless, we could also add a flame effect or a spark effect. Again, good opportunity to be creative.
Step 6: Saber Power
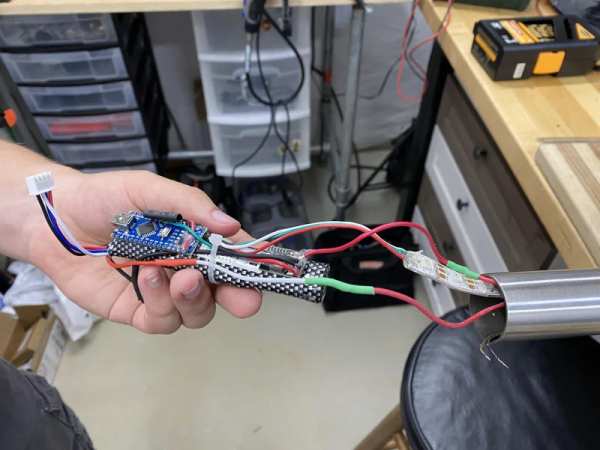
I used an 11.1V battery that would fit into the handle. This battery is 2000mah, meaning it the lightsaber will last about 2 hours because the light strip pulls almost a full amp of power.
As you know, the lights and microcontroller only require 5V, so we need to attach this battery to a dc-dc converter to get the 11.1 down to 5v. I used a large converter because the constant 1amp current from the light makes this converter get hot! Like really hot, I measured the temperature to 200 degrees Fahrenheit!
Not hot enough to melt the PBA+ plastic but certainly hot enough to re-melt any hot glue you might have used.
Step 7: Microcontroller
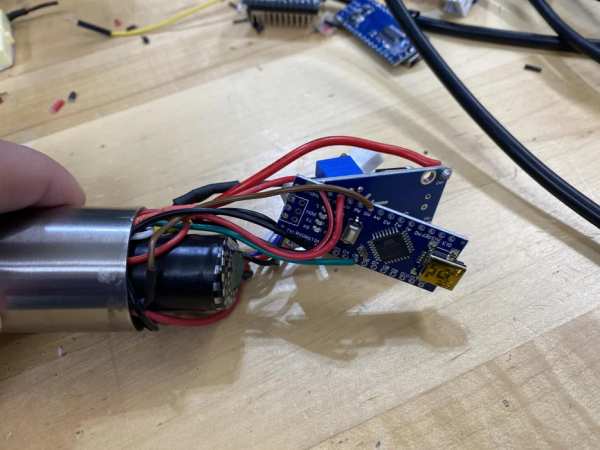
Next we connected all the wires to the Arduino Nano. We used a single button to change the colors; just cycle through them. The code is here and it is very very simple. Perfect if this is your first experience with programming Arduinos.
Step 8: Lightsaber Assemble
Now that we have all the parts, we just need to smoosh them all together. I used screws on the handle extension that turned out really nice. This allows me to easily remove the handle and reprogram or charge the battery.
To do this, I just melted the nuts on the reverse side of the handle. Then I hot glued the ball to the end of the handle.
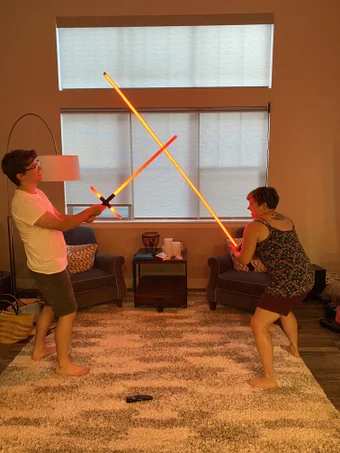
Step 9: Size Matters
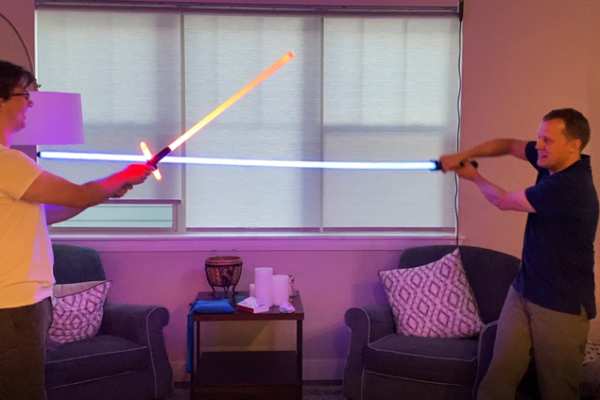
Final step is to find a poor padawan with a normal length blade and show them why a longer blade is the way without the need for Force.
Source: Super Long (7′) Lightsaber