
Summary of Super Amazing Button using Arduino
This article outlines a DIY project transforming a hacked Easy Button into an Arduino-controlled device. The author describes disassembling the button, removing unnecessary components like the speaker and battery casing, and soldering wires to power points. A custom power supply is created using a 9V battery adapter and jack. The project integrates an Arduino Uno and an LED to create a "super amazing button" that would appear advanced in the 1600s.
Parts used in the Super Amazing Button:
- Easy button
- 1 Red LED
- 1 Arduino Uno
- 1 Box
- Speaker wire
- Electrical tape
- 1 9 volt battery
- 1 9 volt battery adapter
- 1 2.1mm center-positive plug
- 1 Phillips head screwdriver
- heat shrink tubing (optional)
Hello Everyone.
This is my very first Instructable so please go easy on me. This was more or less a test project to see if my new arduino board worked. Any friendly advice will be greatly appreciated so my future posts can be even better. I am going to show you how to create the best device on earth. Well i mean if you brought this back to the 1600s then it would be the best device on earth. Anyways lets get started.
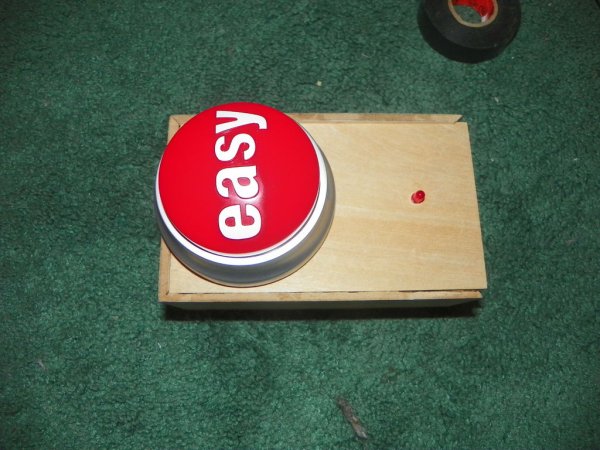
I don’t take full credit for this project as i set out on a witch hunt on the web in search of guidance. If i could remember where half of the info i learned came from i would point you to it, but unfortunately i have looked at so many things involving arduino and easy buttons and LEDs it just all blended together.
I had this hacked easy button from a previous project. the the pictures are scarce in this department but don’t fret it is quite easy.
Start by unscrewing the four screws in the bottom of the easy button. This should enable you to take the top part off.
Then cut the wires to the speaker and the battery casing, you wont need either.
Then solder one piece of wire ( i used speaker wire because it was all i had lying around) to the positive spot n the picture
Then solder another piece of wire to the ground spot in the picture
take the battery compartment door off the easy button and run the wires through the hole and out the battery compartment door.
Reassemble the easy button *side note: there is a little groove in the outside ring part that has to line up with the button part.
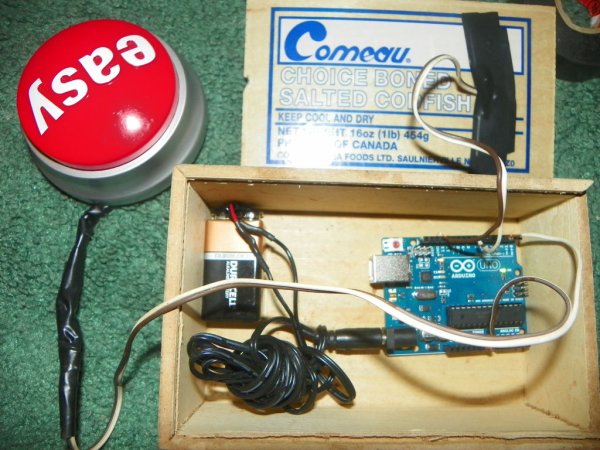
Step 3: Make the power supply
take the 9 volt battery adapter and strip the wires
do the same for the 2.1mm jack
connect them together
all i did was twist the wires together and used heat shrink tubing to secure them.
Materials
So Here is the list of materials i used mostly from things i had lying around the house.
Easy button
1 Red LED
1 Arduino Uno
1 Box
Speaker wire
Electrical tape
1 9 volt battery
1 9 volt battery adapter
1 2.1mm center-positive plug
1 Phillips head screwdriver
heat shrink tubing (optional)
For more detail: Super Amazing Button using Arduino
-
How do I prepare the easy button for this project?
Unscrew the four screws on the bottom to remove the top part, cut the wires to the speaker and battery casing, and solder wires to the positive and ground spots. -
Can I use any type of wire for soldering?
The author used speaker wire because it was available, but the text implies any suitable wire can be used for connecting to the positive and ground spots. -
What is the best way to connect the power supply wires?
Twist the stripped wires from the 9 volt battery adapter and the 2.1mm jack together and secure them with heat shrink tubing. -
Do I need to keep the original speaker and battery casing?
No, you should cut the wires to the speaker and the battery casing as they are not needed for this project. -
How do I reassemble the easy button after modification?
Run the new wires through the hole where the battery compartment door was, then reassemble the top part ensuring the groove in the outside ring lines up with the button part. -
Does this project require a specific Arduino board?
The project specifically uses one Arduino Uno board. -
Is heat shrink tubing mandatory for the power supply?
No, the text lists heat shrink tubing as optional for securing the twisted wires.
