Because of the remake of the animation and movie of Space Battleship Yamato, in addition to the attractive design of Bandai model. It make me interest to build this space battleship model again. Bandai not mention its scale, maybe ~1:2500 by estimation.
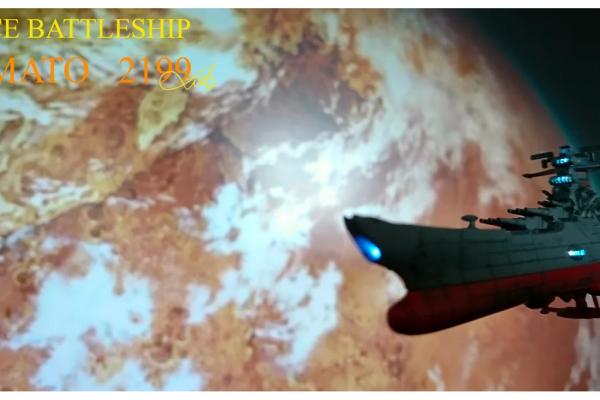
Step 1: Start

Design the assemble Sequence and Drill Holes for Those Lighted Parts
Step 2: Making of Wave Motion Engine
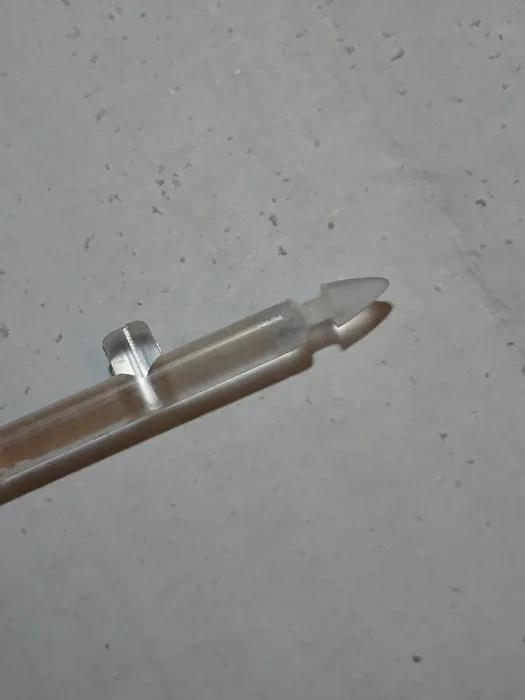
– The main engine is built by a mini DC motor and surround with 0603 LEDs, the slow motion rotation and LED effect is control by the microcontroller.
Step 3: Microcontrollers
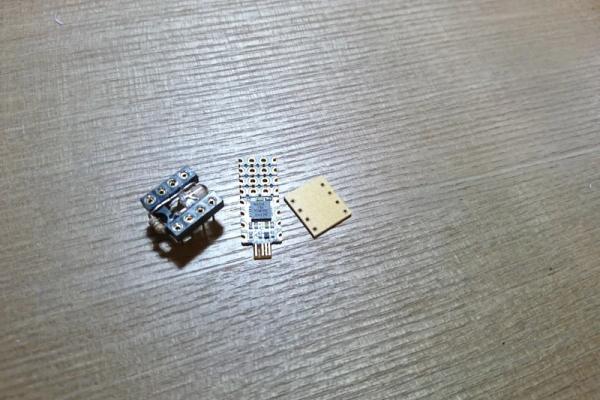
– The main Microcontroller of this project is using 8pino, which is the world smallest Adafruit Trinket compatible controller in 2014. Seems it still the one now.
– Minor modification with IC socket to add main LED there – 100mm circular platform purchased from Tokyu Hands, embedded with LED try to build effect of star in dark sky, the side holes were used for soft switches.
Step 4: LEDs

– Light effect to be added to primary and secondary bridge, captain’s room, ship sides, space fighters depot entrance, main and auxiliary engine and wave motion gun
Step 5: Battleship Interior and Body
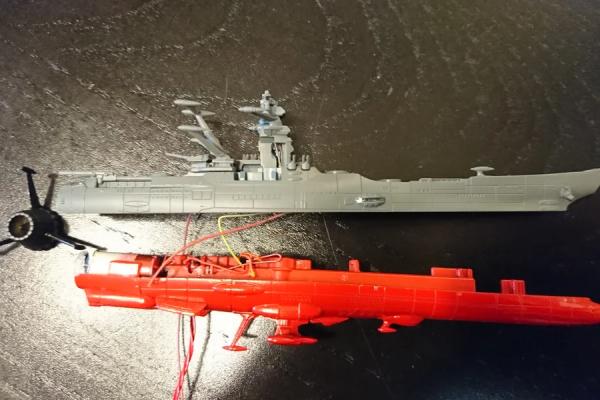
– Basically follow the wiring diagram. Most parts without glue together for future maintenance if any.
– Main color is dark grey, german grey and red
Step 6: Assemble and Test
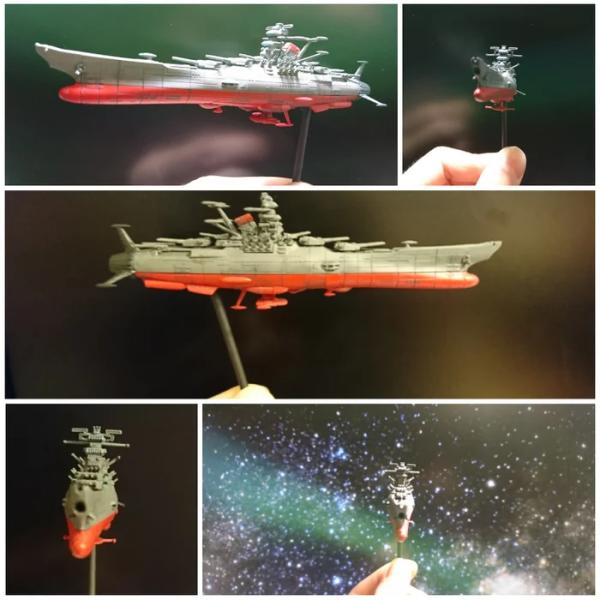
– Total length is ~12.5 cm
Step 7: Making of Planets
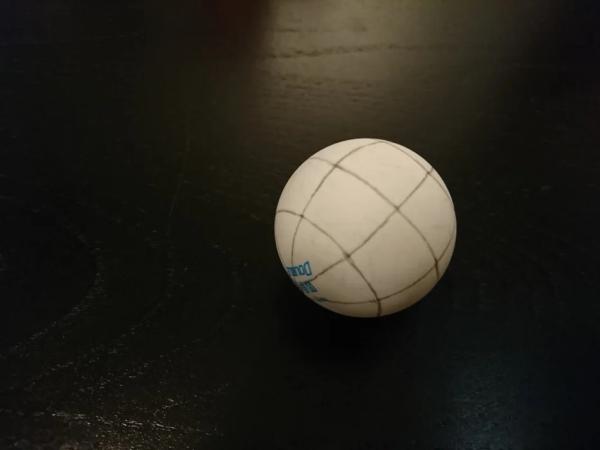
– The planet earth (before and after attack) and moon are make by ping pong ball with paper clay
Step 8: Programming
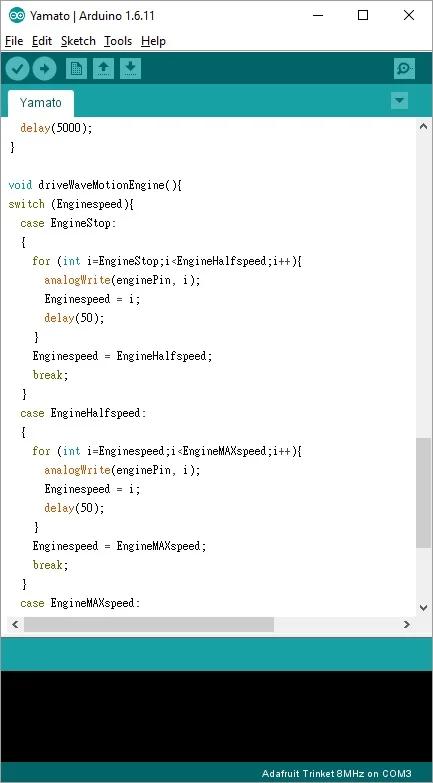
– Simple Arduino code on control LED and DC motor
Source: Space Battleship Yamato 2199 With Trinket Microcontrollers
