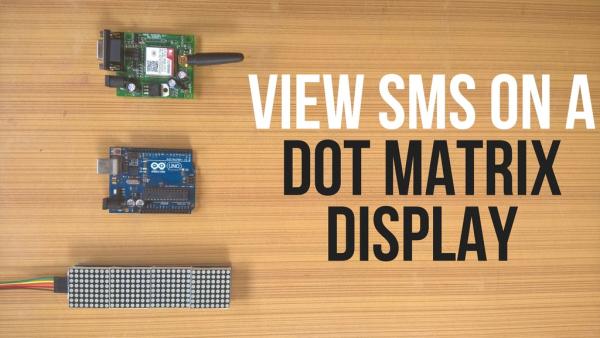
In this video, you will learn how to use a GSM module, dot matrix display and how to display scrolling text on it. After that we will combine them together to display messages received over a GSM SIM to a dot matrix display. It is fairly easy and you can build it for your school or college projects.
So without wasting any more time, let’s get into it.
Step 1: Watch the Video.
The video demonstrates each and every step in detail and will help you in a proper understanding of the project. So, watch it first to understand all the steps really well.
Step 2: Get Your Parts.
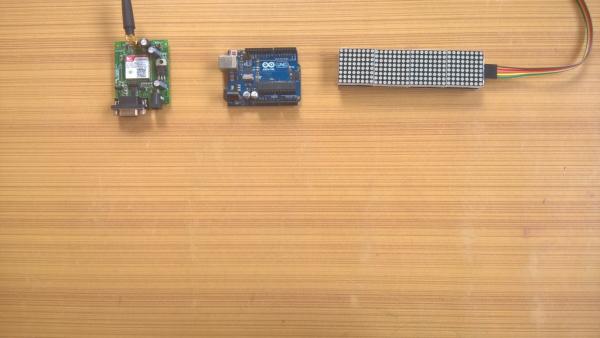
Arduino:
India – http://amzn.to/2HXPEvW
US – http://amzn.to/2F4Uwxs
UK – http://amzn.to/2F4Uwxs
GSM Module:
India: Smaller one – http://amzn.to/2oyJTg2, Bigger one – http://amzn.to/2oyJTg2
US: Smaller one – http://amzn.to/2F1vNy6, Bigger one – http://amzn.to/2F1vNy6
UK: Smaller one – http://amzn.to/2oAjApT, Bigger one – http://amzn.to/2oAjApT
Dot Matrix Display:
India – http://amzn.to/2HWZcqH
US – http://amzn.to/2HWZcqH
UK – http://amzn.to/2HWZcqH
Step 3: GSM Module: Smaller One or Bigger One?
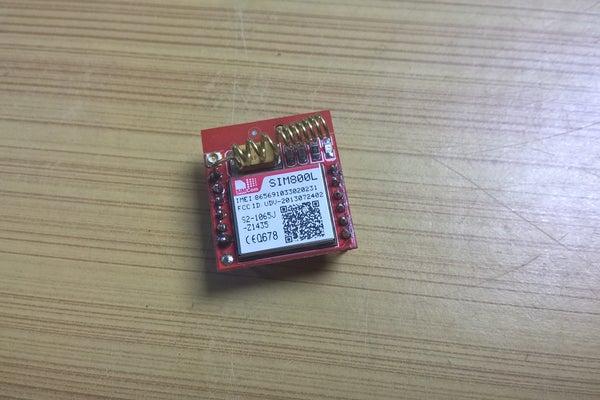
In this step I’ll talk about the major differences in the modules, which will help you to choose one.
First things first, smaller one is very compact while larger one requires larger space.
Smaller one does not have a RS232 to TTL converter while larger one has a DB9 socket and a MAX232 IC which does the job, but to use it with Arduino, we won’t be needing it.
The smaller one requires exact voltage in between 3.7 and 4.4 Volts which can be a little pain and it also needs a micro SIM. The larger one has a built in voltage regulator which takes 12 Volts and converts it to the working voltage and it has a slot for old large sized SIM.
The short antenna of smaller module created a problem for me sometimes while the antenna of bigger module is good at its job. Although both works same, I’ll be using the bigger one in this project.
Now that you have chosen your GSM module, let’s go ahead and check it.
Step 4: Testing the GSM Module.
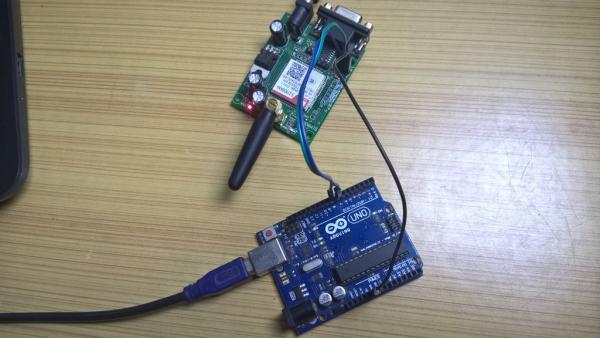
Connect the TX to digital pin 8, RX to digital pin 7 and common the grounds.
Upload the sketch in this step to Arduino. Apply 12 volts to GSM module. You’ll notice that the network LED is blinking fast, when it is blinking once a second, it is connected to the network. Then open serial monitor and press “s” for sending message or press “r” for receiving message. You can change the mobile number and the message to be sent in the Send Message function.
If this works fine, move on to the next step.
Step 5: Test the Dot Matrix Display.
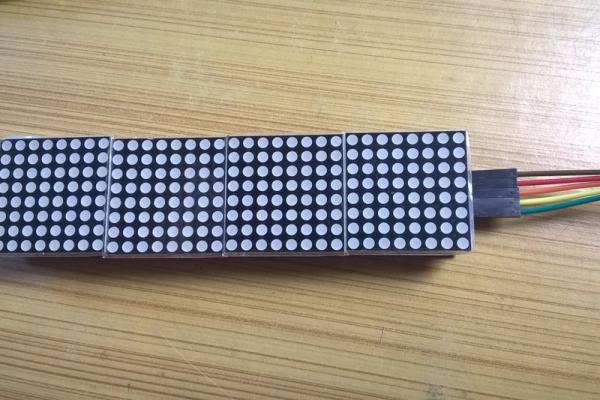
Now to check Dot Matrix Display, add MD Parola and MD MAX72XX libraries to Arduino library.
But before using it, go to Arduino libraries folder, open MD_MAX_72XX library folder, then go to docs and open any HMTL file, then determine the type of Dot Matrix Display you have (refer the video for proper understanding). Mine is FC_16. After this, go to “src” folder and open MD_MAX72XX.h file. Modify the header file according to the module you have and then save it.
Now you can check your module. Connect the chip select pin to pin 10, data in pin to pin 11, and clock pin to pin number 13, and apply power. Open test sketch from examples of the library and upload it. The dot matrix should display some patterns followed by their titles, which can also be seen on the serial monitor.
You might want to place something on top of matrix that is little dark but is transparent, as it is hard to read it directly. Try a red colour acrylic sheet for best results.
Step 6: Combine Them.
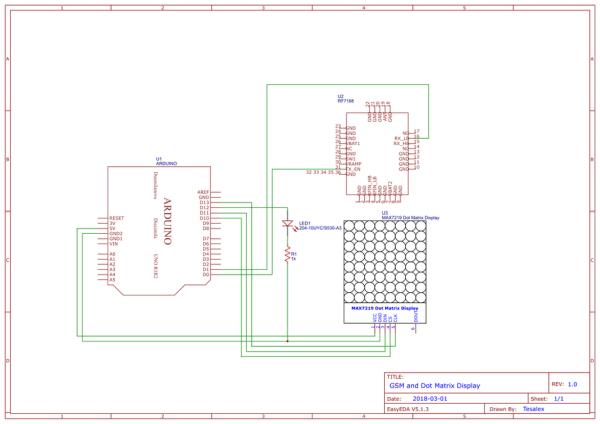
Now we will add a led to pin 12 and upload this sketch. Always keep in mind that while uploading a sketch pin number 0 and 1 must not be connected to anything. After the sketch is uploaded connect the RX pin of GSM module to TX pin of Arduino and TX pin of GSM module to RX pin of Arduino.
Open serial monitor. I sent a message in the format “#A.Check*”, and you will notice that the led blinks and the SMS is displayed in the dot matrix display. You can also check the message in the serial monitor. Again, I sent another message and the displayed message changes.
The format of the message can also be changed in the program itself. Search for “#A.” and an Asterik (*) in the program and change it to your wish.
Step 7: Function of “memset”
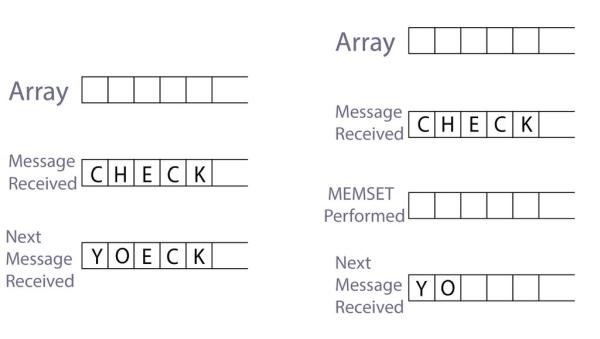
You might notice that in the program there is function called memset.
If you are wondering what it is for, then let me tell you it is for a very special purpose which is explained in the image attached.
You can also refer video for proper understanding.
Step 8: Done.
That was all for this instructable. I hope you liked it.
Check out our YouTube channel here for more projects and please like, share and subscribe.
Source: SMS Monitor || Dot Matrix Display || MAX7219 || SIM800L
