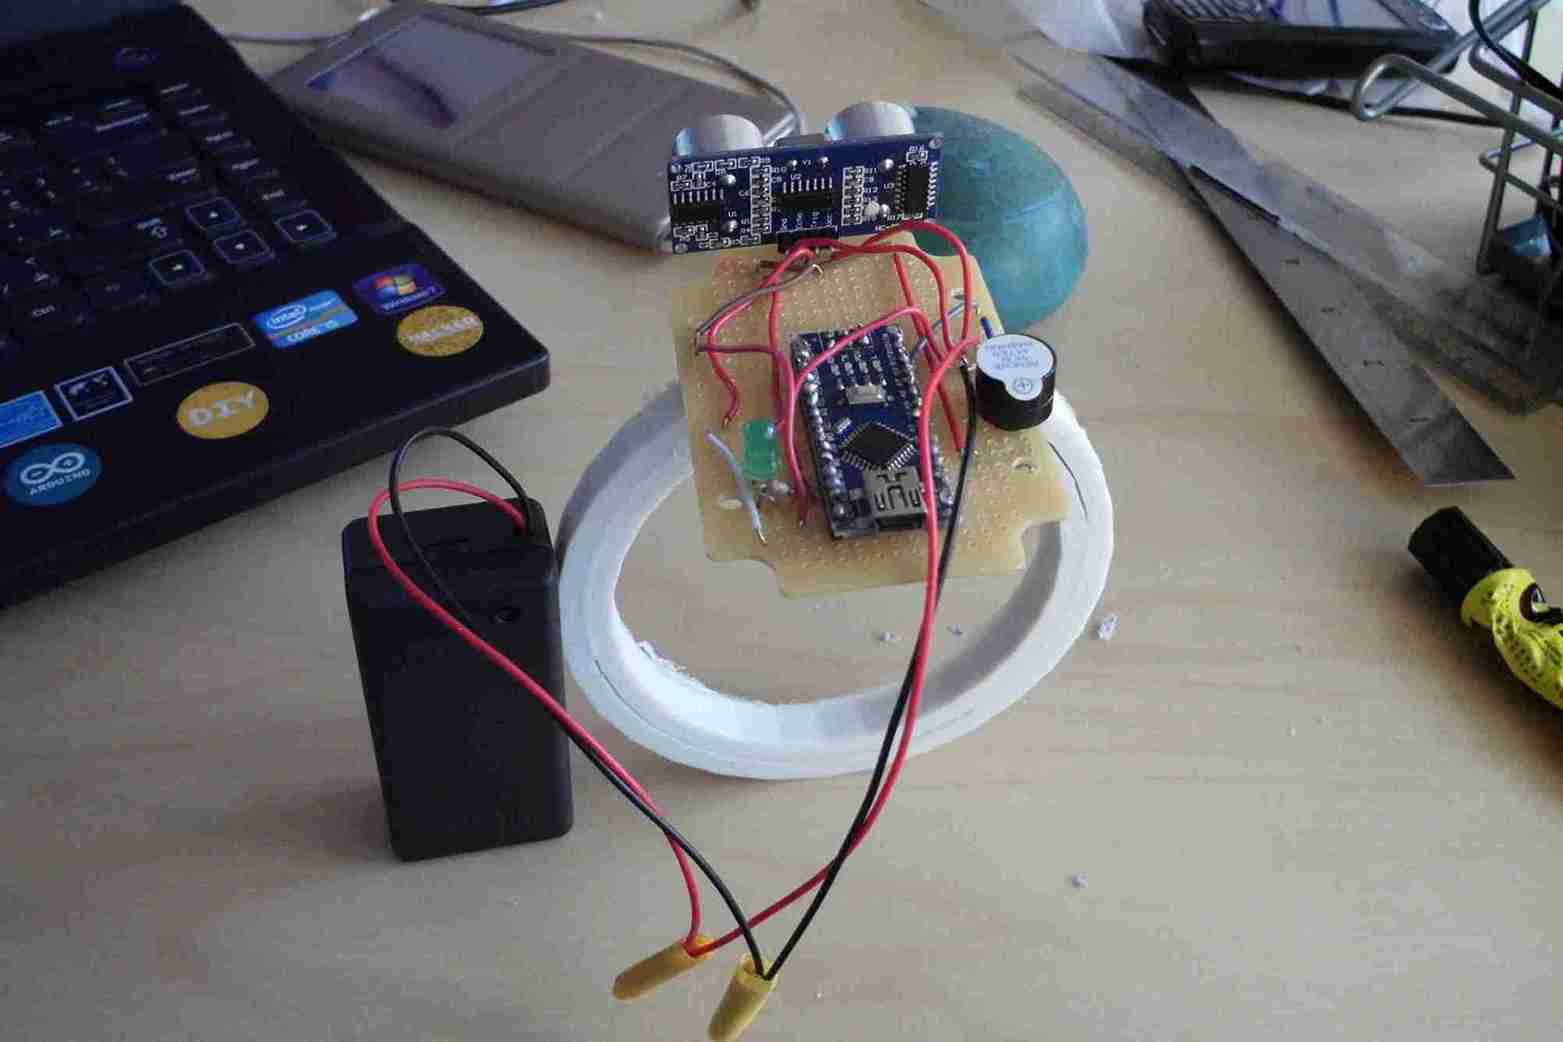
Wearable technology has revolutionized accessibility, providing tools to support individuals with sensory challenges. This project outlines how to create a Sensory Feedback Bracelet, combining features from an Arduino-based navigation bracelet and sensory-focused wearables. This bracelet sends soft tactile feedback to help users stay calm, focused, and connected to their surroundings.

What Is a Sensory Feedback Bracelet?
A Sensory Feedback Bracelet is a compact wearable device that delivers light vibrations to the wrist, offering tactile vibrations. This device is especially beneficial for children with sensory processing challenges, helping to regulate their reactions and emotions in overstimulating environments.
Main Features
- Tactile Feedback: Sends gentle vibrations to promote calmness and focus.
- Customizable Settings: Vibration intensity and patterns can be adjusted to suit individual needs.
- Lightweight & Portable: Comfortable for all-day wear and easy to carry anywhere.
How This Bracelet Benefits Children with Sensory Issues
- Self-Regulation: Provides calming tactile feedback to help manage anxiety and overstimulation.
- Enhanced Focus: Reduces sensory overload by grounding the user through gentle vibrations.
- Emotional Comfort: Helps children associate sensory cues with a sense of calm and safety.
- Wearable Convenience: Acts as a discreet, portable tool for sensory support in any environment.
What You’ll Need
To create your sensory feedback bracelet, gather these materials:
- Arduino Nano or ATTiny85 microcontroller
- Vibration Motor (commonly found in smartphones)
- Battery Pack (e.g., rechargeable LiPo battery)
- On/Off Switch
- Elastic Strap or Velcro for wearability
- Additional components: resistors, wires, connectors, and a small PCB for assembly
How It Works
- Vibration Mechanism: A motor generates light tactile feedback.
- Microcontroller Control: Arduino or ATTiny85 regulates vibration patterns and intensity.
- User-Friendly Design: An elastic strap ensures a secure and comfortable fit.
The wearable delivers continuous feedback, helping users feel grounded and connected.
Step-by-Step Guide to Building the Bracelet
1. Assemble the Electronics
- Connect the vibration motor to the Arduino Nano or ATTiny85 microcontroller.
- Attach the battery pack to power the circuit.
2. Program the Microcontroller
- Write a simple program in the Arduino IDE to control vibration patterns and intensity.
- Upload the code to the microcontroller.
3. Secure the Components
- Fix the motor, microcontroller, and battery onto a small PCB or directly onto the strap.
4. Attach the Strap
- Use elastic or Velcro to create an adjustable, comfortable wristband.
5. Test and Refine
- Fine-tune the vibration intensity and patterns to suit the user’s sensory needs.
Files:
Why Build This Bracelet?
Creating a sensory feedback bracelet isn’t just a DIY project—it’s a way to empower individuals with sensory challenges. By tailoring the device to their unique needs, users gain a tool that supports emotional well-being and enhances their ability to navigate sensory-rich environments.
This cost-effective, customizable wearable is a simple yet impactful solution for sensory support. Whether for children with sensory processing issues or adults seeking calming feedback, the Sensory Feedback Bracelet is a practical and meaningful innovation.


