The Rainbowduino is a variant of the Arduino and among other things is capable of driving an 8×8 RGB LED matrix. I had just finished a backyard re-model and was in need of an entrance sign.
Step 1: Carving and Painting the Sign
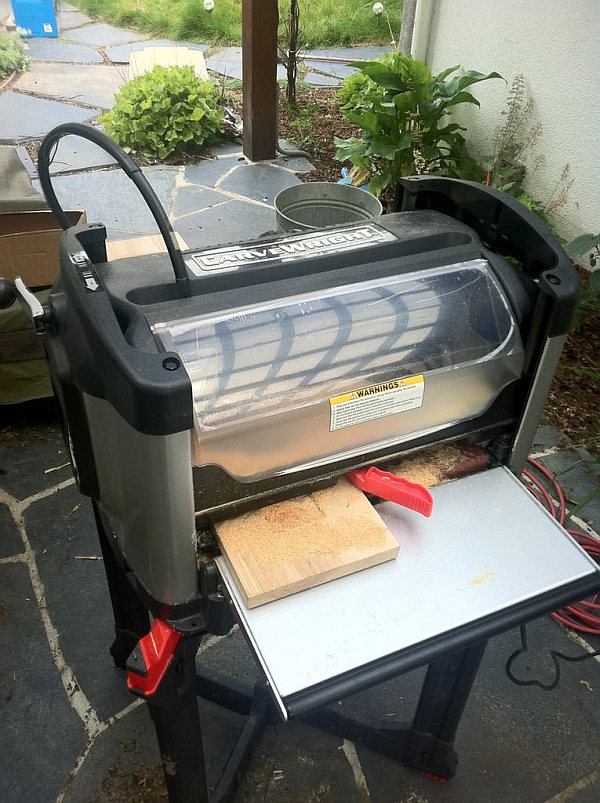
I had recently acquired a CarveWright CNC wood carving machine. It’s a pretty nice piece of equipment and comes with some pretty easy to use design software. Then you just print out the design to your piece of wood.
Painting the sign was the most tedious part of the project, nothing fancy there, just a lot of time and blue masking tape. As its an outdoor sign, I also added several layers of lacquer.
Here’s a video of the Carvewright in action
Step 2: Uploading a Lighing Pattern to the Rainbowduino
As the Rainbowduino does not have a USB port, you’ll need the additional UartSBee to program it. Since it’s Arduino compatible, you use the same Arduino IDE software to program and upload sketches.
There are a few ways you can go to program the Rainbowduino:
1. Use a graphical editor called mtXcontrol written by Toby Tobes
2. Custom code from scratch
3. Find an existing lighting pattern someone else did and just upload it
I was lazy and went for number 3. I think the pattern though is very nice which is the one in the video. If I ever change my mind, I can always remove the Rainbowduinos, re-program them, and then re-mount them.
It turns out that getting mtXcontrol to work on Windows is not so easy and involves copying lots of files and ensuring they all go in the right place. So to make things easier, I wrote an install package which automates all this which you can download here (sorry, Windows PCs only, it’s a large 450+ MB download). Also if you use the mtXcontrol, you must set your UartSBee manually in your Windows device manager to COM1. It will only work if it’s on COM1. The Rainbowduino also needs external power when you are programming it so be sure and also have the +6V power supply plugged in.
2 8 x 8 Matrix LEDs – $18.50 each
6V Power Supply – $4.90
UartSBee – $19.50
DC Jack to JST Pin Converter – $.80
Piece of Wood for the Sign
For more detail: Rainbowduino Sign using Arduino