Summary of Proximity sensing mouse wheel scroller using Arduino
This project converts a trackball mouse into a proximity-sensing wheel scroller using an Arduino Nano and a Sharp IR sensor, placed and fixed inside the mouse with a small mirror and basic tools. The guide covers sensor placement, wiring (5V, GND, A3), disassembly steps, and uploading prototype code to the Nano to read the sensor for scrolling behavior.
Parts used in the Proximity sensing mouse wheel scroller project:
- Exacto
- Arduino Nano / USB chord (Mini-B)
- Dremel / Drill
- Paper & Pencil
- Sharp IR Sensor (2Y0A21 F)
- Hot glue gun
- Solder gun / Solder
- A small mirror
List of tools:
1. Exacto
2. Arduino Nano / USB chord (Mini-B)
3. Dremel / Drill
4. Paper & Pencil
5. Sharp IR Sensor (2Y0A21 F)
6. Hot glue gun
7. Solder gun / Solder
8. A small mirror
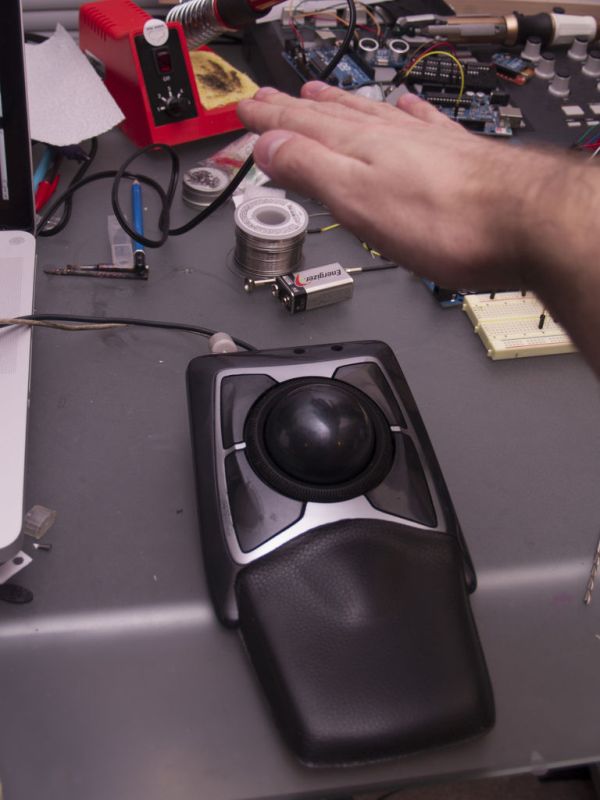
Ok so you might ask, why the heck are you doing this to a trackball?! aren’t those for people from the 80s?? the one with keytars?? My response is two fold. No. 1 I have a keytar and they are MAGICAL. 2. I hated trackballs until I was forced to use one in a recording studio a few years ago, and I will never ever ever ever use a regular mouse again. These suck to get used to, but are amazingly efficient especially from a designer perspective. Not to mention they are very ergonomic. You can hate all you want, I love magical things. But if you do not like magical things, I guess you could just put it somewhere else, maybe the side of a chair? inside a normal mouse (might need a arduino mini for this or attiny)?
Here is a prototype of the sensor, I was trying to figure out where I could put it. You need to pick a good spot where the nano will fit as well as a place that you wont constantly be bumping it, this was the best place I could find. Feel free to move it wherever though. This area happen to have the least amount of electronics too, so it was a no duh spot.
Ignore that its a Arduino Uno in the prototype, I was doing just that– making sure I could get it to work first. we will be using the Nano or Mini, depending on preference. this tutorial uses the Nano.
Arduino nano is really easy to use if you have never used it. This was my first project using one and I had no problem making the switch from an Uno to the Nano, just a little more soldering.
Step 1:
Prep-a-roo-skis
Ok, lets get some stuff ready.
1. Soldering Iron, Solder.
2. Arduino Nano
3. USB chord
4. Sharp IR sensor.
current awesome meter reading: [ ===————–] not looking too good…
Go ahead and heat up your solding iron.
While that is heating lets make a stencil for where your sensor will go. What I did was first traced the outside of the IR sensor, then you find where the LEDs are and make the most amazing circles you have ever made in all of everdom. I eyeballed this but you could do some measuring or check out the datasheet to get exact measurements. I’m a pro circle drawer though so… don’t feel bad if yours aren’t as good as mine.
Connect it up!
make sure you have the correct length by putting the arduino inside the mouse and see if it reaches where you would like to put the sensor.
Now solder the RED wire of the IR sensor to the 5v pin,
BLACK to ground,
White to A3 (analog in 3)
(check diagram above if you aren’t sure what ones these are)
Now, get your mirror out.
Look at how smart and amazing you are. d’awwwe.
Ok, your IR sensor is now connected to your arduino board, 10 points. Plug that USB in and lets get programming.
disclaimer: I know this code is nasty and hacked together. I was tired and me and “for loops” were getting in a fight, soooooo. yeah. if you want to suggest improvements–have at it.
https://gist.github.com/4493574
awesome meter: [ ====———-] getting better!
Step 2:
Ok get that mouse out.
First remove the plastic rubber stoppers from the bottom and unscrew all 4 screws. easy peasy.
Once they are unscrewed it should come apart relatively easily, just pull it apart like you’re checking to see if you forget butter on your sandwich. Shuttup, my analogies are amazing. Ok, moving on.
awesome meter: [ =======——-]
2. Arduino Nano / USB chord (Mini-B)
3. Dremel / Drill
4. Paper & Pencil
5. Sharp IR Sensor (2Y0A21 F)
6. Hot glue gun
7. Solder gun / Solder
8. A small mirror
Prep-a-roo-skis
Ok, lets get some stuff ready.
1. Soldering Iron, Solder.
2. Arduino Nano
3. USB chord
4. Sharp IR sensor.
For more detail: Proximity sensing mouse wheel scroller using Arduino
- What is the main goal of this project?
To convert a trackball mouse into a proximity-sensing wheel scroller using an Arduino Nano and a Sharp IR sensor. - What Arduino board is used in this tutorial?
The tutorial uses an Arduino Nano. - Which pins are used to wire the Sharp IR sensor?
Red to 5V, black to ground, and white to A3 (analog in 3) on the Arduino. - Do I need a mirror for the sensor?
Yes, the guide lists a small mirror as part of the components and uses it in the sensor prototype. - Is special measuring required for the sensor hole?
The author traced the sensor outline and eyeballed LED hole placement but suggests you can measure or check the datasheet for exact dimensions. - What tools are required to open the mouse?
You need to remove rubber stoppers and unscrew four screws; tools listed include an Exacto and Dremel/Drill if modification is needed. - Is code provided for the project?
Yes, prototype code is provided via a linked gist in the article. - Can I use an Arduino Mini instead of the Nano?
The author says you can use a Nano or Mini depending on preference; the tutorial uses the Nano. - What soldering connections are necessary before programming?
Solder the sensor wires to the Arduino (5V, GND, A3) and ensure USB connection reaches the board placement inside the mouse. - Why choose a trackball for this mod?
The author prefers trackballs for ergonomics and efficiency and wanted to add proximity-scrolling functionality.