
Summary of Phone Controlled Computer Starter
This article outlines a DIY project to remotely start and control a computer using a NodeMCU, Blynk app, and TeamViewer. The system allows users to power on their PC from anywhere via a smartphone button and then access the desktop remotely for tasks like file retrieval or downloads.
Parts used in the Remote Computer Starter:
- A computer to turn on
- NodeMCU (or ESP8266)
- Project enclosure
- Cables
- Optocoupler (Sharp PC817)
- Resistor 200ohm
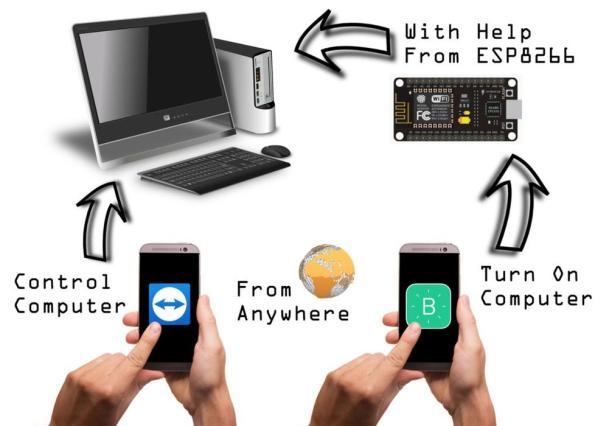
Have you ever wanted to start your computer while you are away from home to access some files? Or maybe you wanted to start a download of a new game, so that it would be done when you got home. This project will show how to start and control your computer from anywhere in the world.
We will use a NodeMCU and the Blynk app to start the computer. After it has been turn on, the TeamViewer App will be used to control the computer.
Step 1: Parts & Programs
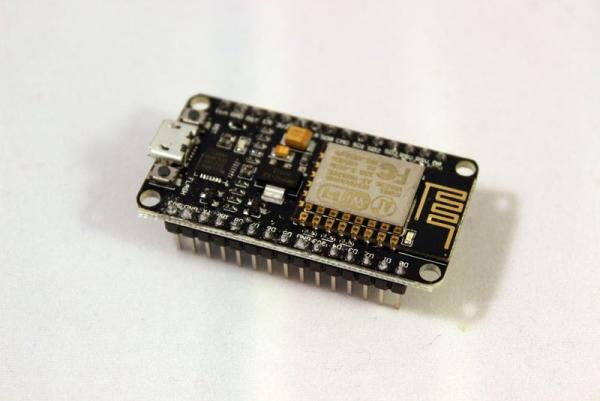
Parts
- A computer to turn on
- NodeMCU (or ESP8266)
- Project enclosure
- Cables
- Optocoupler (Opto-isolator) i used “Sharp PC817”
- Resistor 200ohm
Programs
- Blynk App (on Phone)
- Arduino IDE (on Computer)
- TeamViewer (on Computer and Phone)
Step 2: TeamViewer
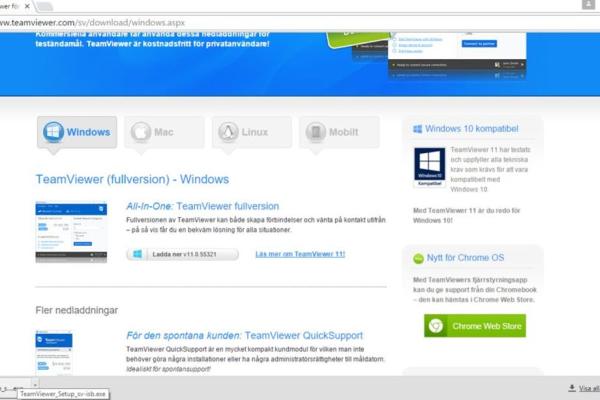
Download the TeamViewer software on the PC that you want to control. Create an account and add your computer to your list of computers. You can control your computer from another computer or by phone.
Step 3: TeamViewer (To Control Computer)
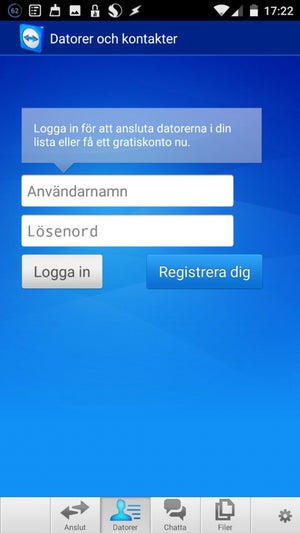
Also download the TeamViewer App from the store, it is free. Login and go to your computers and from there it is just to click on the computer that you want to control.
Step 4: Blynk (To Start Computer)
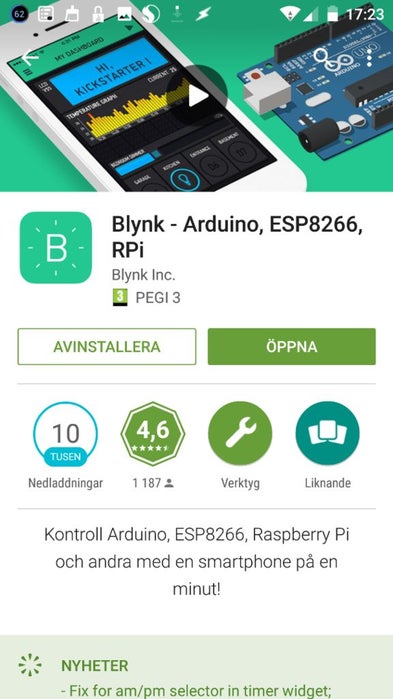
The Blynk App will be used to trigger the NodeMCU board that will start our computer. Download the app from the store and make an account. Create a new project and add a button to pin 4 (if you use that pin).
Step 5: Program the NodeMCU With Arduino IDE
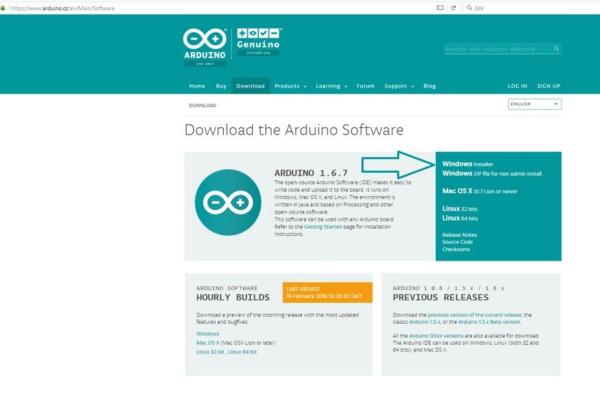
The pictures contains most of the information in this step.
Arduino IDE
https://www.arduino.cc/en/Main/Software (Here We can download the Arduino IDE)
Blynk
https://github.com/blynkkk/blynk-library/releases (Here we can download the code library for the project)
Add the ESP8266 board to the Arduino IDE
https://github.com/esp8266/Arduino (This is the website where we find the following link)
“http://arduino.esp8266.com/stable/package_esp8266com_index.json” (We will need this link)
Read more: Phone Controlled Computer Starter
- How can I start my computer while away from home?
You can use a NodeMCU board triggered by the Blynk app to power on your computer remotely. - What software is needed to control the computer after it starts?
The TeamViewer App is used to control the computer once it has been turned on. - Can I control my computer from another device?
Yes, you can control the computer from another computer or by phone using TeamViewer. - Which specific optocoupler was used in this project?
The author used a Sharp PC817 optocoupler for the circuit. - What pin should be used for the button in the Blynk project?
You should add a button to pin 4 if you are using that specific pin on the NodeMCU. - Where can I download the Arduino IDE?
The Arduino IDE can be downloaded from the official website at arduino.cc/en/Main/Software. - Is the TeamViewer App free to use?
Yes, the TeamViewer App available from the store is free to download and use.
