/**************************************************************
 * Blynk is a platform with iOS and Android apps to control
 * Arduino, Raspberry Pi and the likes over the Internet.
 * You can easily build graphic interfaces for all your
 * projects by simply dragging and dropping widgets.
 *
 *   Downloads, docs, tutorials: http://www.blynk.cc
 *   Blynk community:            http://community.blynk.cc
 *   Social networks:            http://www.fb.com/blynkapp
 *                               http://twitter.com/blynk_app
 *
 * Blynk library is licensed under MIT license
 * This example code is in public domain.
 *
 **************************************************************
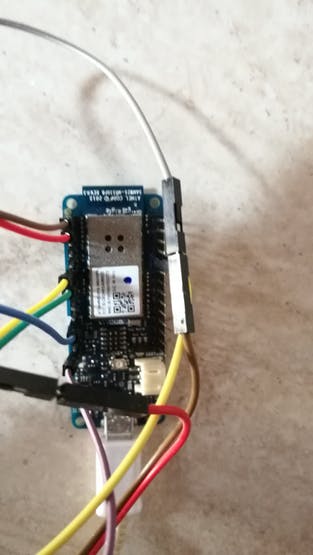
 * This example shows how to use Arduino MKR1000
 * to connect your project to Blynk.
 *
 * NOTE: You may need to install WiFi101 library through the
 *       Arduino IDE Library Manager.
 *
 * Feel free to apply it to any other example. It's simple!
 *
 **************************************************************/

#define BLYNK_PRINT Serial    // Comment this out to disable prints and save space
#include <SPI.h>
#include <WiFi101.h>
#include <BlynkSimpleMKR1000.h>
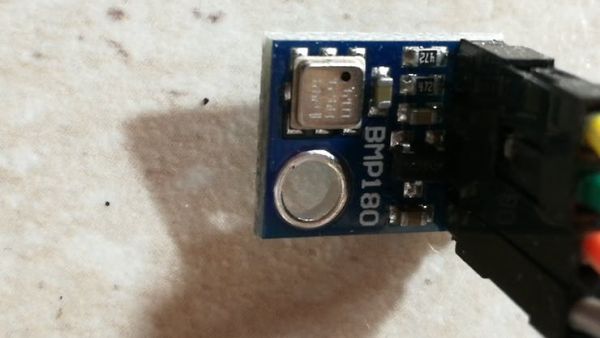
#include <Adafruit_BMP085.h>
#include <Wire.h>
#include <SimpleTimer.h>
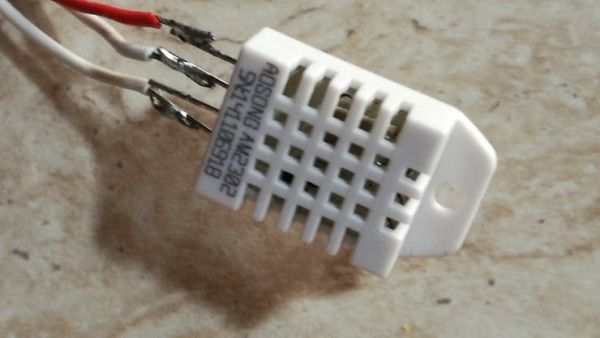
#include "DHT.h"

#define DHTPIN 1    // what pin we're connected to, pin1 is 5th pin from end


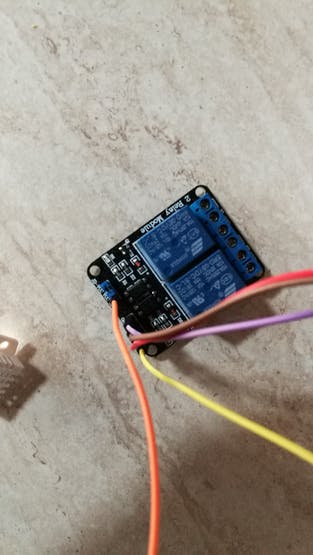
const int caldaia =  7;
const int luci =  6;
const int stato = luci ;

//#define DHTTYPE DHT21  // DHT 21
#define DHTTYPE DHT22  // DHT 22

Adafruit_BMP085 bmp;


DHT dht(DHTPIN,DHTTYPE);
SimpleTimer timer;

// You should get Auth Token in the Blynk App.
// Go to the Project Settings (nut icon).
char auth[] = "INSERT YOUR AUTH";

// Your WiFi credentials.
// Set password to "" for open networks.
char ssid[] = "xxxxxxxxxxxxxx"; //  your network SSID (name)
char pass[] = "xxxxxxxxx";    //your network password
int keyIndex = 0;     // your network key Index number (needed only for WEP)

void sendSensor()
{


 float h = dht.readHumidity();
  // Read temperature as Celsius (the default)
  float t = dht.readTemperature();
  // Read temperature as Fahrenheit (isFahrenheit = true)
  float f = dht.readTemperature(true);

  // Check if any reads failed and exit early (to try again).
  if (isnan(h) || isnan(t) || isnan(f))
  {
    Serial.println("Failed to read from DHT sensor!");
    return;
  }

  // Compute heat index in Fahrenheit (the default)
  float hif = dht.computeHeatIndex(f, h);
  // Compute heat index in Celsius (isFahreheit = false)
  float hic = dht.computeHeatIndex(t, h, false);


    float t1 = bmp.readTemperature();
    float p  = bmp.readPressure()/100;
    float alt = bmp.readAltitude();


    // This command writes t1 to Virtual Pin (0)
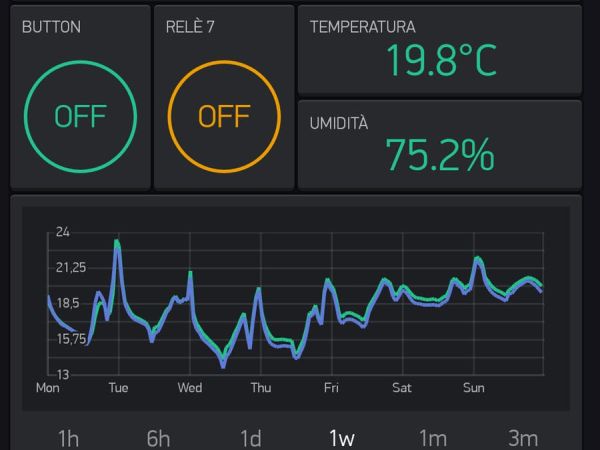
    Blynk.virtualWrite(V11, t1);
    // This command writes p to Virtual Pin (0)
    Blynk.virtualWrite(V10, p);

Blynk.virtualWrite(V12, alt);

  Blynk.virtualWrite(V2, h);
Blynk.virtualWrite(V3, t);

}

void setup()
{
  Serial.begin(9600);
  Blynk.begin(auth, ssid, pass);
  // Or specify server using one of those commands:
  //Blynk.begin(auth, ssid, pass, "blynk-cloud.com", 8442);
  //Blynk.begin(auth, ssid, pass, server_ip, port);

   dht.begin();
   Wire.begin(); // required by BMP180
    bmp.begin();
    timer.setInterval(1000L, sendSensor);

pinMode(caldaia, OUTPUT);


}
BLYNK_CONNECTED() {
Blynk.syncVirtual(V20);
}
// This function will be called every time
// when App writes value to Virtual Pin 1
BLYNK_WRITE(V20)
 {
 if(param.asInt()==1)
  {
     digitalWrite(caldaia, LOW);
  }
  else
  {
     digitalWrite(caldaia, HIGH);
  }
 }


void loop()
{


 timer.run(); // Initiates SimpleTimer
    Blynk.run();
}
