RepRap Update
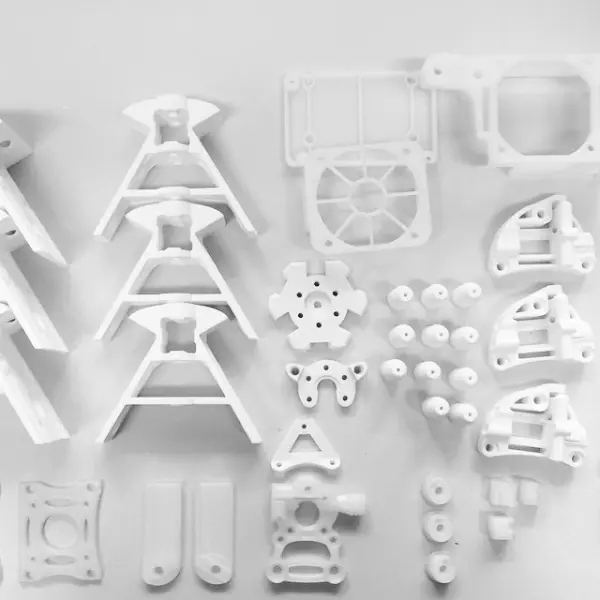
I have finally printed all the plastic parts for the Griffin Open Source 3D printer I’m building, and they look fantastic! The remaining components should arrive soon, and then I can start construction. In the meantime, I’ve been configuring the printer control board, an Arduino Mega 2560 with the RAMPS 1.4 extension. RAMPS exemplifies how the open-source nature of the maker community has brought low-cost and straightforward solutions to 3D printing. The RAMPS board is designed to slot directly onto a standard Arduino Mega 2560 via the shield mounting system, adding stepper motor controllers and other 3D printer-specific features. This board’s design is open source and fully documented, allowing anyone to modify, create their own, or better understand the device they’re using. Another advantage of this community-developed board is its price, now reduced to around $40!
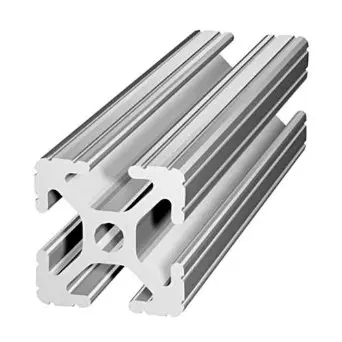
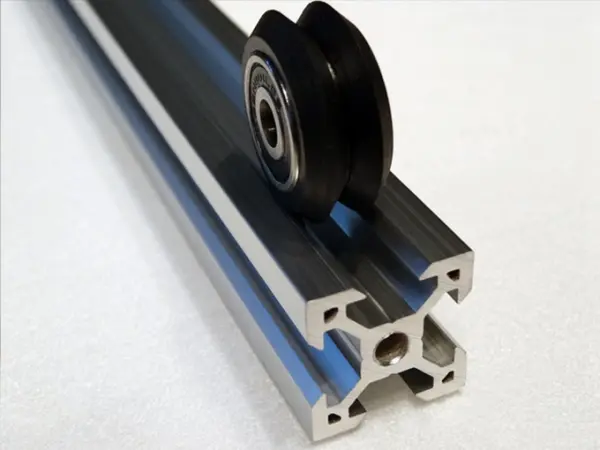
The main frame of the Griffin 3D printer is made up of special aluminum beams called V-Slot. Developed by makers, V-Slot integrates linear motion systems into the frame of a 3D printer or CNC machine, cutting costs and reducing complexity. Unlike traditional aluminum extrusion with a T-shaped slot, V-Slot features a V-shaped slot, allowing self-centering precision roller wheels to ride on the beam, providing a stable and high-precision linear motion pathway.
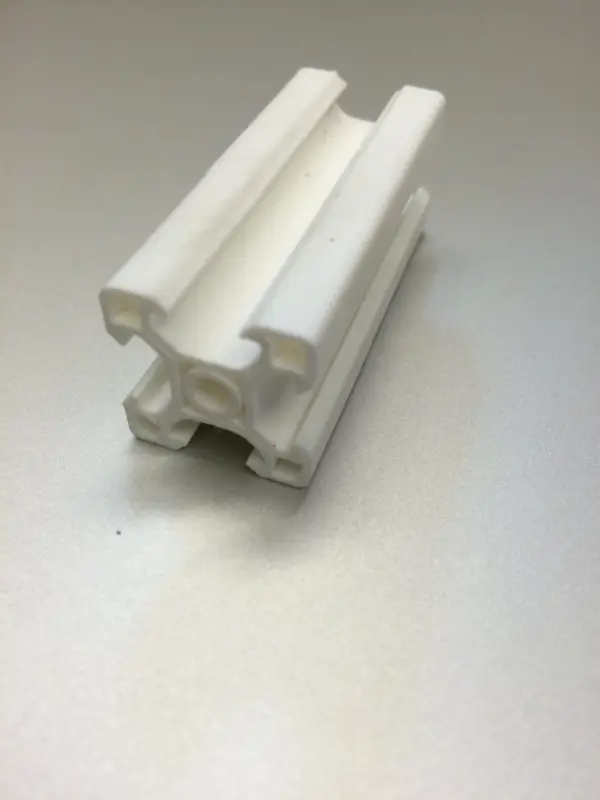
As an experiment, I modeled and printed 2020 (20mm x 20mm) aluminum V-Slot extrusions needed for this printer. The lower and upper frames of the delta printer consist of six 225mm lengths of V-Slot, while the sides consist of three 500mm lengths. The three 500mm beams must be aluminum to serve as linear rails for the carriages, as aluminum V-Slot is manufactured with high precision for use with roller wheels. At $10 per meter, it’s worthwhile and fun to explore alternatives for the six 225mm beams. The printed beams exceeded my expectations, being dimensionally accurate, strong, and rigid, with a set of six printable in under eight hours. This aligns with one of the main goals of RepRap development: increasing the proportion of printed parts per build. By replacing aluminum beams with printed PLA copies, I will need to purchase 50% less V-Slot for my build.
Using PLA instead of V-Slot also results in significant weight savings, as PLA weighs only 1.2 g/cm³ compared to aluminum’s 2.7 g/cm³. Since the PLA beams are mostly hollow, I expect nearly 60% weight reduction in the frame section, which is a considerable portion of the total mass. This is crucial because my goal for this printer is to prioritize portability and ease of handling, areas where the massive F306 and steel-plated Wanhao 4S fall short. This new, small form factor printer will be used by the Maker Hub for demos, marketing, and other events that could benefit from its presence.
3D printed Arduino-controlled robot arm
One of the most exciting aspects of the Maker Hub is the wide array of tools and resources available. This diversity is key to our goal of connecting makers from all backgrounds at the Elon Hub, providing a space where they can apply their knowledge and explore new and unfamiliar areas. I believe the best way to achieve this is by offering workshops that encourage the integration of the various technologies we have access to.
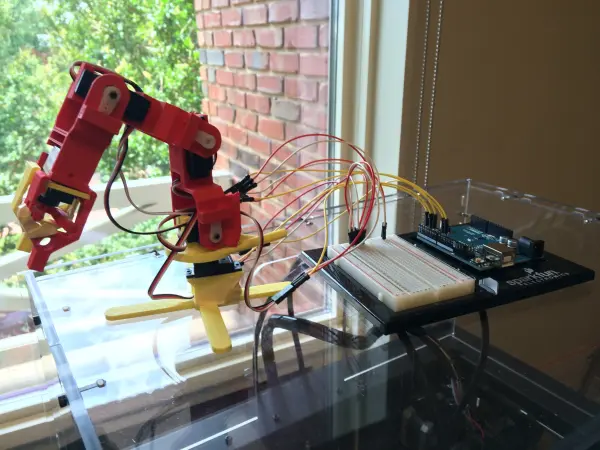
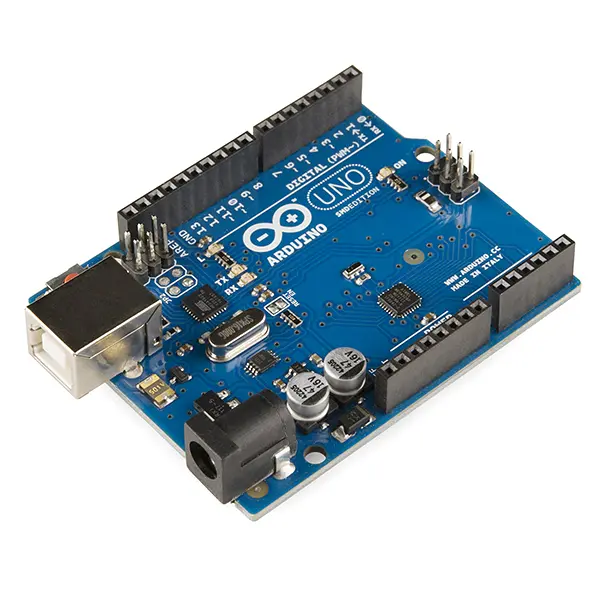
To achieve this goal, I’ve embarked on constructing a robotic arm using 3D-printed components and an Arduino microcontroller. This endeavor integrates skills in 3D printing, electronics, and hardware-oriented programming, serving as an excellent demonstration of some of our most intriguing technologies. If successful, I intend to create a workshop or self-paced activity focused on building and programming this robot.
We’re in the process of refining these workshops, so if you have any ideas, please share them in the comments!
Cooling troubleshooting on the Wanhao
The majority of modern 3D printers utilize either PLA (polylactic acid) or ABS (acrylonitrile butadiene styrene) as their primary printing material. ABS is known for its strength and resilience, yet it is heavier and more challenging to print due to its tendency to warp. To counteract ABS’s shrinkage of up to 20% upon cooling, it’s crucial to heat the print surface to approximately 110°C. Simplifying ABS prints can be achieved by employing a sealed build chamber, maintaining a high surrounding temperature to prevent premature shrinkage of the printed parts.
On the other hand, PLA, while slightly weaker and more brittle than ABS, is much easier to print. It does not require a heated build platform (though heating it to 50-60°C can enhance adhesion) and exhibits minimal shrinking or warping. Consequently, PLA has become the preferred plastic for consumer-level printers in recent years. However, its low glass transition temperature, which makes it easy to use, can lead to issues like inadequate cooling between layers, resulting in mushy and poorly defined prints.
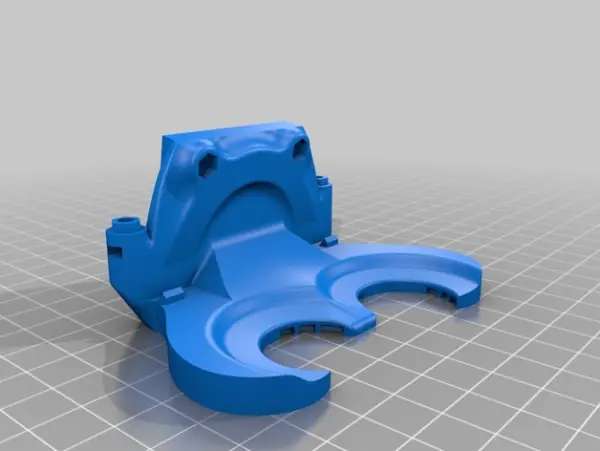
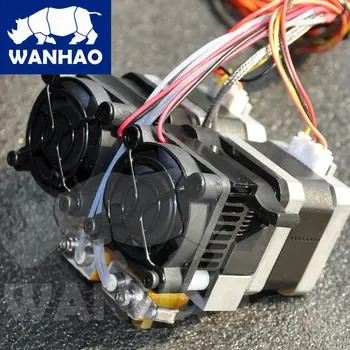
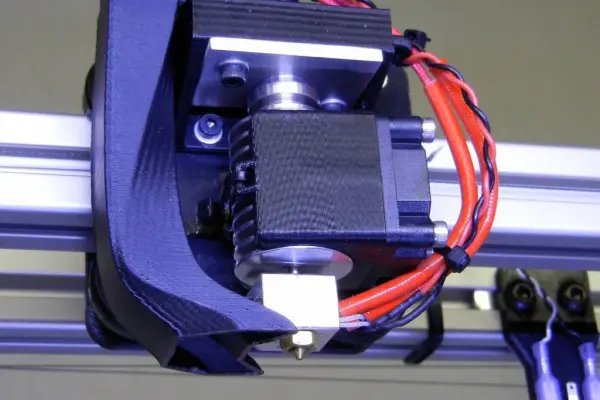
Fortunately, a straightforward solution exists: immediate cooling of the PLA after extrusion using a fan attached to the hot end (the heated nozzle from which the plastic is extruded). While many manufacturers now include a hot end fan (such as the F306 with its ducted blower fan), this feature is absent in printers like the Wanhao 4S. Fortunately, the community has developed a 3D-printable fan attachment as a solution. I will soon install one of these attachments on the Wanhao, so stay tuned next week for comparisons of prints before and after installation!
Construction underway
The construction team has made significant progress on the Maker Hub! Ceilings and floors have been dismantled to make way for the installation of ceiling-mounted extension cords and robust flooring. The space’s overall shape is beginning to take shape remarkably. Yet to be completed are the installation of wall-mounted USB outlets, the creation of impressive cabinets and shelving units, the setup of adaptable workbenches, and the addition of a 70-inch display with wireless video streaming capabilities! Keep an eye out weekly for updates on our progress as we prepare to unveil the space this fall.
Follow this link for complete project: Making the Maker Hub: Printing a 3d printer, Arduino and construction pics
