Summary of Making art Interactive Using Arduino
This project is a small-scale interactive dome prototype designed to simulate a starry sky using LEDs arranged like constellations. The team used cardboard for the structure, soldering LEDs to jumper cables to hide wiring outside the dome. A shift register controlled the lighting patterns via Arduino code, mimicking blinking stars. Although they intended to include a touch sensor using tin foil on a pillow, this feature was not fully implemented due to technical challenges. The focus remained on the dome's structure and visual interaction rather than complex programming or external phone connectivity.
Parts used in the Interactive Dome Prototype:
- Cardboard
- 10 LEDs
- Jumper cables
- Soldering equipment
- Shift register
- Arduino (implied by context)
- Tin foil (attempted for touch sensor)
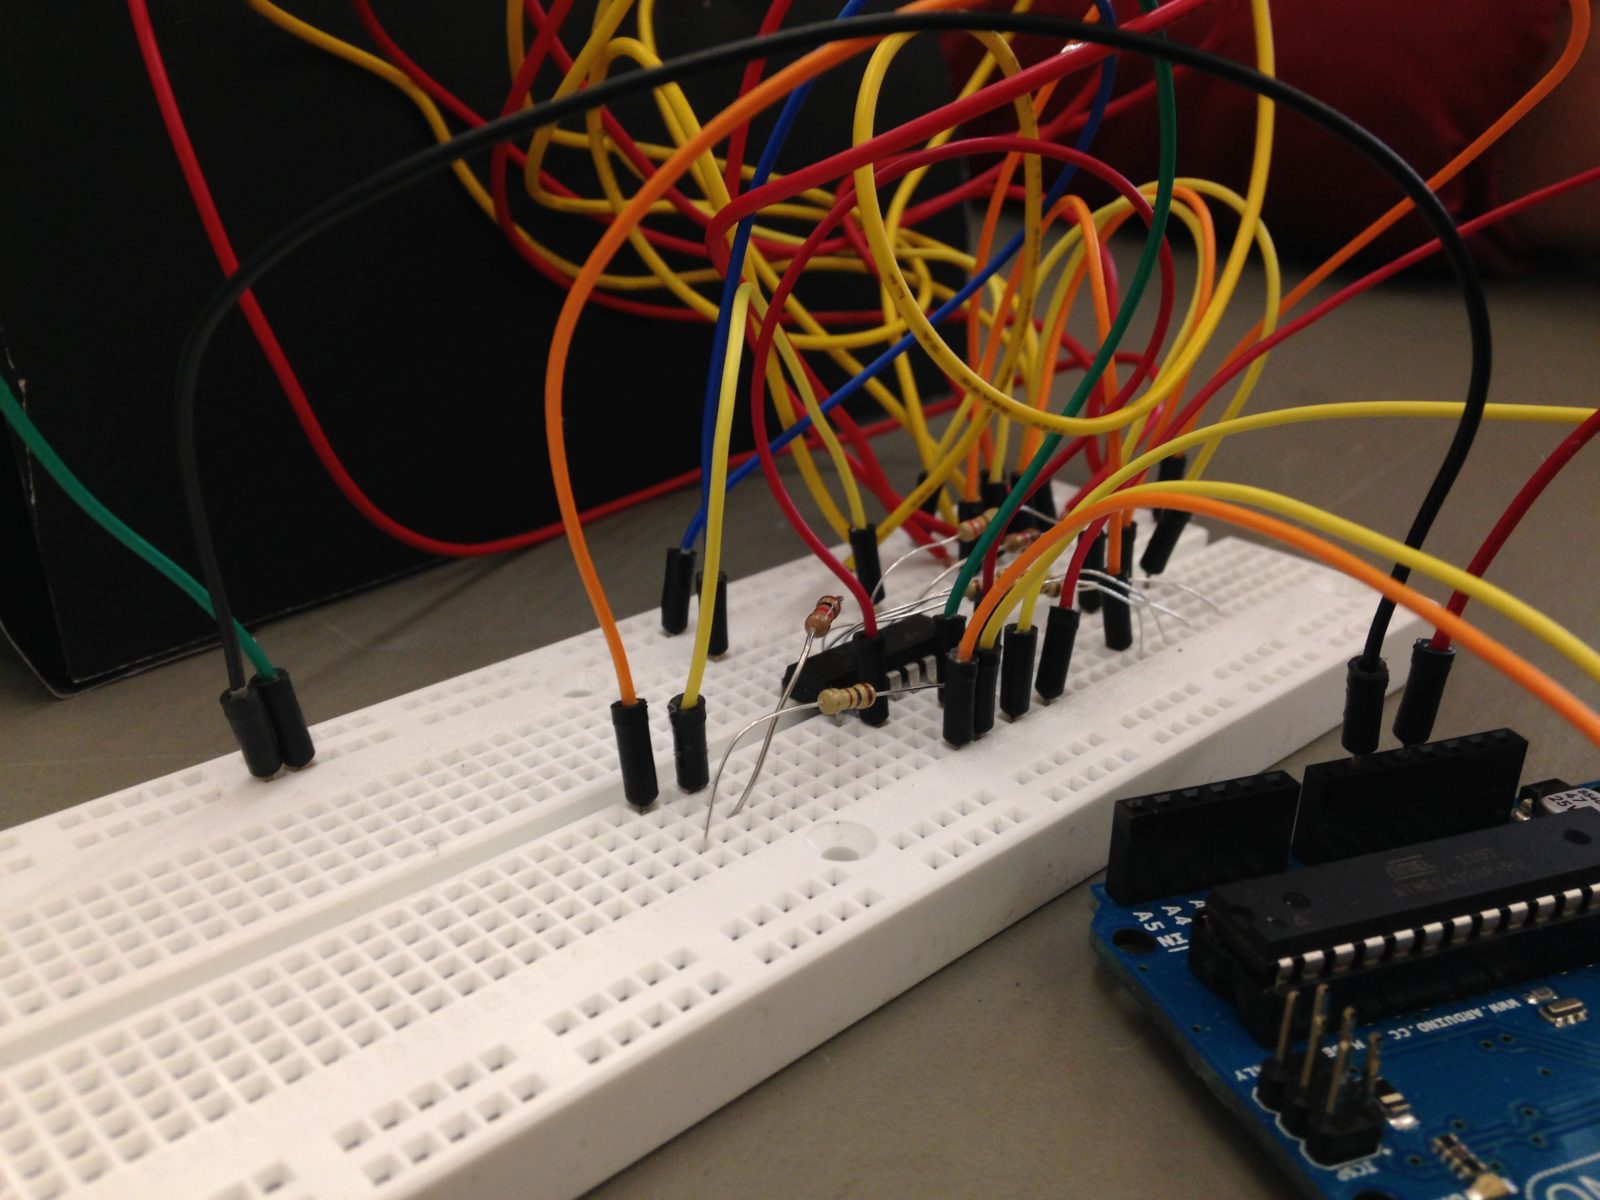
Unfortunately, due to my need to reclaim my Arduino and breadboards, we don’t have photographic documentation of our circuit. However, the structure of it was rather self-evident. Although we arranged the circuit in a such a way that we could program other functions, but we ultimately opted to keep the programming to a minimum to enable more of the focus to be placed upon the interaction with the phone, as opposed to the quality and function of the light.
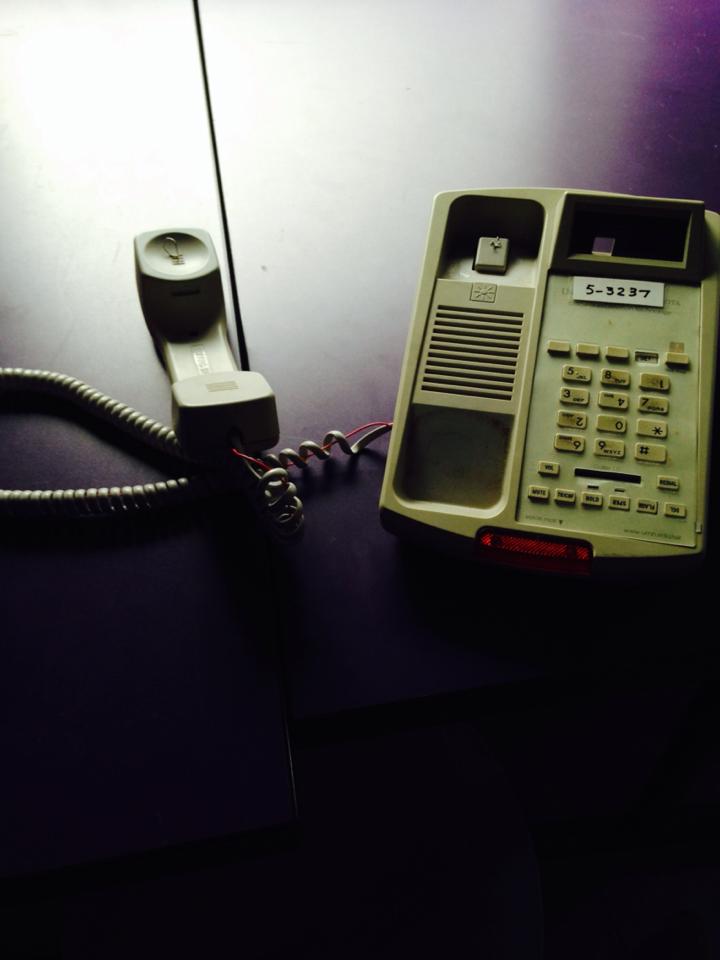
By position two ends of a wire on the handset and switch hook, we managed to both maintain and engage with the structure and function of the phone. Especially given the age of our group, the understanding of phones and their standard order (being on the hook) is very much engrained. We also used the lack of external light in the display space in order to conceptually explore questions of where one’s focus lies when they are either engaging with a telephone of disconnected from it.
The process
We decided to make a small-scale version of our project and used cardboard to resemble the dome-like structure we wanted to recreate. We soldered 10 LEDS to jumper cables to extend the length of our workspace and to have the actual wiring outside of the dome and out of the user’s view, fitting the LEDs into the perforations we’d made on the cardboard.
We based the arrangement of the LEDs on an image of some constellations; which would be acting as the starry sky in the dome. Using a shift register, we based our code on one of the examples from the book and modified it to fit our project, which lights up a different constellation on each [delayed] blink.
A major challenge
We encountered many challenges along the way in the making of our prototype; the main one was figuring out how to solve the touch element of the project. The idea we had for it was to place a pillow with a conductive material (tin foil) underneath to activate the light. When we set out to make it, we couldn’t figure out how to make it work; we attempted to put one of the LEDs’ poles in contact with the tin foil while having the other pole attached to the breadboard. This was taking us too much time, so we decided to move on and concentrate on the rest of the code and the actual wiring.
The [personal] outcome
What made us happy with our iteration of our prototype was that we figured out the structure of our dome. We were also pleased with the hands-on experience we had while wiring and soldering the pieces, given our limited experience with a project of this sort. What we will plan to work on and change would be to determine our light source for the stars and possibly find out a way to get the “stars” to fade. We would like to resolve how to cover the wiring and make the project more visually appealing and overall figuring out how to incorporate the touch sensor to make the project more interactive.
For more detail: making art interactive Using Arduino
- What material was used to build the dome structure?
The team used cardboard to resemble the desired dome-like structure. - How were the LEDs arranged inside the dome?
The arrangement was based on an image of constellations to act as a starry sky. - Which component was used to control the LED patterns?
A shift register was used to light up different constellations with delayed blinks. - Why were the jumper cables soldered to the LEDs?
They were used to extend the length of the workspace and keep wiring out of the user's view. - Did the team successfully implement the touch sensor?
No, they could not figure out how to make the tin foil touch element work and moved on. - What was the main challenge encountered during the project?
Figuring out how to solve the touch element using conductive material on a pillow. - What future improvements are planned for the light source?
The team plans to determine the best light source and find a way for the stars to fade. - How did the team plan to improve the project's appearance?
They aim to resolve how to cover the wiring to make the project more visually appealing.