
Summary of Make a proper PCB exposure unit out of a cheap UV nail curing lamp
This article describes a low-cost DIY PCB exposure unit built from an inexpensive UV nail curing lamp, costing around $20. The project solves key issues like collimation for fine features, uniform illumination for large boards, and fast exposure times using dry film photoresist. By utilizing reflective designs and proper alignment, this build achieves results comparable to devices ten times more expensive.
Parts used in the PCB Exposure Unit:
- UV nail curing lamp
- Strong pair of scissors
- Saw or CNC-router
- Hot wire foam cutter
- Hot glue gun
- Old screwdriver
- Soldering iron
- Wire cutter
- Hot air source (lighter or rework station)
What do PCB production and fake fingernails have in common? They both use UV light sources of high intensity and, as luck would have it, those light sources have exactly the same wavelength. Only the ones for PCB production are usually quite costly and the ones for fake fingernails are a bit more competitively priced.
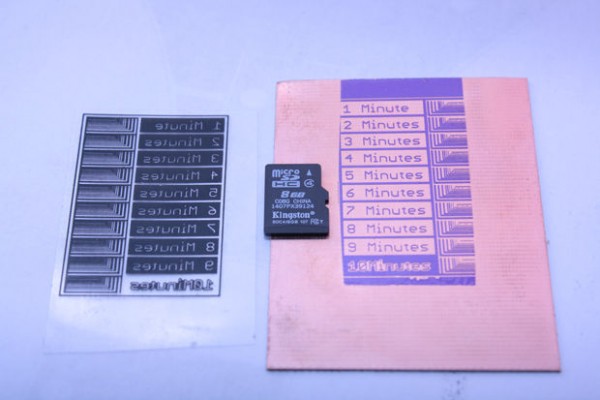
This instructable is about how to use such a device to build a low cost light source, suitable for exposing the various UV sensitive materials encountered in printed circuit board production, like dry film photoresist and UV curable soldermask.
As well as being very low cost (around $20 for all required materials), this build addresses a few issues I’ve seen on other devices on the intertubes:
- Collimation: To simply expose a board with fairly coarse features, you wouldn’t need to do any of this. You could just use the nail dryer as is and call it a day. But to be able to expose small features (down to 5mil, according to this site), you have to make sure all your UV rays come from the same direction, which is exactly perpendicular to the board you are exposing.
- Uniformity of illumination across the whole exposure plane. Imagine you want to expose a really big board, e.g. A4 or letter sized. You’d want the same amount of energy over the whole board, without hot or dark spots. For this, the energy source has to have a certain distance from the exposure plane and you need either a very tightly packed array of UV sources (like UV-LEDs, which can be rather pricey), or an effective reflector design for the UV sources you have at hand, which is what I came up with.
- Exposure time: I have no idea how fast this source is with pre-sensitized positive copper clad material, as I’ve never used that stuff, but with dry film photoresist it feels really fast. Like under two minutes fast. The thing is, I’m not really qualified to properly interpret the results, so I have to gather a few more opinions on this one.
So, while being very low cost, this build will enable you to achieve results that match, or (in some cases) even surpass those of devices that are up to 10 times more expensive.
- Strong pair of scissors
- Some kind of saw or (preferably) CNC-router to cut out the reflector templates
- Hot wire foam cutter (very easy to make!)
- Hot glue gun
- Old screwdriver (any kind will do)
- Soldering iron, wire cutter
- Hot air source. A lighter will do, but a hot air rework station is nicer 🙂
For More Details: Make a proper PCB exposure unit out of a cheap UV nail curing lamp
- What is the primary purpose of this project?
To build a low-cost light source suitable for exposing UV sensitive materials like dry film photoresist and UV curable soldermask. - How much does it cost to build this device?
The total cost for all required materials is around $20. - Why is collimation important for this build?
Collimation ensures all UV rays come from the same direction perpendicular to the board, which is necessary to expose small features down to 5mil. - How can you achieve uniform illumination across a large board?
You need to place the energy source at a certain distance and use an effective reflector design or a tightly packed array of UV sources. - What material was used to test the exposure speed?
The author tested with dry film photoresist, noting it feels very fast, taking under two minutes. - Can this DIY unit match professional equipment?
Yes, while being very low cost, this build enables results that match or even surpass those of devices up to 10 times more expensive. - What tool is recommended for cutting out the reflector templates?
A saw or preferably a CNC-router should be used to cut out the reflector templates. - Is a specialized hot air station required for the build?
No, a lighter will suffice as a hot air source, though a hot air rework station is nicer.
