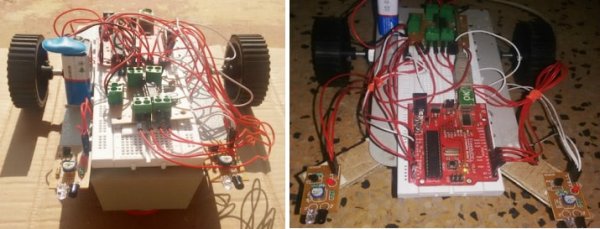
One of the simplest projects you can make for your first time using an Arduino is an obstacle avoiding robot. If you are a beginner to Arduino and want to learn more about it, this Arduino robot tutorial will teach you the basics while you build a cool robot. This project will give you a clear idea on how to interface DC motors, IR sensors, and motor drivers with an Arduino. You can take advantage of the knowledge you gain from building this robot to build other kick-ass robots! If you are a true beginner to electronics, you can go through our free beginner’s eBook before you get started.

An Arduino obstacle avoiding robot detects any obstructions in its path and avoids it by taking deviation from its current path. The same action can be more accurately obtained using ultrasonic sensor modules and PID (proportional-integral-derivative) based algorithms. This concept has even been used in automatic vacuum cleaners like the Roomba:
Required Materials
- Arduino or an Arduino clone board, like Freeduino, or make your own custom Arduino board.
- IR modules.
- L293D motor driver.
- Two DC geared motors.
- Robot chassis and wheels.
- Caster wheel.
- Breadboard and double sided tape.
- Male to male/Female to male jumpers.
- 9V battery.
How Does it Work?

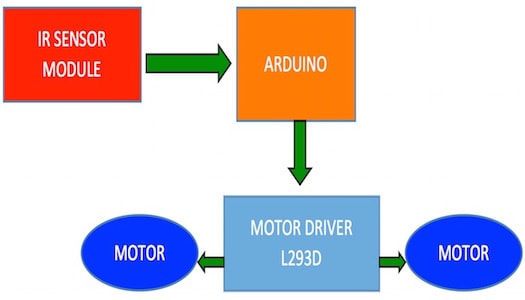
The Arduino robot reads the input from the IR modules through the analog pins. Depending on the values received from the IR module, the Arduino controls the two motors separately. Thus, making the robot turn left or right to avoid the obstacle.
L293 MOTOR DRIVER: The driver has 2 inputs for power, 4 points for motor control inputs, and 4 points for motor control outputs. That is a set of 2 inputs and 2 outputs for each motor. To control the motors, connect the four control points to the Arduino and the 4 output points to the motors. The 9V battery can be connected to the driver using the power input pins. The input and output power points are indicated on the board .
IR module: IR stands for Infrared, which is a wavelength of light not visible to the human eye (but can be seen with our smartphone cameras!). These modules consist of a pair of receiver and transmitter IR LEDs. When an object gets in front of the IR sensor, the surface of the object reflects a part of the IR light back to the receiver, the receiver then outputs a LOW signal notifying that an object is in front of the sensor.
Read More: How to Make Your First Robot Using Arduino
