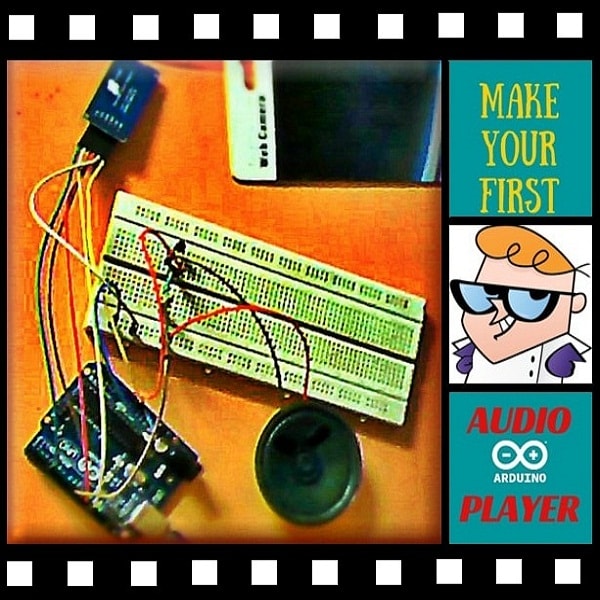
Summary of How to Make an Audio Player with Speaker Using the Arduino Uno!
This article describes a quick Arduino audio player project that plays .wav files from a micro-SD card through a speaker. The system uses an Arduino Uno, a BC546b transistor as an amplifier, and requires specific file formatting (16kHz, Mono, 8-bit) to ensure compatibility due to hardware limitations.
Parts used in the Arduino Audio Player:
- Arduino Uno
- Micro-SD card adapter
- 8-ohm speaker
- Micro-SD Card
- Mini Breadboard
- BC 546b NPN transistor
- 7k Resistor
- Male-to-male jumpers
This Arduino project is a simple and fun project you can build in 10-15 minutes. The result of this make will be an Arduino audio player that plays “.wav” files. It consists of a speaker, a simple transistor acting as an amplifier, and a micro-SD card adapter with a micro-SD card in it where the .wav files are loaded and played.
Required Materials
Hardware:
- Arduino Uno (Any other Arduino except Duo will work)
- Micro-SD card adapter
- 8-ohm speaker
- Micro-SD Card
- Mini Breadboard
- BC 546b NPN transistor
- 7k Resistor
- Male-to-male jumpers
Software:
- Arduino IDE (Latest version is recommended).
- SD Association’s SD Formatter tool.
- TMRpcm library (Github).
How Does it Work?
The Arduino in the circuit shown below loads the .wav files from the micro-SD card. It then generates a signal and outputs it through the speaker connected to digital pin 9. This makes the speaker create sounds and play music. It can play many different songs saved on the micro-SD card. In this tutorial, I have programmed the Arduino Audio Player to play ‘Rain Over Me”, by Pitbull and Marc Anthony.
The .wav files used in this circuit have a slight limitation in playing audio. Since a transistor is used as an amplifier, it cannot read complex .wav files. Therefore, the .wav files should be converted to have these dimensions:
-Samples Per second (Hz): 16000
-Channel: Mono
-Bits Per Sample: 8
Converting files to .wav file Format for Your Arduino Audio Player
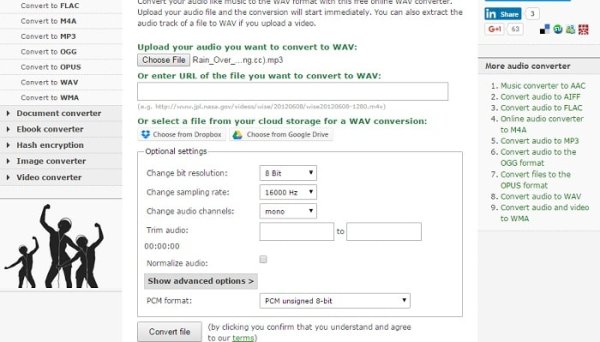
You don’t need to install any software in order to convert the songs to .wav files. There’s an online music converter to do the work.
Follow the steps given below to make songs compatible with your Arduino audio player:
- Upload a music file or enter a link for the song or audio file to be converted. You can even choose files from Dropbox or Google Drive.
- In optional settings, change bit resolution to 8 bit.
- Change sampling rate to 16000 Hz.
- Change audio channels to Mono.
- Click on “Show advanced options”.
- Set the PCM format as PCM unsigned 8-bit.
- Click on “Convert” and the files are converted
Formatting Your Micro-SD Card
- Download the SD Formatter tool.
- Run the tool as administrator.
- Select the proper drive to format. Give the card your favorite name by writing it on Volume label and click the “Format” button. It will prompt you with a couple of dialogues. Click on them and your card will be formatted perfectly!
- Add the previously converted .wav files to the card and save them with simple names such as ’81.wav’.
Preparing Your Circuit
- What time is required to build this project?
The project can be built in 10-15 minutes. - How does the circuit play music?
The Arduino loads .wav files from the SD card, generates a signal, and outputs it through digital pin 9 to the speaker. - Can I use any Arduino board for this project?
You can use any Arduino except the Duo model. - Does the transistor limit the audio quality?
Yes, the transistor cannot read complex .wav files, so they must be converted to specific dimensions. - What are the required settings for the .wav files?
Files must be set to 16000 Hz sampling rate, Mono channel, and 8 bits per sample. - Do I need to install software to convert audio files?
No, you can use an online music converter tool without installing additional software. - Which pins on the Arduino connect to the Micro-SD card?
MOSI connects to pin 11, MISO to pin 12, CLK to pin 13, and CS to pin 4. - What software tools are required for this project?
You need the Arduino IDE, SD Association's SD Formatter tool, and the TMRpcm library.