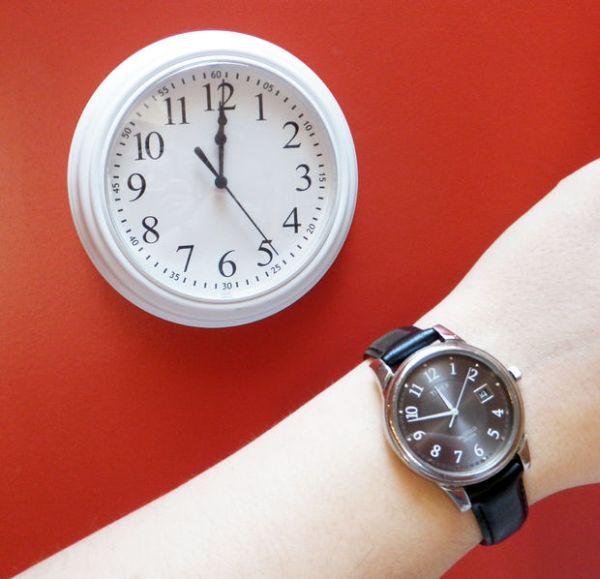
Have you ever wished lunchtime were longer, but didn’t know where to find those few extra minutes? Well, wish no longer!
Thanks to great in advances in clock technology, I present to you a clock that speeds up 20% every day at 11:00 and slows down 20% every day at 11:48, giving you an extra twelve minutes of lunch to enjoy. Twelve minutes may not seem like a lot but, to put it into perspective, this is a full additional hour of lunchtime gained every week.
(x1) Standard wall clock
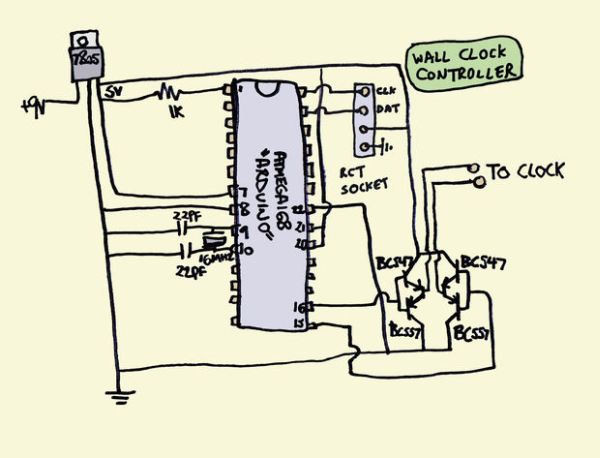
(x1) Adafruit DS1307 Real Time Clock Kit
(x1) Arduino (w/ATMEGA168 DIP chip)
(x1) Extra ATMEGA168 chip with Arduino bootloader installed (see last step)
(x2) BC547 PNP transistors
(x2) BC557 NPN transistors
(x1) 28 pin socket
(x2) 22pF capacitors
(x1) 16mhz crystal
(x1) 1K resistor
(x1) 7805 regulator
(x1) 4 pin socket
(x1) 9V battery and connector
Step 2: Remove the movement
Remove the clock movement from the clock body. This will require removing the front glass face from the clock as well as the clock’s hands. Be gentle as not to break anything. You will have to reassemble everything later.
Step 3: Hack the movement
The clock movement has a single coil stepper motor inside. The basic theory here is that we want to disconnect the coil from the clock’s timing circuit and then attach wires to the coil so that we can control it ourselves.
So, knowing this, open up the clock movement and make careful mental note of where everything is (or take a picture).
Take apart the movement until the circuit board is free.
Locate the contacts on the circuit board where the motor is located. Notice these two contacts have traces that go off to the chip (hidden under the black blob). The idea is to use a razor blade or knife to scratch away at these traces until the connection with the chip is visibly broken.
For good measure, I also cut away the timing crystal, rendering the circuit more or less useless.
Lastly, I soldered about 6″ of wire to each of the motor terminals.

When this was all done I put the whole thing back together. There wasn’t a spot in the case where I could conveniently slip the wires through and I needed it to go properly back together, so I ended up cutting a small hole for the wires to pass through.
Step 4: Reassemble the clock
Once your movement is good and hacked, but the clock back together.
Important: Make sure the hour, minute and second hand all line up at 12:00. I did not do this the first time around and quickly discovered that the clock would not display right unless all the hands were lined up.
For more detail: Lunchtime Clock

