A resolution of 8×8 pixels may not sound like enough for anything interesting, but with the right setup, it is possible to create beautiful, complex animations and even add some interactivity.
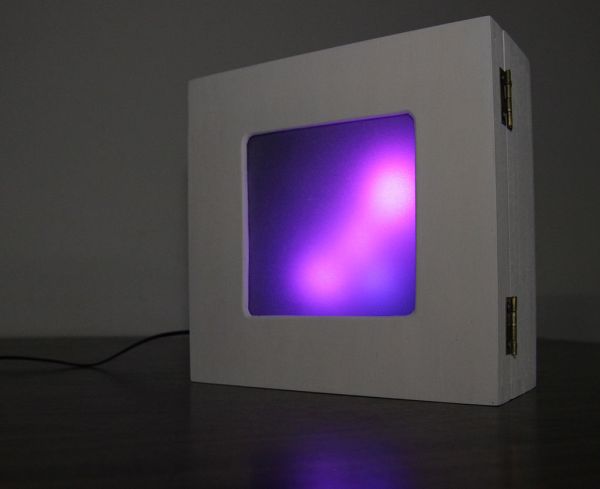 In the next pages I will detail the steps needed to build the low-res display you see in the video below.
Step 1: Parts and Tools
The parts needed are:
– An LED matrix driver, I used a Rainbowduino from Seeed studio
– An RGB LED matrix compatible with the Rainbowduino
– A mini USB extension cable, used to bring out the connection from the board
– A wooden box
– Foam core board or a piece of card board
– A sheet of tracing paper
– Nylon standoffs for mounting the PCB.
– Optional: volume sensor / other amplified microphone
More details are in the attached BOM
– A drill
– A ruler
– A pair of scissors
– A box cutter
– A Pencil
– Paint brushes and paint
– Hot glue gun
– A screw driver
You will also need some adhesive tape.
Step 2: The box
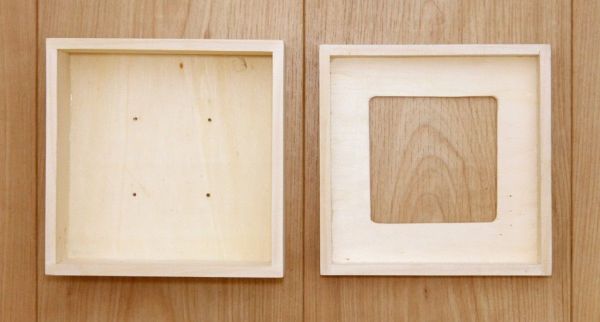
We will use a wooden box as the enclosure of the system.
I used a box sized 16x16x7cm, but any box big (and deep) enough will do.
– Disassemble the box – this is essential to allow easy drilling and painting
– Measure, mark and drill the holes for the PCB (3.5mm dia). Make sure that the holes match the ones on the board and that the board will be centered inside the box.
– Make the hole for the usb socket. It should be a bit bigger than the connector to leave room for glue.
– Cut a window in the lid of the box. I made it 9x9cm and used a box cutter. Using a laser cutter or a dremel tool can be easier.
– Paint the insides of the box and the lid in black. This is important to improve the contrast of the display.
– Paint the outside in whatever color you like. I used white because it looks nice and does not compete with the animations.
– Reassemble the box
Step 3: The diffuser screen
The diffuser screen is made of a sheet of tracing paper, mounted on a frame made of foam core or cardboard.
I chose to use tracing paper as it is cheap, easy to find and gives the right balance between transparency and diffusion.
– Cut a square of foam-core sized to match the inside of the lid. Mine was 14.5×14.5cm
– Cut a window in the center of the square which is a little bigger than the window you made in the lid. Mine was 10.5×10.5cm
– Paint one side of the frame black. Again, this is important to improve contrast.
– Cut a square of tracing paper smaller than the size of the frame but larger than the size of the window. I made it ~12x12mm
– Attache the tracing paper to the foam core frame. I used adhesive tape as wet glue deforms the tracing paper
For more detail: Low resolution display done right