This post is about how to use the BMP180 barometric sensor with the Arduino. It is also applicable for other similar barometric sensors.

Introducing the BMP180 barometric sensor
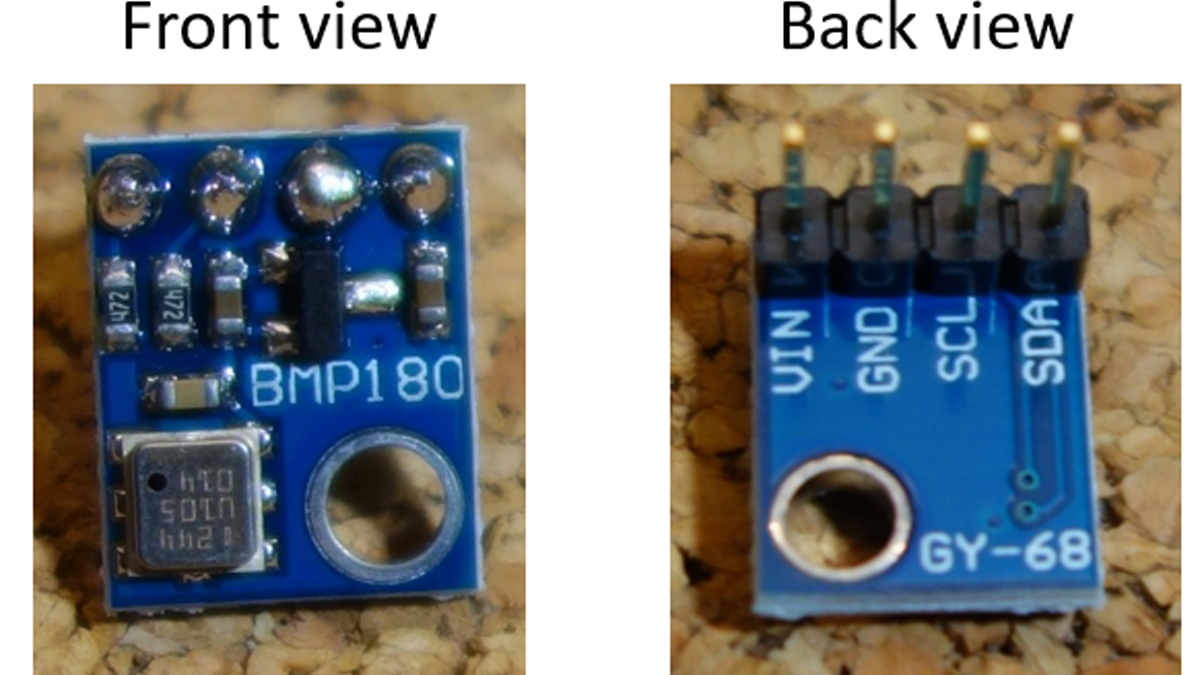
The BMP180 barometric sensor (model GY-68) is the one in the following figure (front and back view). It is a very small module with 1mm x 1.1mm (0.039in x 0.043in).
It measures the absolute pressure of the air around it. It has a measuring range from 300 to 1100hPa with an accuracy down to 0.02 hPa. It can also measure altitude and temperature.
The BMP180 barometric sensor communicates via I2C interface. This means that it communicates with the Arduino using just 2 pins.
Where to buy?
This sensor is very cheap. You can buy one for approximately $3. Find the best price on Maker Advisor.
You can use the preceding links or go directly to MakerAdvisor.com/tools to find all the parts for your projects at the best price!
Pin wiring
Wiring the sensor to the Arduino is pretty straightforward:
Schematics
Wire your sensor to the Arduino as shown in the schematics below.
Code
To control the BMP180 barometric sensor, you need to install the SFE_BMP180 Library.
Installing the SFE_BMP180 Library
- Click here to download the SFE_BMP180 library. You should have a .zip folder in your Downloads folder
- Unzip the .zip folder and you should get BMP180_Breakout_Arduino_Library-master folder
- Rename your folder from
BMP180_Breakout_Arduino_Library-masterto BMP180_Breakout_Arduino_Library - Move the BMP180_Breakout_Arduino_Library folder to your Arduino IDE installation libraries folder
- Finally, re-open your Arduino IDE
Go to File > Examples >SparkfunBMP180 > SFE_BMP180_example.
This example is very well commented and explained on how the sensor reads the pressure, temperature and computes the altitude.
Read more: Introducing the BMP180 barometric sensor
