My sensors have not been functioning too well with my computer, as every time I try to connect the hello.light or hello.mic boards and run python through my terminal, I either get the error “resource busy”, or my computer completely freezes! Therefore, I decided to try and program some sensors via an Arduino board and the Arduino IDE
I first decided to build the ‘Barduino’ board, designed by Luciano at Fab Lab BCN. It is meant to function as an Arduino Pro with an Atmega 168 microcontroller. The files and a very clear tutorial can all be found here.
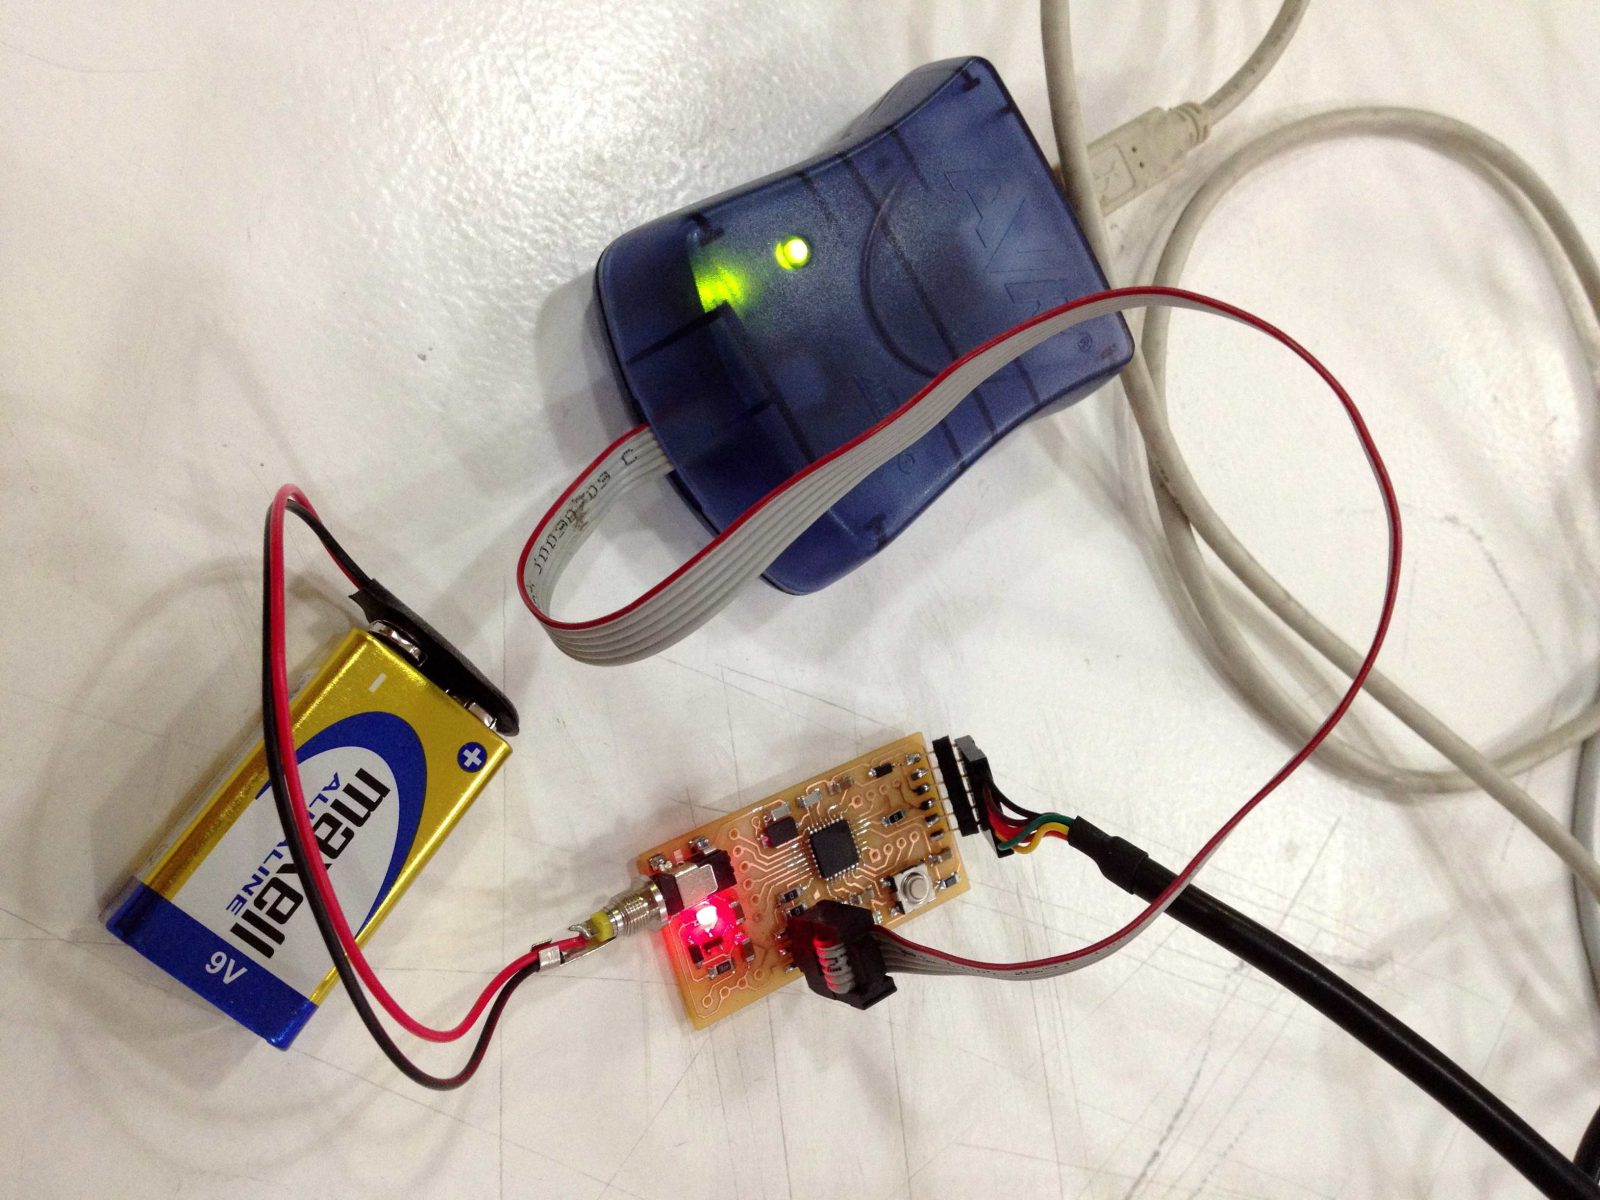
Thankfully we had all the parts in our local inventory so I milled and stuffed the board and successfully ran both the bootloader and a ‘blink’ example from Arduino to check it. Next I must get some headers for it which will allow me to quickly prototype with my inputs / outputs / application programming. My final project will consist of my own version of the Barduino (probably with sensors embedded or wired via cables)
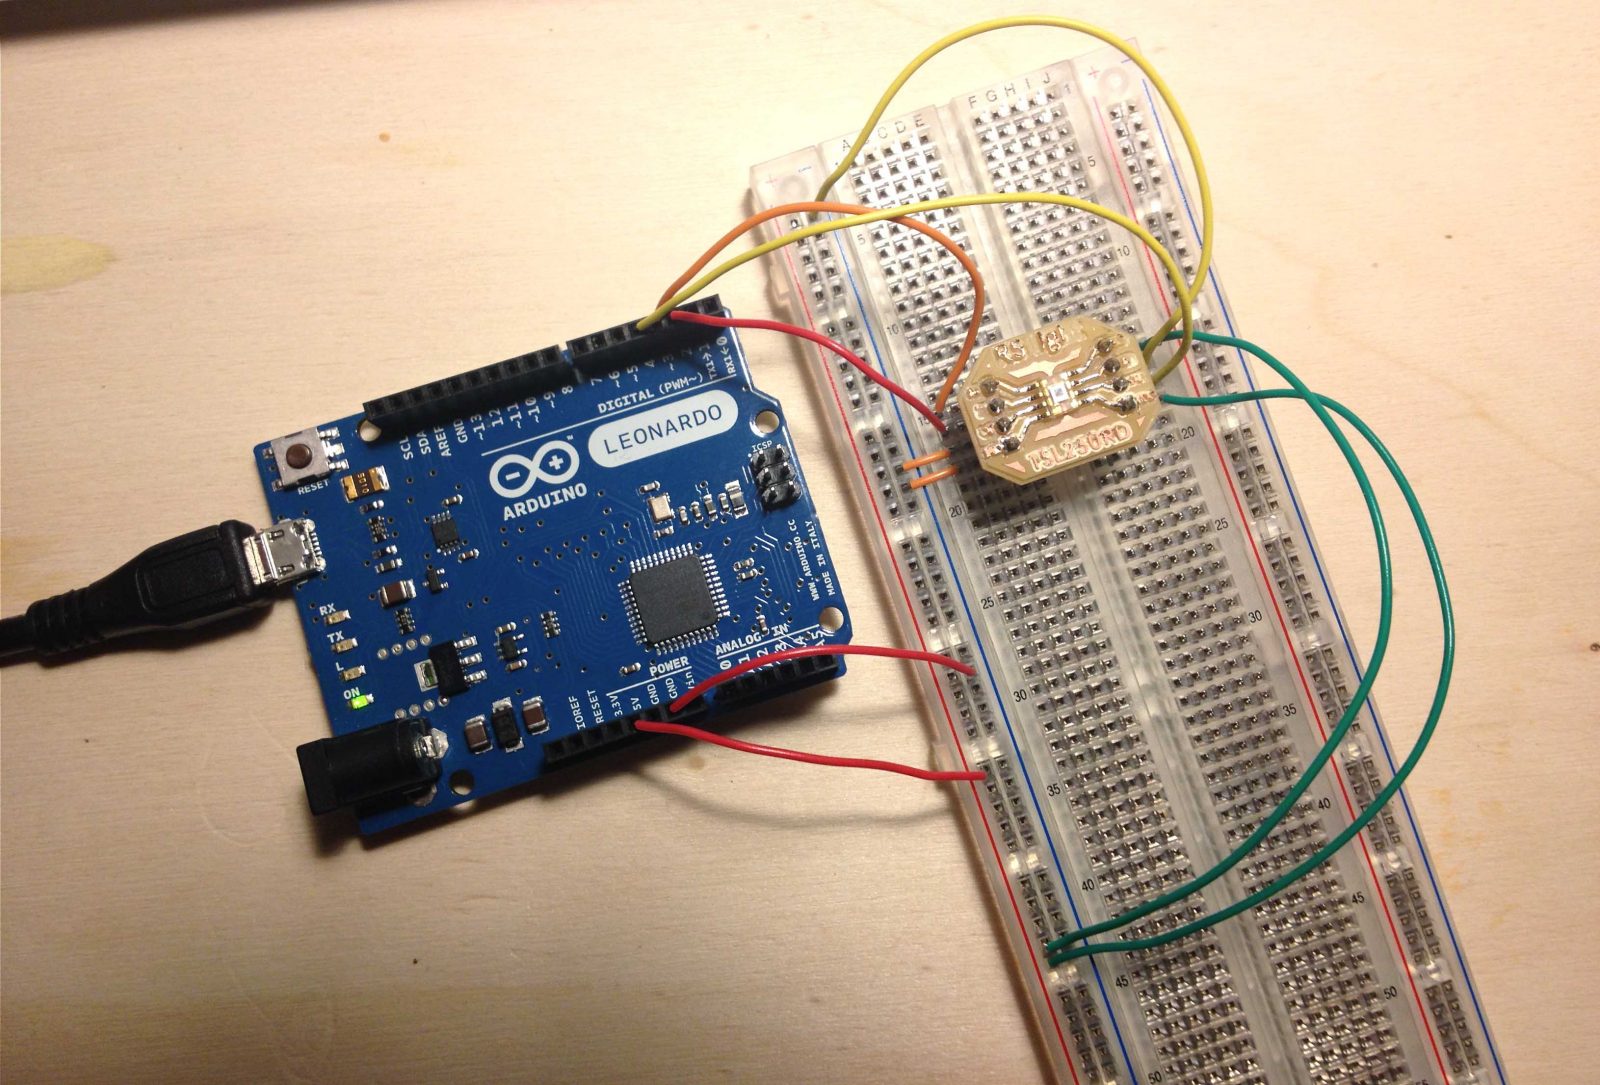
Having managed to get my hands on a new Arduino Leonardo board, I plan to also use this to prototype my sensors / outputs / processing etc.. while I finalize my version of the Barduino for my final project. I have also ordered a couple TSL230RD light intensity sensors, which I plan to use for my final project. These sensors have much higher sensitivities than a simple photoresistor, which I will require to collect data for ambient light in a room for my final project. They can also be set to take readings at 3 different sensitivity settings, so I can hopefully use 2 or 3 of them to get a very accurate overall reading.
I will be following these two tutorials on these sites:
Bildr and Drone Colony Given that these tutorials are based on the TSL230R (which can be plugged in directly to an Arduino breadboard), while I have the TSL230RD, I first had to create a simple breakout board on Eagle (called the RS Light) with traces leading to 4-pin Arduino headers, allowing me to connect it to my Arduino.
For more detail: Interface and Application Programming