The assignment for this class was simple yet complicated: Make something interactive with an Arduino. It had to be designed well, technically challenging enough and original for as far as original ideas go these days on sites like Instructables.

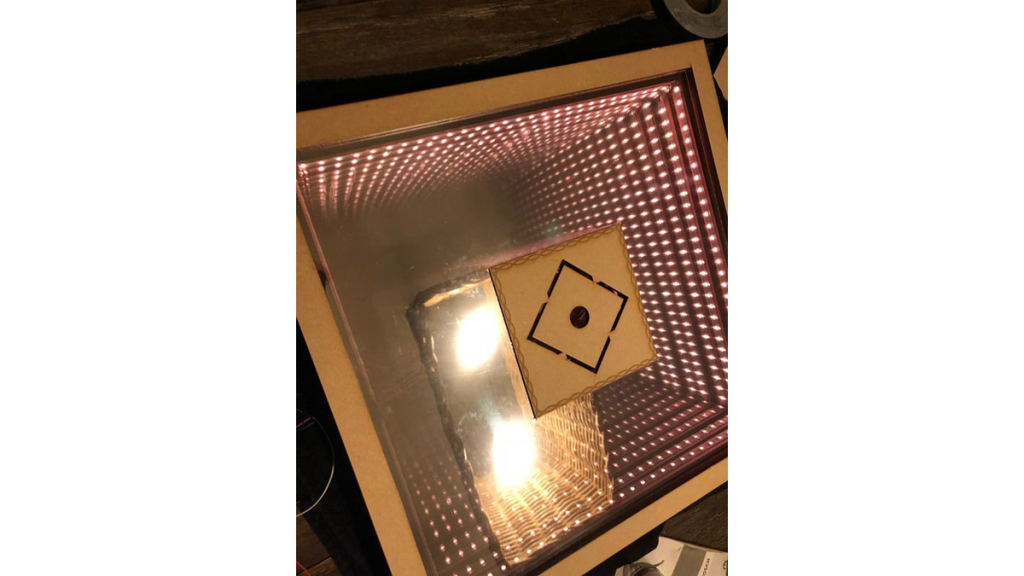
From the start, I was interested in LEDs. My project would have to incorporate something with LEDs, so the first thing I thought of were these LED visualizers which use music as a source to indicate the loudness per frequency for instance. I quickly realized that the time we had to finish this project was pretty short and I wanted to make a visualizer that would have each led respond individually to the music. That would take way too long so I decided to do something else. Instead of having something functional, I really liked the idea of something aesthetically pleasing. Something with LEDs you could stare at for ages… An infinity mirror.
The infinity mirror has always been a kicker and to make the LEDs inside do something when you push a certain button would definitely be within the scope of this project. Instead of making a standard one I made a slightly different design (which has been done before of course) which has a square in the middle of the mirror as well that has an LED strip around it so it looks like a huge endless tower is rising up from nothing.
Inspired by the glass and chic look of the infinity mirror I wanted to have an input which was as satisfying as the rest. There I came up with capacitive buttons which need no pressure (and no actual contact if you change the sensitivity of your sensor) to be activated and thus creates an even more magical feeling.
Enough talking, let’s get building!
ps. you can make this project any size you like, just keep in mind, the more LEDs you use, the more power it needs 😉
Step 1: Gathering All the Stuff You’ll Need (or Want).

Wooinity mirrors don’t come cheap especially when you want to use them with individually addressable LEDs. Also if you’ve never done anything like this before you probably need to add a few tools to your arsenal like a soldering iron or a glass cutter for example. First I’ll list the parts you’ll need (remember for a different size project you just have to scale everything down or up according to your ratio) for the design and the second list will be the tools I’ve used to make this.
Parts:
8x 6mm thick 60x60cm MDF panels
1x 3mm thick 50x50cm Plexiglas panel
1x 3m ws2812 5050smd LED Strip with 60 LEDs per meter, or around 160 LEDs(make sure it has a 5V rail instead of a 12V one)
1x 5mm thick 50x50cm glass mirror (glass mirror’s give the best effect! You could use another type of mirror but it just won’t look as good!)
1x Arduino Uno (A smaller or larger Arduino will suffice as long as it is powered by 5V and has at least 7 digital I/O pins
1x 5V 7A dc adapter (This will vary if you’ve got a smaller or larger project so be sure to calculate how much current your project will draw!)
1x Perfboard 15x15cm
5x different color 24 AWG flexible core wire (lots of it, just buy a bundle packet which should be enough)
1x 50x50cm privacy window tint foil, you should check to make sure you have the reflective kind to get the best results. It’s also good practice to get a little bit extra so you can mess it up the first time as it is pretty hard
1x CAP1188 (at24qt1070) 5Key capacitive sensor breakout
1x A small bit of copper or aluminum tape (get 1 meter if you want to be sure)
1x cheap clear varnish
Tools:
Laser cutter (should be capable of cutting Plexiglas and 6mm thick MDF panels up to 60x60cm)
Basic tools (small fretsaw, wood files, sanding paper any grit, drill, etc.)
Soldering iron
Cable cutters
Hot glue gun
Lots of Solder
Woodglue
Some frame clamps
Glass cutter
Source: Interactive Infinity Mirror
